5 Solutions to Fix Disk Management Extend Volume Greyed Out
Encountering the issue of disk management extend volume greyed out? Check out these 5 solutions to fix the problem and extend your volume successfully.
By Nene Aly / Updated on March 13, 2024
Introduction
Are you facing the frustrating issue of disk management extend volume greyed out? This article will guide you through various solutions to fix this problem and help you extend your volume successfully. Read on to learn about the possible causes behind this issue and the relevant troubleshooting methods.

Part 1: Understanding the Problem
In Disk Management, the option to extend volume is sometimes greyed out, preventing users from allocating unallocated disk space to a specific volume. This can be caused by several factors, including:
- File system limitations
- Unmovable files or system files
- Improper partition layout
- Dynamic disk configuration
- Low disk space
By exploring the solutions in the following sections, you will be able to identify and resolve the exact cause for the extend volume greyed out problem in your case.
Part 2: Solutions to Fix Disk Management Extend Volume Greyed Out
Solution 1: Convert Basic Disk to Dynamic Disk
Converting your basic disk to a dynamic disk is an effective way to fix the disk management extend volume greyed out problem caused by disk configuration issues. Follow these steps:
- Open Disk Management by right-clicking on the Start button and selecting Disk Management.
- Locate the basic disk that needs to be converted to a dynamic disk.
- Right-click on the disk and choose Convert to Dynamic Disk.
- Follow the on-screen instructions to complete the conversion process.
Note: Converting a disk from basic to dynamic may result in data loss. Ensure you have a backup before proceeding.
Solution 2: Run Disk Cleanup Utility
Running the Disk Cleanup utility can help resolve the extend volume greyed out problem due to low disk space. Here's what you need to do:
- Press Windows + R and type cleanmgr in the Run dialog box. Hit Enter.
- Select the drive containing the volume you want to extend and click OK.
- Wait for the utility to calculate the amount of space you can free up.
- Check the items you want to delete and click OK.
Solution 3: Shrink Adjacent Volume
If there is an adjacent volume next to the volume you want to extend, shrinking it can help overcome the extend volume greyed out issue. Follow these steps:
- Open Disk Management and right-click on the adjacent volume.
- Select Shrink Volume.
- Enter the amount of space to shrink from the adjacent volume and click Shrink.
Solution 4: Use Third-Party Disk Management Tools
Consider using third-party disk management tools like EaseUS Partition Master or MiniTool Partition Wizard to extend the volume. These tools provide advanced features and intuitive interfaces to simplify the process.
Solution 5: Check Unmovable or System Files
Unmovable or system files can also cause the extend volume option to be greyed out. Follow these steps:
- Launch Command Prompt as an administrator.
- Type defrag C: /E /X (replace C: with the volume letter you want to extend) and press Enter.
- Wait for the defragmentation process to complete.
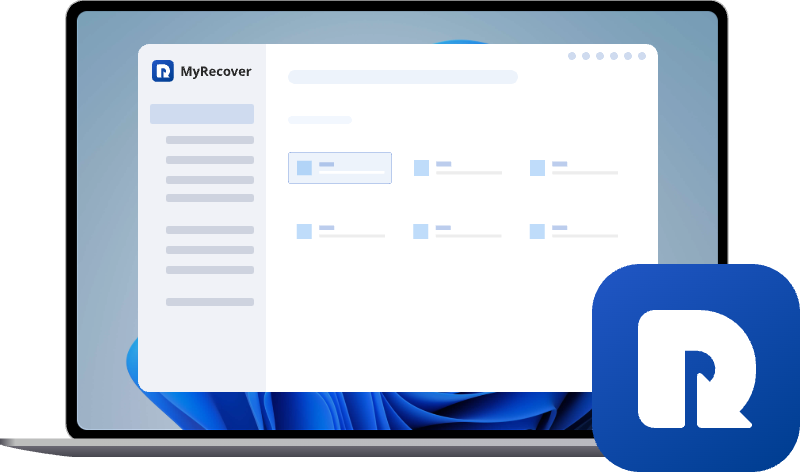
Recovering Deleted/Lost Files with MyRecover
After fixing the disk management extend volume greyed out issue, you might need to recover deleted or lost files. MyRecover is an excellent tool for this purpose, offering the following key features:
- Deep scan and recover files from various storage devices.
- Support for different file formats and systems.
- User-friendly interface with step-by-step instructions.
Operating Steps for MyRecover:
- Download and install MyRecover from the official website.
- Launch the software and select the desired scan mode.
- Select the drive or location where the files were deleted or lost.
- Initiate the scan and wait for the results.
- Preview and select the files you want to recover.
- Click the Recover x files button to restore the files to a secure location.
Frequently Asked Questions (FAQs)
Q: Why is the extend volume option greyed out?
A: The extend volume option might be greyed out due to various reasons, such as file system limitations, unmovable files, improper partition layout, dynamic disk configuration, or low disk space.
Q: Can third-party tools help in extending volumes?
A: Yes, third-party disk management tools like EaseUS Partition Master or MiniTool Partition Wizard can assist in extending volumes effectively.
Q: How can I recover deleted files after fixing the extend volume greyed out problem?
A: You can use MyRecover, a powerful data recovery tool, to recover deleted files. Follow the steps mentioned earlier in the article to use MyRecover for file recovery.
Q: Will converting a basic disk to a dynamic disk result in data loss?
A: Yes, converting a basic disk to a dynamic disk may lead to data loss. It is recommended to create a backup before performing this conversion.
Q: What should I do if none of the solutions work?
A: If none of the solutions mentioned in this article work for you, it is advisable to seek professional assistance or consult relevant forums for further guidance.
Conclusion
This article provided 5 solutions to fix the disk management extend volume greyed out problem. By following the step-by-step instructions outlined in each solution, you can overcome the issue and successfully extend your volume. Additionally, MyRecover was introduced as a reliable tool for recovering deleted or lost files after resolving the disk management problem. If you encounter any difficulties, refer to the FAQ section for further assistance. Ensure you have a backup of your data before attempting any disk configuration changes.