
Cannot Eject USB Drive? 8 Quick Solutions to Try Now
The 'Cannot eject USB drive' error is a common Windows problem that often occurs when files are still in use, background processes are running, or system settings block safe removal. In this article, we explain the most common reasons why a USB drive can’t be ejected and provide 8 practical, step-by-step solutions you can try immediately to solve the issue.
By Aria / Updated on December 30, 2025
Why You Can’t Eject a USB Drive
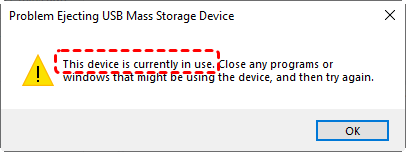
When you try to safely eject a USB drive from Windows, you may be alarmed to find that you cannot eject the USB drive. Windows may even pop up a prompt saying the drive is currently in use even when no files are open. In most cases, this issue occurs because Windows is still accessing the drive in the background.
Windows blocks ejection when it believes the device is still in use. This is a data-protection mechanism, not a malfunction by default. The common reasons why you are unable to eject the USB drive are as follows:
📂Files or Folders Are Still Open
If a file stored on the USB drive is open in any program, such as a document, video, or image, Windows will block the ejection to prevent data corruption.
🔔Background Applications Are Using the USB Drive
Some programs access removable drives silently. Media players, download tools, backup software, or torrent clients may still be reading or writing data even when they appear idle.
🖇️Windows Explorer Is Caching the Drive
File Explorer may continue indexing, refreshing thumbnails, or caching file information. This is a very common reason why you can’t eject a USB drive immediately after closing files.
💾Driver or File System Issues
Outdated, corrupted, or conflicting USB drivers can cause Windows to incorrectly think the drive is still active. File system errors may also lock the device.
🛠️System or Application Errors
In some cases, Windows fails to release the USB drive properly due to system glitches or crashed applications, leaving the device locked until processes are restarted.
Understanding why the problem happens makes it easier to fix safely without risking data corruption. This article will provide several methods to help you safely eject the USB drive, as well as a powerful data recovery solution if any data loss occurs after ejection.
How to Fix "Cannot Eject USB Drive" on Windows
Before forcefully unplugging the device, it is important to try systematic solutions. Each method below addresses a different cause of the cannot eject USB drive Windows 10 issue. Start with the simplest options and move down the list only if the problem persists.
Eject USB in Disk Management or File Explorer
Compared with directly removing it manually by force, Disk Management or File Explorer offer the safer and more direct ways to remove the USB drive. This method bypasses the standard UI and directly communicates with disk services.
👉In Disk Management
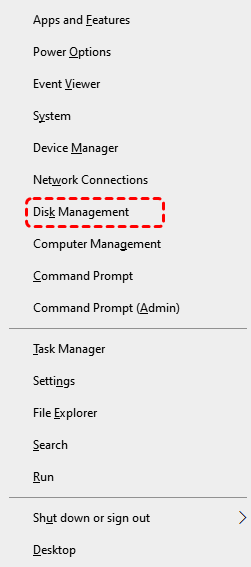
Step 1. Press "Win" + "X" and select "Disk Management" to open it.
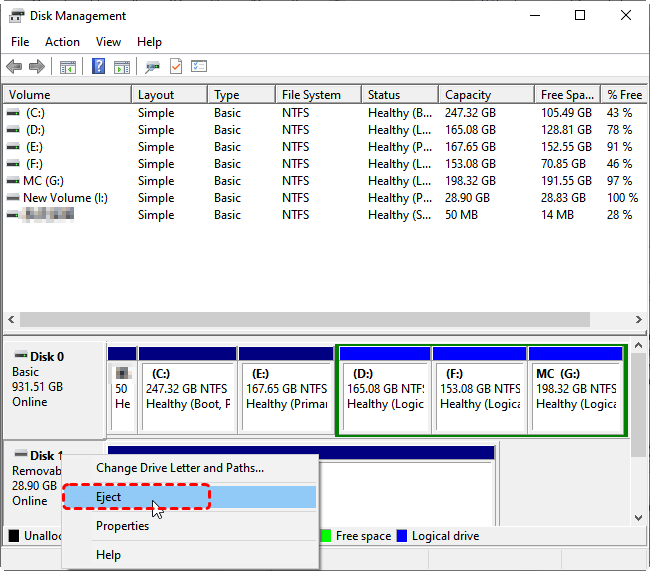
Step 2. Select the USB drive and right click on it, then choose "Eject". The USB storage device will be marked with a status of "Offline".
👉In File Explorer
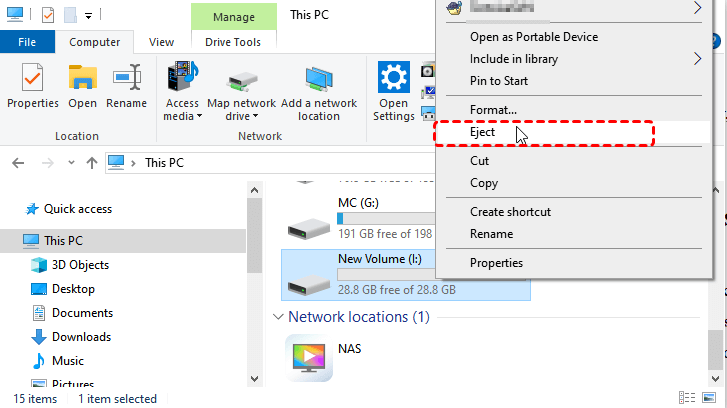
Step 1. Locate your USB drive in File Explorer.
Step 2. Right click on it and choose "Eject" from the context menu.
Use "Eject" Tray Icon
Although basic, this tool is still one of the most reliable options when it works properly. Using it ensures all write operations are completed before removal.
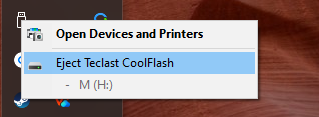
Step 1. Expand the system tray and right click on the USB icon.
Step 2. Select "Eject Flash Drive" to safely remove it under "Open Devices and Printers".
Close All Open Files and Programs
Even if no files seem open, background applications may still be using the USB drive. Close all related programs, wait a few seconds, and retry ejecting. This method ensures that all programs fully release the device before ejection.
- Close all files stored on the USB drive
- End all the programs that might be accessing the USB drive, like Media players, photo editors, or document viewers, etc.
Restart Windows Explorer
Windows Explorer manages file access and desktop processes. Sometimes it simply fails to release the USB drive. This method refreshes the file management system and clears temporary locks without rebooting the entire PC.
Step 1. Press "Ctrl" + "Shift" + "Esc" to open Task Manager.
Step 2. Right click on Windows Explorer and select "End task".
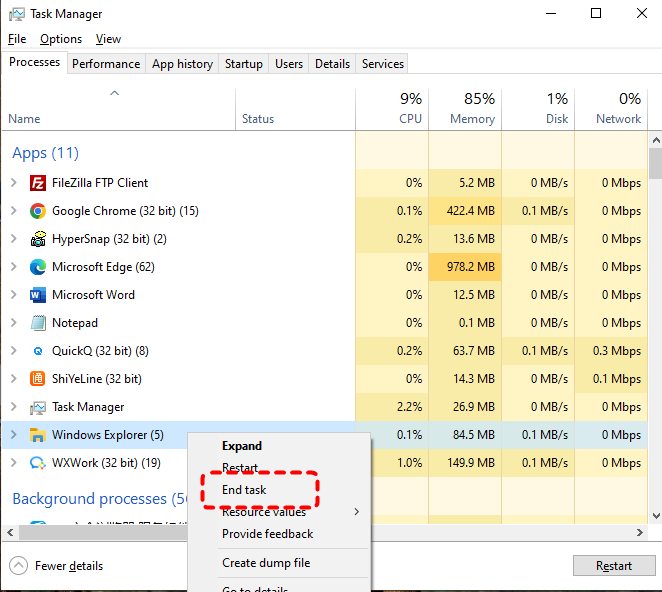
Step 3. Open File Explorer again and try to remove the USB drive.
Uninstall the Disk Driver
Additionally, you can uninstall the USB drive's driver via Device Manager. This operation safely disconnects the USB from the Windows system, enabling you to remove the drive without the risk of data corruption.
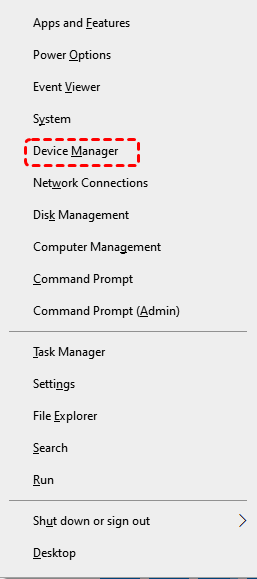
Step 1. Press "Win" + "X" and choose "Device Manager" to open it.
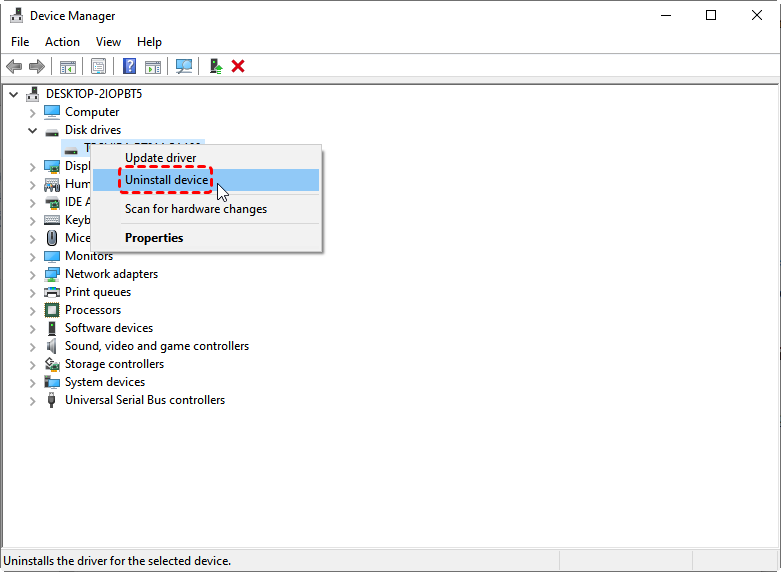
Step 2. Expand "Disk drives" and locate the USB drive.
Step 3. Right click on it and choose "Uninstall device" to remove it from the computer. Windows will automatically reinstall the drive when you re-connect it.
Run the Windows Hardware and Devices Troubleshooter
If the issue is driver or hardware related, Windows' built-in hardware troubleshooter can automatically detect and fix the USB drive cannot be ejected.
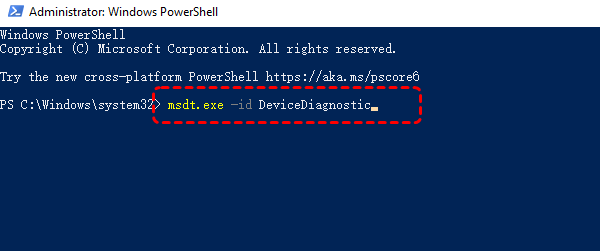
Step 1. Press "Win" + "X" and choose "Windows PowerShell (Admin)" to open it.

Step 2. Enter the following command "msdt.exe -id DeviceDiagnostic" and press "Enter" key.
Step 3. Click "Advanced" and check the "Apply repairs automatically" option on the opened "Hardware and Devices" window, then click "Next" to detect hardware problems.

Run Disk Check (CHKDSK)
File system errors also can prevent Windows from releasing a USB drive. Running a CHKDSK command can scan and repair logical errors that may cause the "cannot eject USB drive" message. Here's how:
Step 1. Open Command Prompt and run it as administrator.

Step 2. Type the command "chkdsk G: /f /r" and press "Enter". Replace the drive letter "G" with your actual drive letter. The command will automatically scan and repair the detected errors.

After completion, restart your PC and try ejecting again.
Shut Down the Computer Before Removing USB
If none of the above solutions work, shutting down the system and manually remove the USB drive is the safest fallback option. It ensures all processes stop completely, eliminating the risk of file corruption.
Step 1. Press and hold the power button to shut down the computer completely.
Step 2. Wait for the computer powers off, then manually remove the USB drive directly.
How to Recover Missing Data After Unplugging USB
If the USB was removed unsafely and files are missing or inaccessible, immediate recovery action is crucial. Avoid writing new data to the device, as this may overwrite recoverable files. MyRecover is a dedicated data recovery solution designed for scenarios like data loss due to improper USB removal, virus infected drive, formatted USB drive, corrupted SD card, etc. It can scan USB flash drives and external hard drives to retrieve lost or corrupted files caused by sudden disconnection.

- Support 1,000+ devices, including HDD, SSD, USB, SD cards, cameras, drones, and more.
- Recover 1,000+ file types, such as images, videos, music files, emails, and office documents.
- Cover 500+ data loss scenarios like accidental deletion, formatting, virus attacks, device corruption, and more.
Step 1. Download and install MyRecover on your computer from Microsoft Store. Connect the USB flash drive to the computer with the correct cable or port.
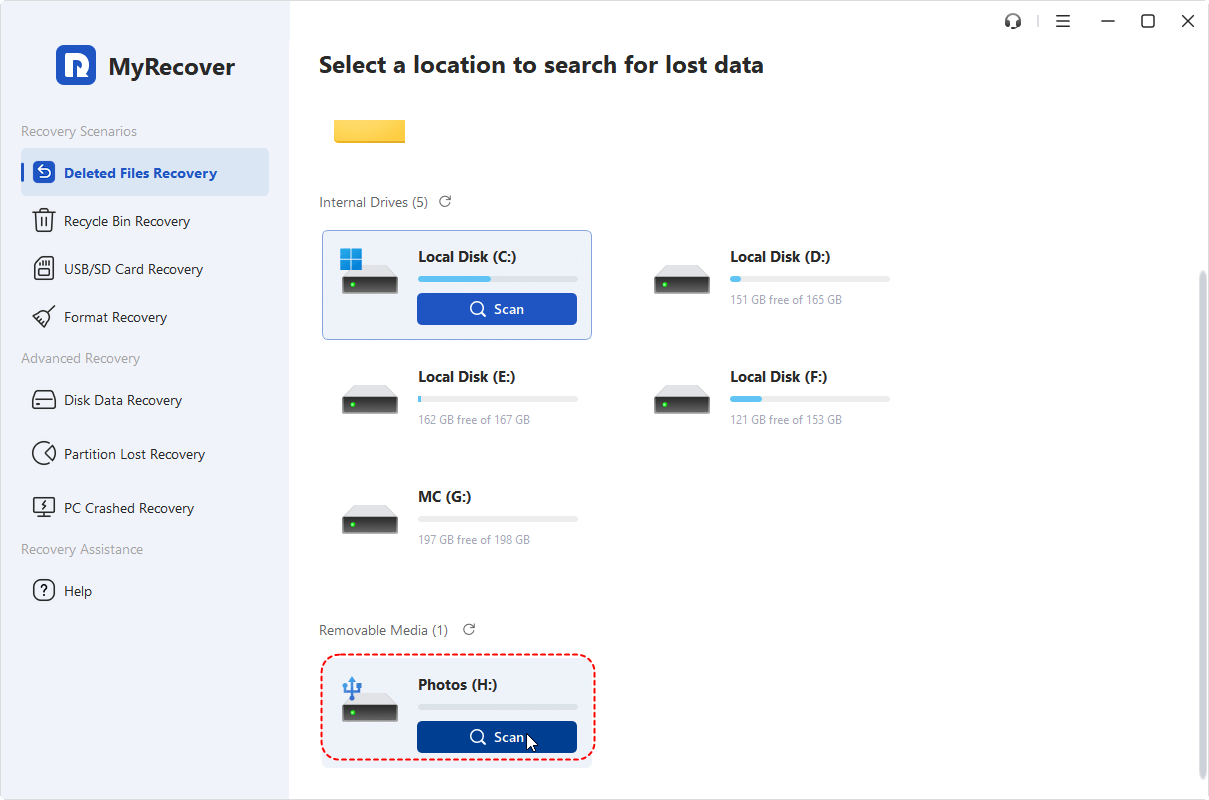
Step 2. Run the app and select the USB drive to scan for lost files, then click "Scan".
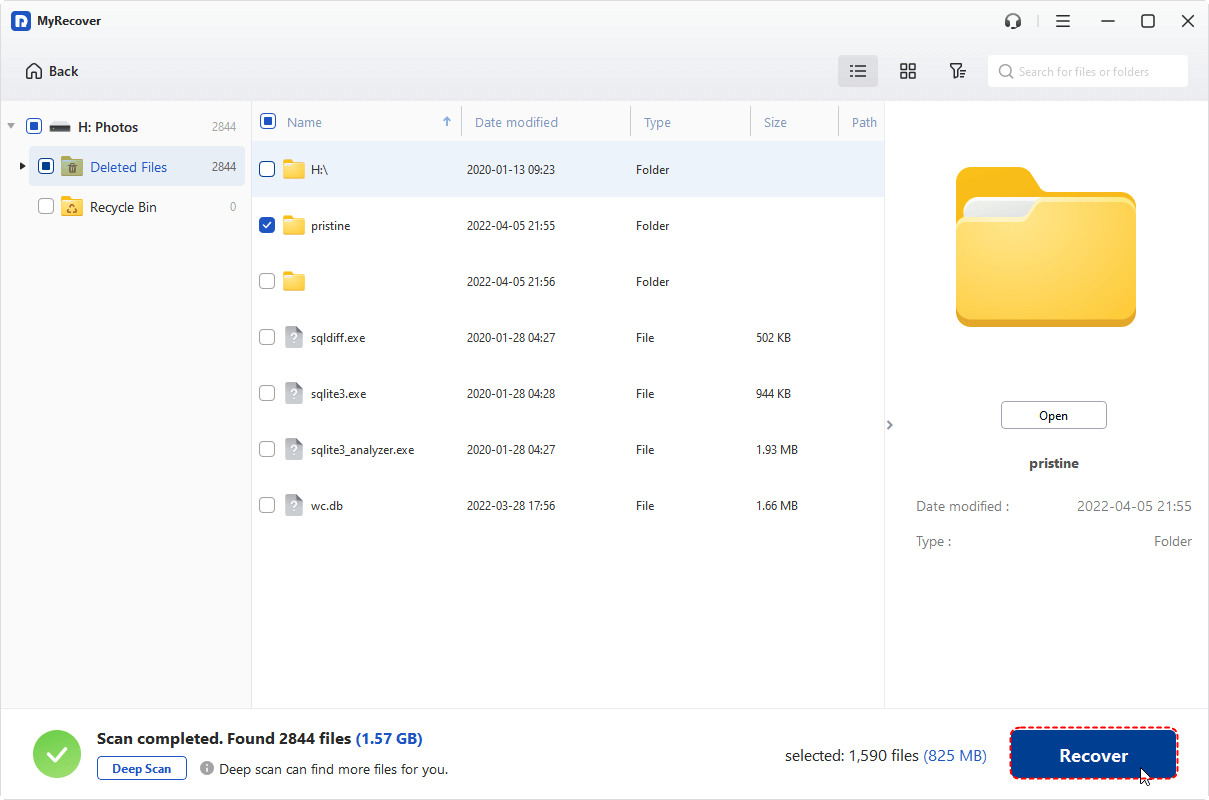
Step 3. After the scan finishes, choose the files you would like to recover from the recoverable lists and click "Recover".
MyRecover Free allows you recover up to 500MB of data for free, giving you a great starting point for file recovery. For unlimited recovery and file previews, MyRecover Professional provides the full range of features to handle more complex recovery needs.
Step 4. Save the recovered files to a safe location (not the original one).
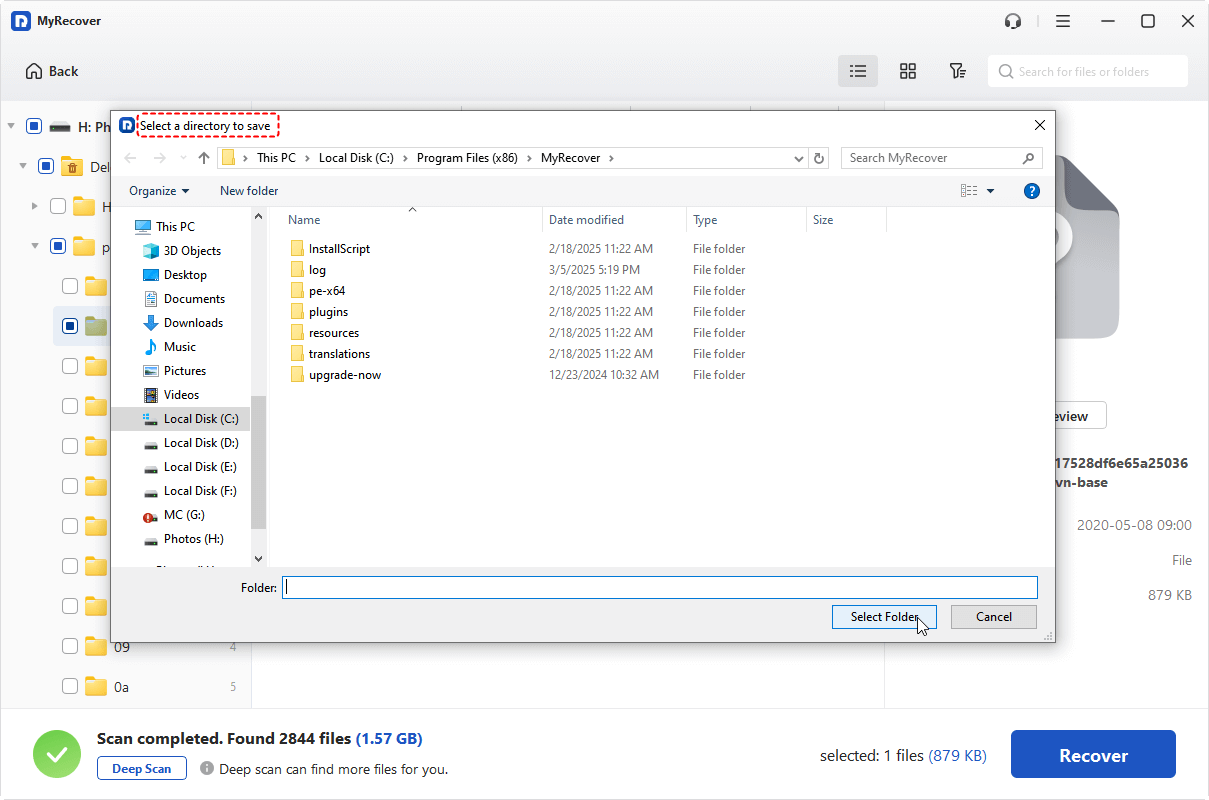
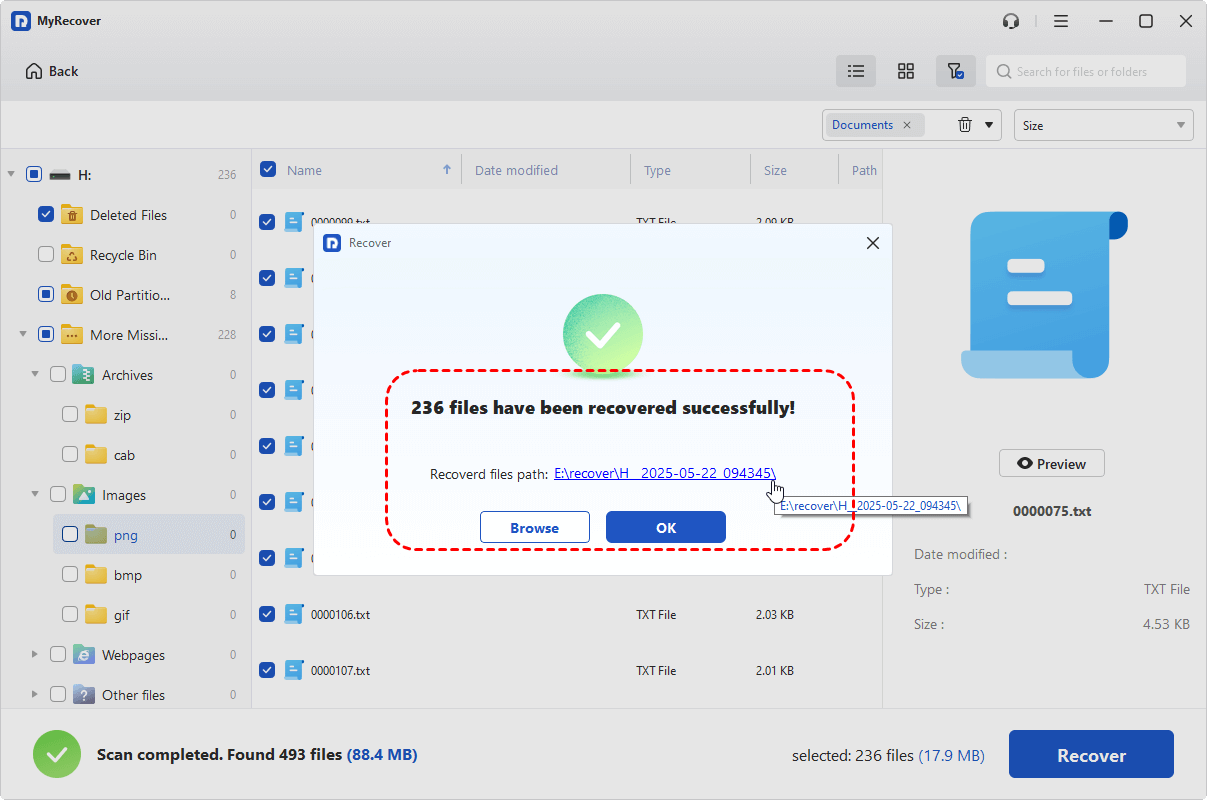
Once the process is completed, you'll see the message "Files have been recovered successfully". Then, you can access the recovered files in the destination folder by clicking on the "Browse" button.
Summary
When Windows reports cannot eject USB drive, it is usually protecting your data from corruption, not blocking you without reason. Background processes, file system errors, or driver issues are often responsible. By following a structured approach from ejecting in File Explorer to checking disks and drivers, you can resolve the issue safely.
If data loss occurs due to forced removal, professional recovery tools like MyRecover provide a reliable safety net. With the right steps and a reliable tool, you can both fix the ejection issue and protect your files without unnecessary risk.


Stay Updated With Our
Latest Tips
Add us as a preferred source on Google to never miss helpful guides.