
How to Recover Deleted Files Lenovo Laptop: Top Methods for 2026
Data loss can occur on computers of any brand, including Lenovo. This guide will focus on how to retrieve deleted files on Lenovo laptop and provide step-by-step processes that work for Lenovo ThinkPad, Yoga, Slim, and other models. Get back your lost data easily, even if you have no backups!
By Aria / Updated on January 4, 2026
Possible Reasons of Data Loss on Lenovo Laptop
Data loss is not uncommon on any computer, and Lenovo is no exception, whether you're using a ThinkPad for business, an IdeaPad for school, or a Legion for gaming. Before jumping into the recovery steps, it helps to understand what could have gone wrong. It can help you prevent data loss or respond more effectively when it happens.
🔔Accidental Deletion
This is one of the most common causes of data loss, and almost everyone has had such an experience: mistakenly delete important files or entire folders, emptying the Recycle Bin without checking.
🔍Disk Formatting by Mistake
Users accidentally format the wrong drive or partition especially during system reinstall, disk cleanup, or dual-boot setup.
💡System Crash or Blue Screen
Sudden system failure during read or write processes can corrupt files or damage system partitions.
⛏️Sudden Power Loss
Unexpected shutdowns during file transfers, editing, or disk writing can result in incomplete or corrupted files.
🛠️Virus or Malware Attacks
Malware can delete, hide, encrypt, or corrupt data.
🔒Hard Drive or SSD Failure
Physical damage or logical corruption of the internal storage device causes partial or complete data loss.
💣Partition Loss or Inaccessibility
A partition (D:, E:, etc.) suddenly disappears due to file system corruption, causing the files on the partition inaccessible.
How to Recover Deleted Files from Lenovo Laptop
Data loss caused by any reason can be incredibly stressful, but don't panic. This section will introduce 7 methods to help you recover lost data. The last one will be able to cover the needs of various data loss scenarios.
Method 1. Check the Recycle Bin
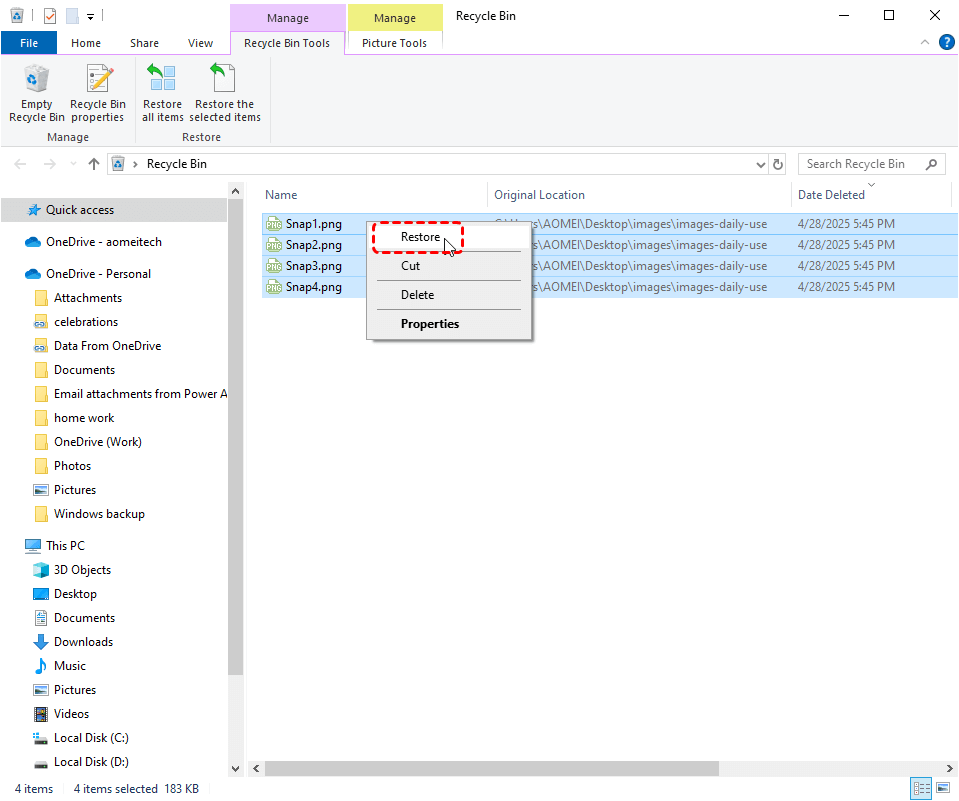
When you delete a file normally (not using "Shift + Delete"), it typically lands in the Recycle Bin. The Recycle Bin stores all accidentally deleted files until they are restored or the Recycle Bin is emptied. This is the first and easiest method to try.
Step 1. Double click the Recycle Bin icon on your Lenovo computer to open it.
Step 2. Browse through the items and locate the file you want to recover.
Step 3. Right click on it and choose "Restore" to return it to its original location.
Method 2. Restore Previous Versions
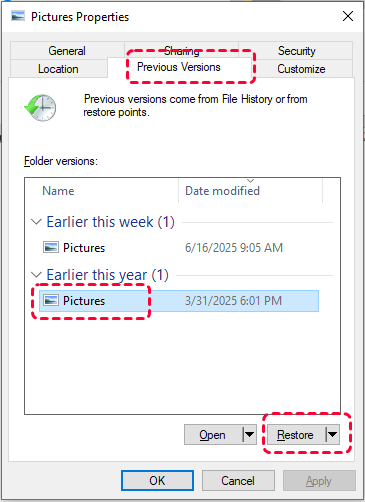
If you have enabled System Protection or Files History on your Lenovo laptop, Windows will automatically save copies of the personal files. You can restore earlier versions when you needed.
Step 1. Open File Explorer and navigate the folder where the deleted files were stored.
Step 2. Right click on it and choose “Restore previous versions" from the context menu.
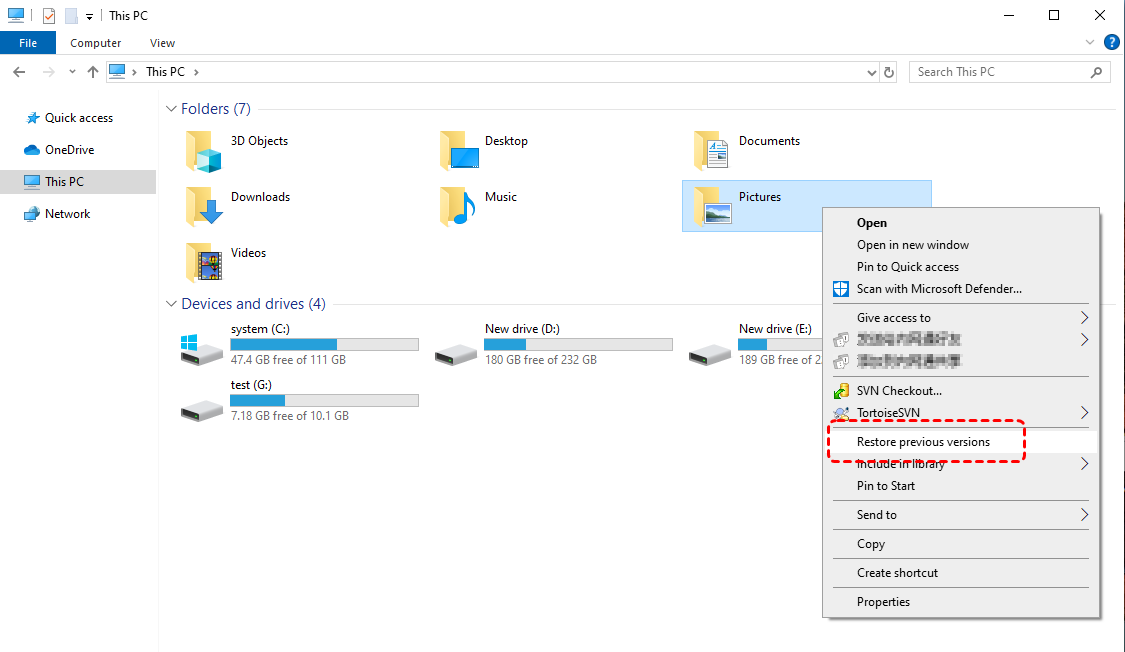
Step 3. Select a desired version and click "Restore" to retrieve it.
Method 3. Restore Your Files with File History
File History is a Windows backup feature that allows recovery of personal files. File History only works if it has been enabled before data loss occurs. If you have enabled File History on your Lenovo laptop, you can follow these steps to recover lost files:
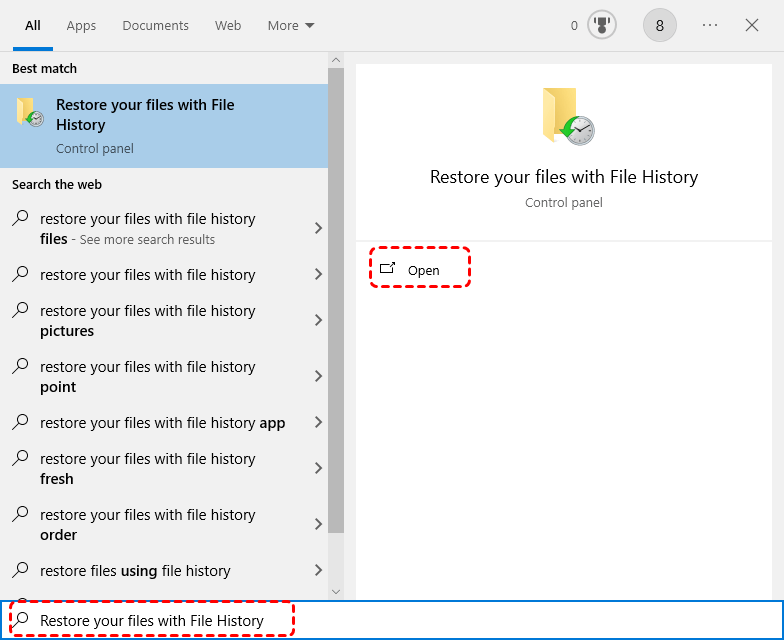
Step 1. Type "Restore your files with File History" in the Start menu and open it.
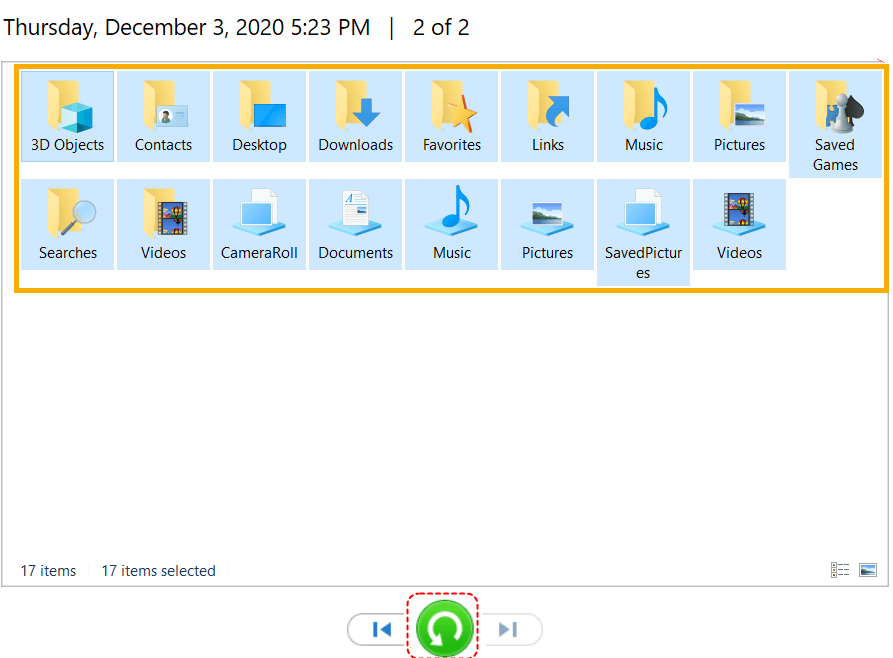
Step 2. Browse and select the missing files, then choose a desired version based on the backup time.
Step 3. Click the green "Restore" button to recover them.
Method 4. Recover from Backup and Restore (Windows 7)
Backup and Restore is another backup tool on Windows which can create a full system backup and allow you to recover files from the backup when something goes wrong. Similarly, it only works when backup have created before data loss.
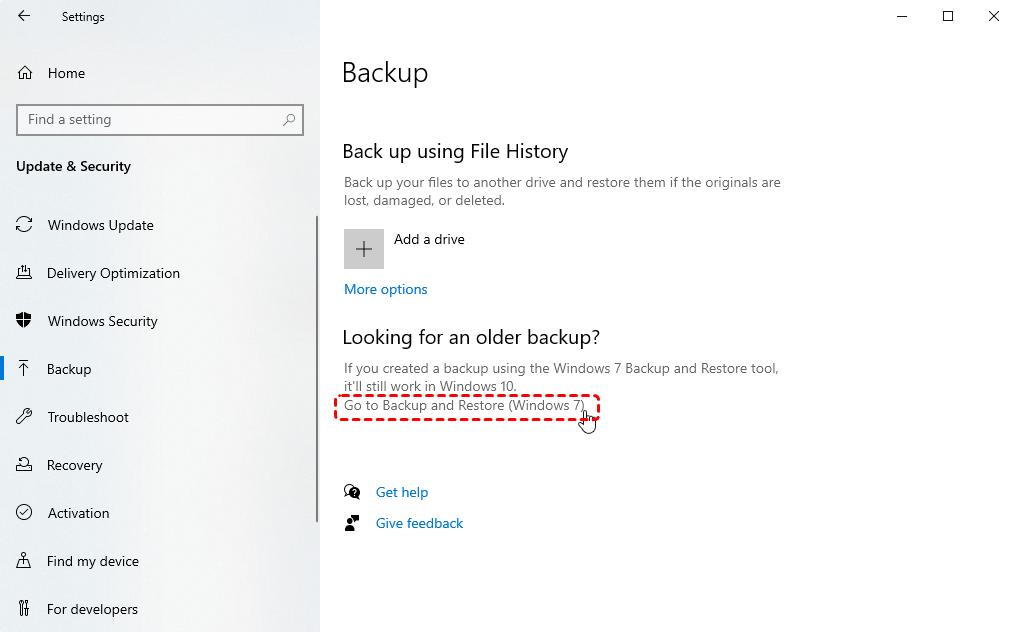
Step 1. Type "Backup Settings" and select "Go to Backup and Restore (Windows 7)".
Step 2. Choose "Select another backup to restore files from" and select a created backup including the deleted files.
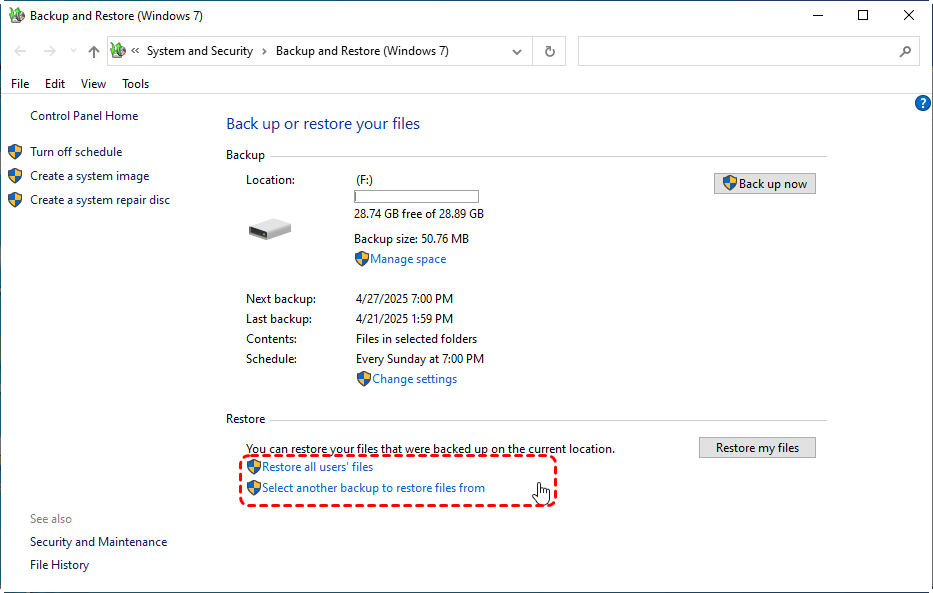
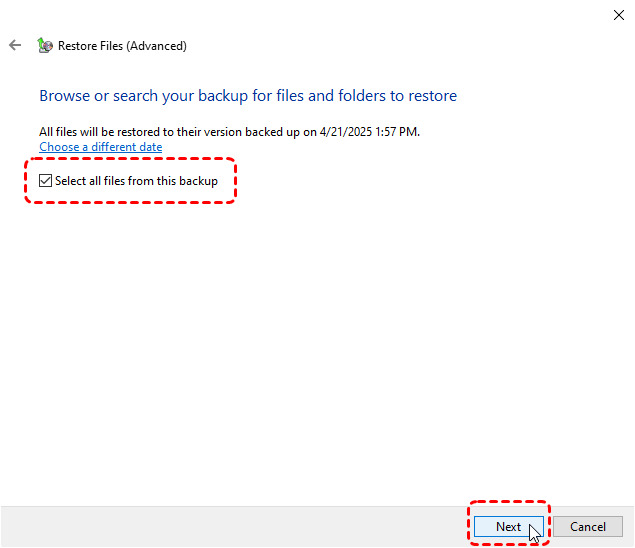
Step 3. Check the "Select all files from this backup" option to restore all files. You can select specific file or folder by clicking "Browse for files/folders".
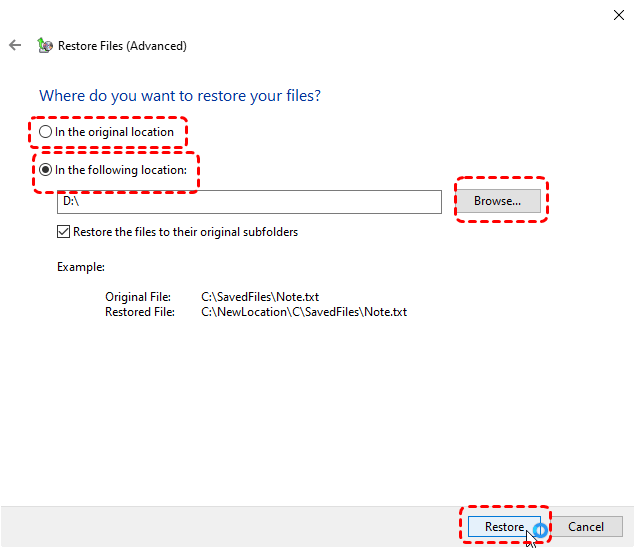
Step 4. Choose a location to save the recovered files and click "Restore" to begin the process.
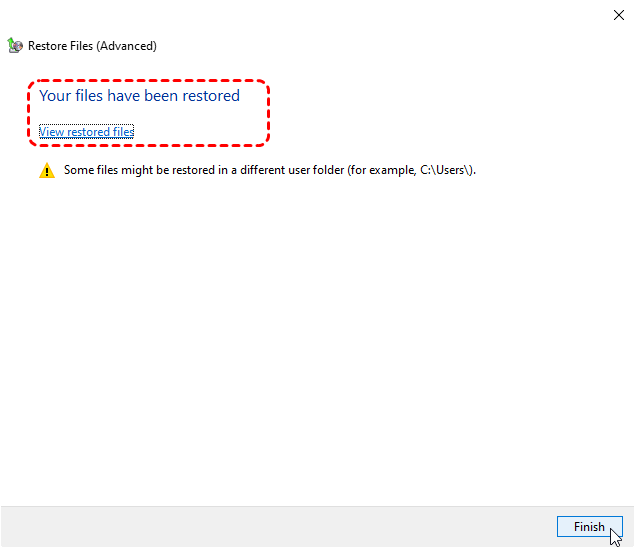
When the process is completed, the message "Your files have been restored" will pop up. You can check the recovered files by clicking "View restored files".
Method 5. Recover from Cloud Backup Tools
In addition to Windows' built-in backup tools, more and more people prefer to back up their files using cloud backup tools. This is because cloud backup tools allow users to access these backups anytime and anywhere. Even if some files are deleted, most services will retain these deleted files for 30 days or more, giving you time to recover them.
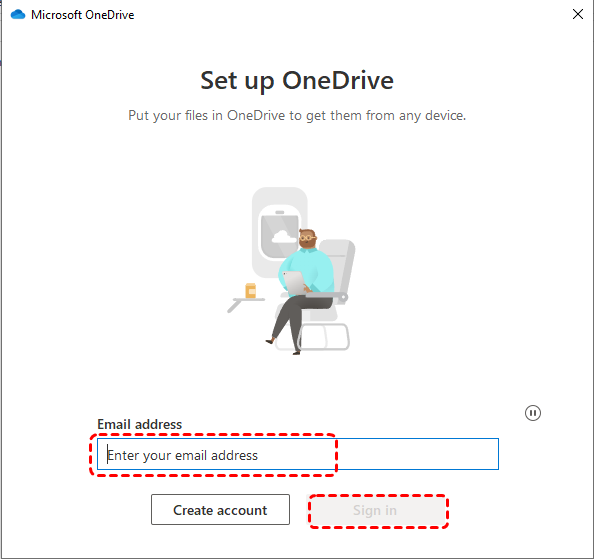
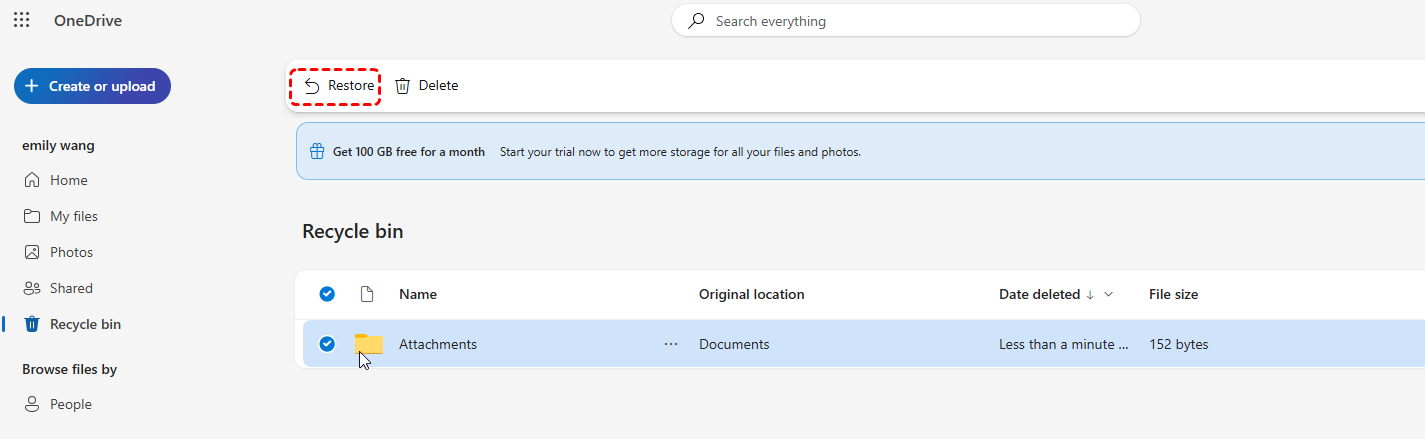
Step 1. Sign in to OneDrive with your account (take OneDrive as an example here).
Step 2. Select "Recycle bin" section and choose the files you want to recover.
Step 3. Click "Restore" in the left upper corner to recover them.
Method 6. Windows File Recovery [No Backup Required]
Windows offers a command-line recovery tool—Windows File Recovery. It can recover permanently deleted files from local storage device like USB drives, SD cards, HDDs and more. But it requires basic familiarity with command lines and only works on Windows 10 and later versions. Follow these steps to recover deleted files with Windows File Recovery command.
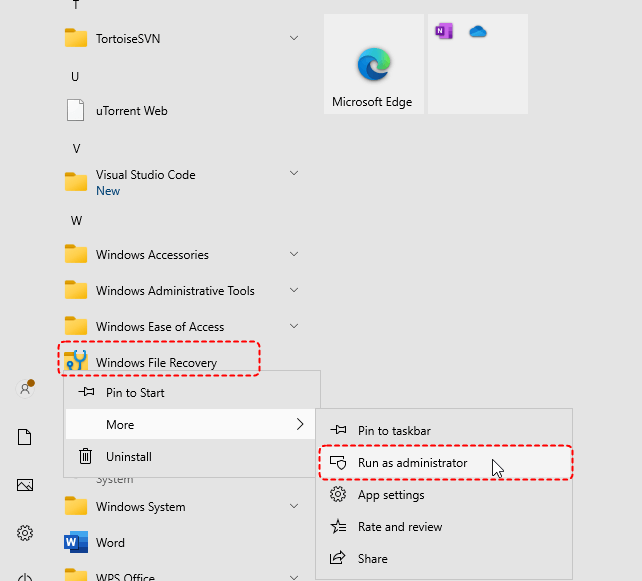
Step 1. Download and install Windows File Recovery on your computer from Microsoft official channel.
Step 2. Open Windows File Recovery and run it as administrator.
Step 3. Type the following command "Winfr F: E: /regular" and press "Enter". Replace the drive letter "F" and "E" with your actual drive letters.
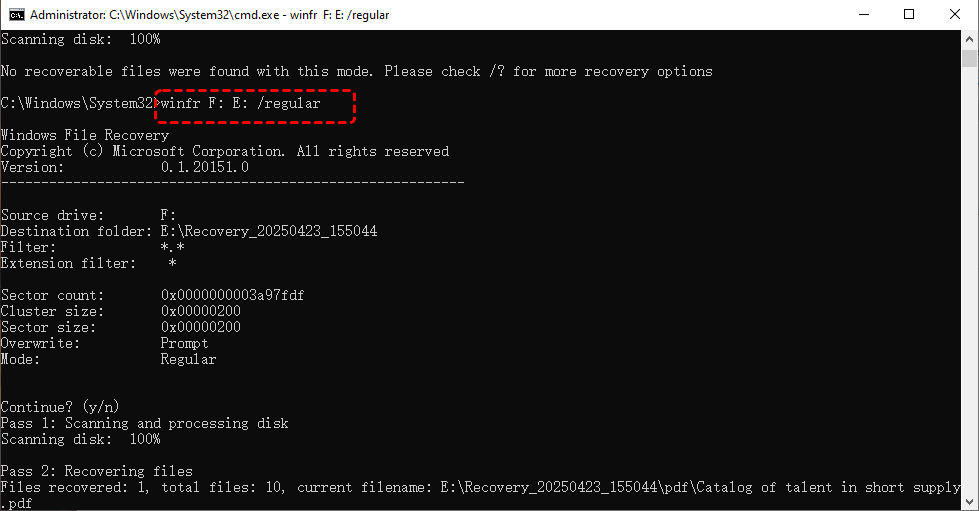
When the process is completed, you can press "y" to check the recovered files in the destination folder.
Method 7. Recover Deleted Files with MyRecover
While Windows File Recovery is a highly effective data recovery tool, its command-line interface is difficult for most beginners to master in a short time. A simpler and more powerful data recovery tool, MyRecover, is worth trying. It is designed for users of all levels and supports data recovery in various data loss scenarios.
Discover the compelling highlights of MyRecover below.
✅No Command Line Needed – Simple GUI (graphical interface) for easy file recovery.
✅500+ Devices Support – Recover files from all types of devices like SSD, HDD, USB flash drive, SD card, cameras and more.
✅Handle 500+ Data Loss Scenarios – Recover from deleted partition, formatted hard drive, emptied Recycle Bin, system crash, virus attack, etc.
✅Supports over 1,000 File Types – Including documents, photos, videos, audio, archives, and Outlook data files.
✅OS Compatibility – Work not only on Windows 11 /10, but also on Windows 8.1/ 8/ 7 and all Servers.
✅Smart Scan Modes – Choose from Quick Scan for recent deletions or Deep Scan for formatted/corrupted drives.
4 Steps to Recover Deleted Files from Lenovo Laptop
Step 1. Download and install MyRecover on your Lenovo laptop from secure channel, avoid installing it on the drive with lost files.
Step 2. Launch it and select the drive where the lost files were stored to scan, then click "Scan".

Step 3. Choose files you intend to recover from the recoverable lists and click "Recover".

Step 4. Select a safe location (not the original one) to save the recovered files.

Upon completion of recovery process, the message indicating successful recovery will pop out. You can access and check the recovered files by clicking on the destination folder path or the "Browse" button.

Final Word
If you're wondering how to recover deleted files on Lenovo laptop, you can first try to recover the lost files from the backup. But if there is no backup available at all., recovery software like MyRecover gives you the best chance of getting your data back quickly and easily.
The MyRecover Professional Edition even offers unlimited data recovery quota and previewing file content before restoration for more complex recovery needs—perfect for both casual users and professionals.


Stay Updated With Our
Latest Tips
Add us as a preferred source on Google to never miss helpful guides.