
[Top 4 Ways] How to Recover Deleted AVI Files?
This guide provides clear instructions on how to recover deleted AVI files in different situations. Whether your AVI videos were accidentally deleted, formatted, or lost due to corruption, you’ll discover multiple recovery methods including built-in system features, free tools, and advanced recovery software. Perfect for beginners and professionals who need a reliable way to bring back valuable AVI video files.
By Emma / Updated on September 5, 2025
About AVI Files
AVI (Audio Video Interleave) is a multimedia container format developed by Microsoft in 1992. It can store both audio and video data in a single file, allowing synchronous playback. AVI files are widely used for video playback and editing on Windows systems.

Why AVI Files Get Deleted
AVI files are often used for movies, personal recordings, or video editing projects. However, just like any other file type, they can be lost unexpectedly. Common scenarios include:
- Accidental deletion when cleaning up storage.
- Formatting a drive without backing up video files.
- System crashes or malware attacks that remove or corrupt data.
- External drive issues, such as sudden disconnection or damage.
No matter the cause, losing an AVI file can be frustrating, especially if it contains irreplaceable memories or important work.
How to Recover Deleted AVI Files?
When an AVI file is deleted, it doesn’t always vanish immediately. In many cases, the data still exists on the storage device until it gets overwritten by new files. So, AVI file recovery is often possible before any data overwritting. Below, we’ll explore practical solutions—starting from the simplest checks to advanced recovery tools—to help you get your AVI files back.
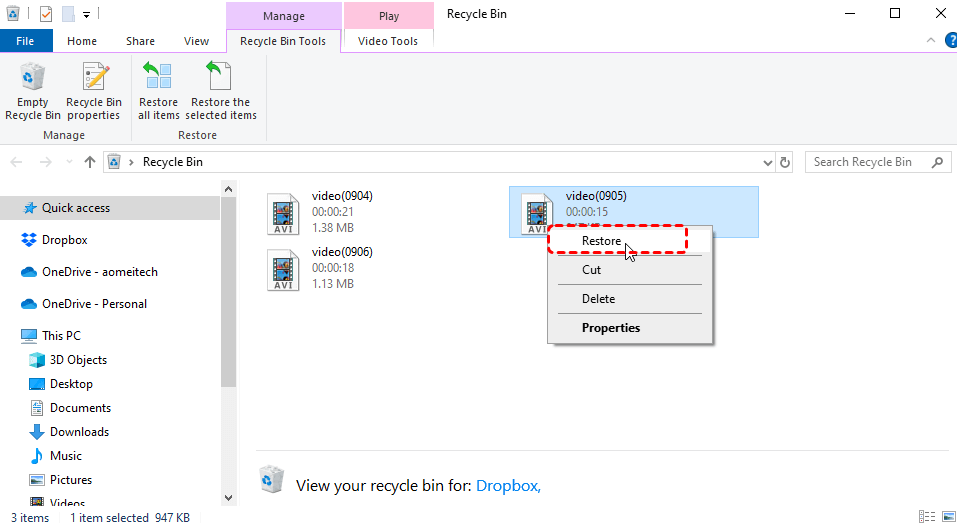
Method 1: Check the Recycle Bin
If the file was recently deleted, this is the quickest and easiest way to get it back. The Recycle Bin is the first place to look when AVI files are deleted. Most files don’t disappear immediately but stay here until the Recycle bin is emptied.
Step 1. Open the Recycle Bin on your desktop.
Step 2. Browse or search for the deleted AVI file.
Step 3. Right-click the file and choose "Restore" to return it to its original location.
Method 2: Use Backup:"File History" or "Backup and Restore (Windows 7)"
This method works best if the Recycle Bin is already emptied but backups were enabled beforehand. If you have File History or "Backup and Restore (Windows 7)" enabled before deleting the AVI files, restoring AVI files is straightforward.
Steps for "File History"
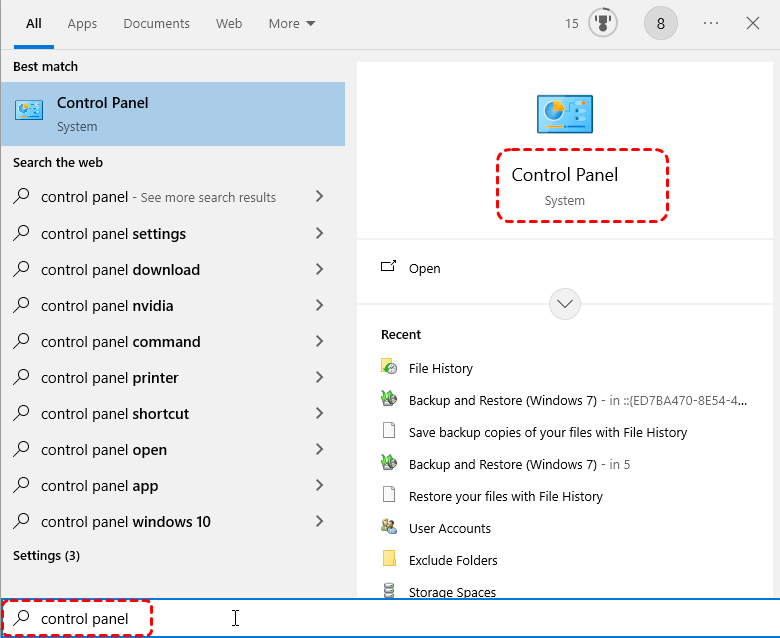
Step 1. Press "Win + S", type "Control Panel", and hit Enter.
Step 2. Go to "System and Security > File History > Restore your files with File History".
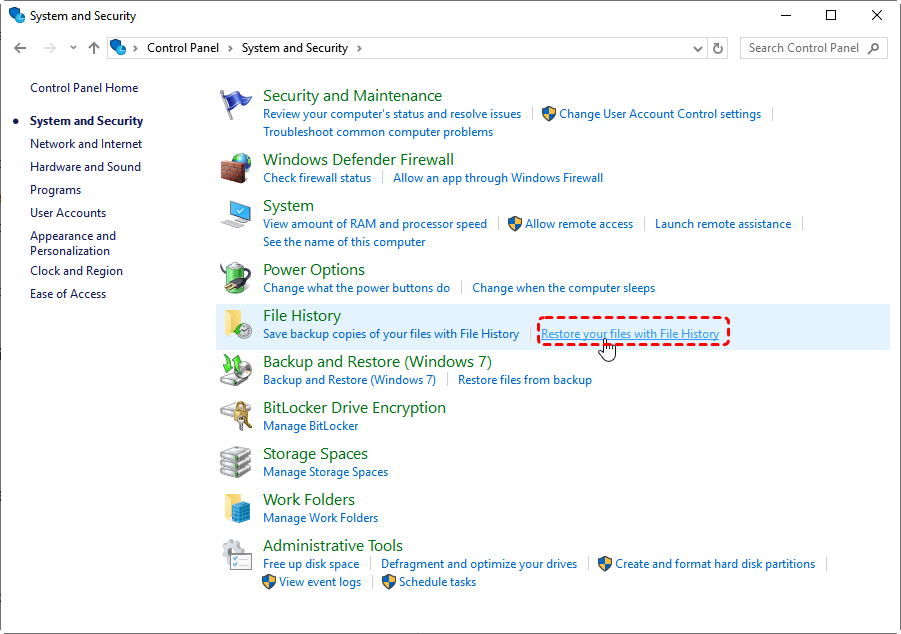
Step 3. Browse through the folders or use the search box in the top-right corner.
Step 4. Select the desired file/folder and click the green "Restore" button. To save it elsewhere, right-click and choose Restore to.

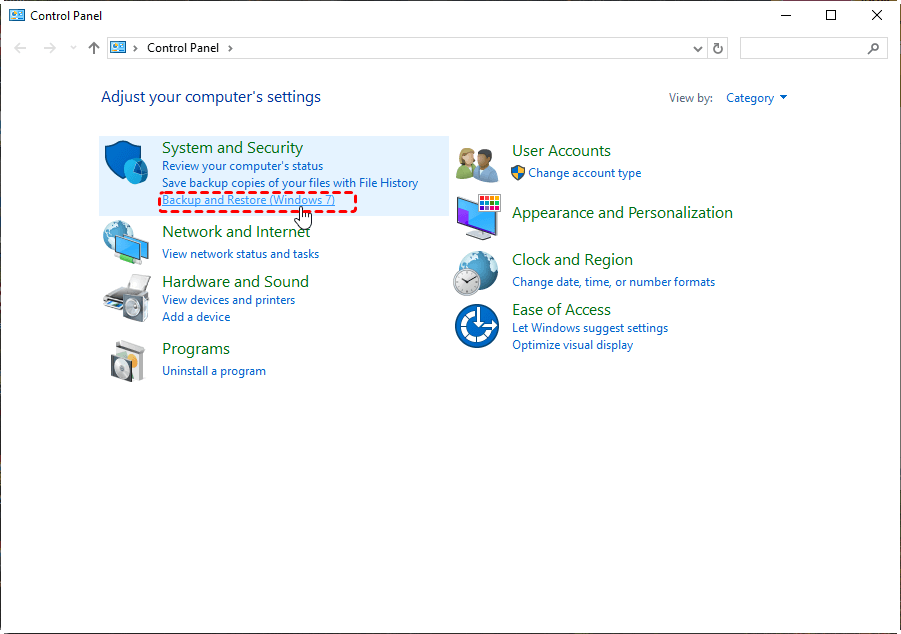
Steps for "Backup and Restore (Windows 7)"
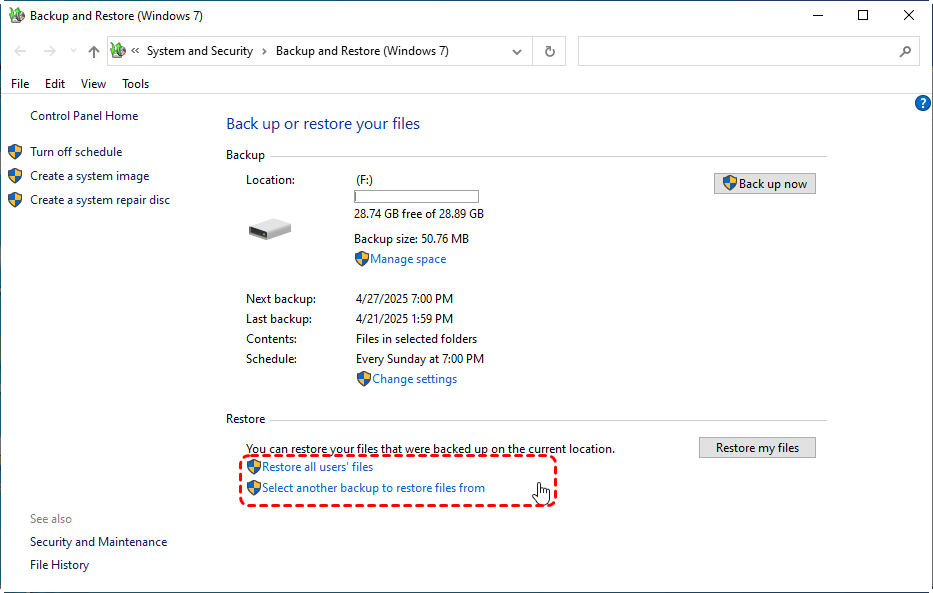
Step 1. Go to "System and Security > Backup and Restore (Windows 7)" in Control Panel.
Step 3. Click "Restore my files"or "Restore all users’ files".
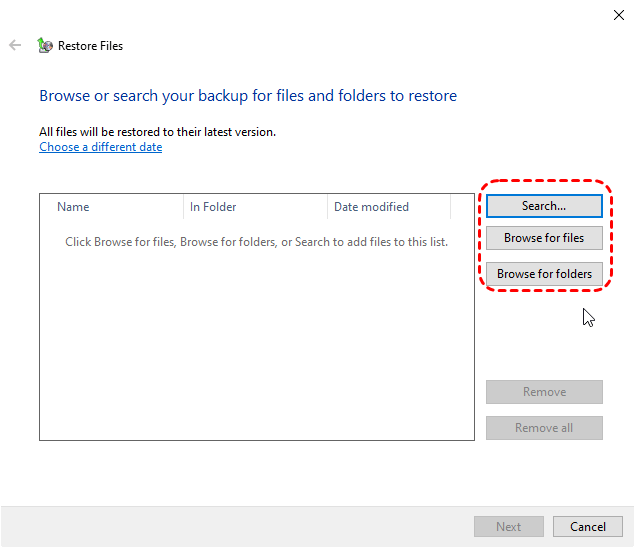
Step 4. Browse or search for the files you want to restore, then click "Next".
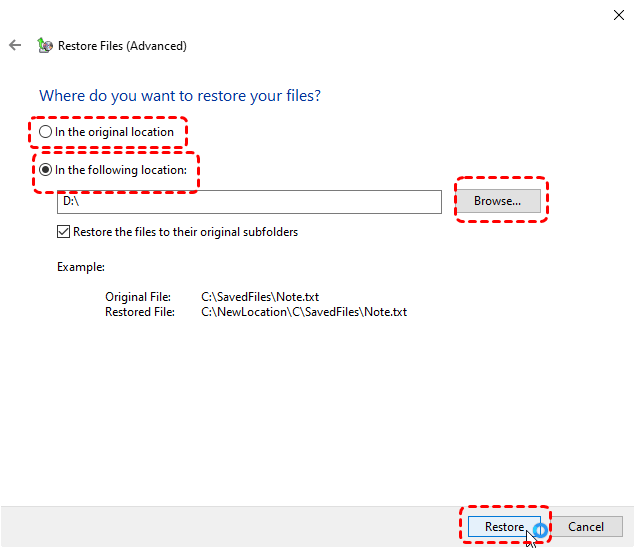
Step 5. Choose to restore them to the original location or specify a new folder, then click Restore.
Method 3: Use Windows Data Recovery Software (Winfr Command)
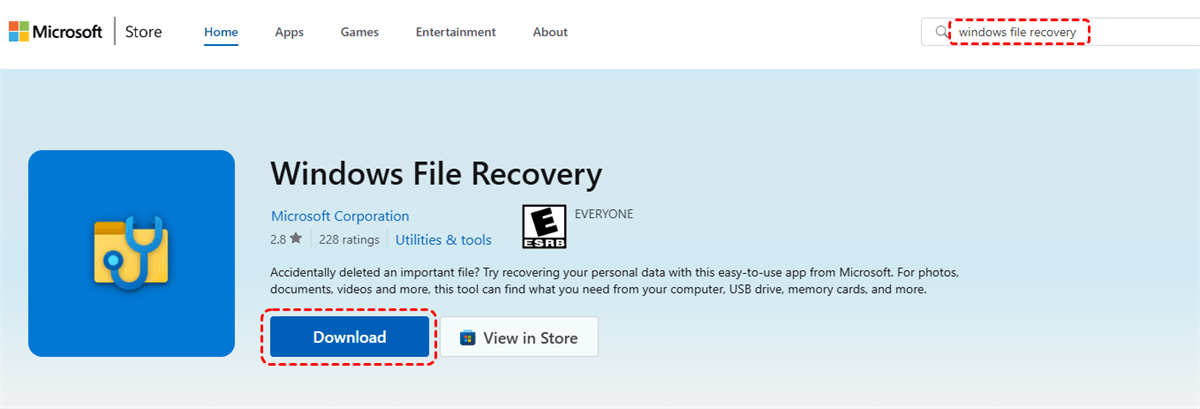
When AVI files are permanently deleted or not available in backups, recovery software provides the best chance to get them back. Windows File Recovery is a built-in command-line tool from Microsoft that can help. It works on Windows 10 (2004 or later) and Windows 11, allowing you to recover lost files from SSDs, HDDs, USB drives, and memory cards.
Step 1. Get Windows File Recovery from the Microsoft Store and install it.
Step 2. Press "Win + X" and choose "Command Prompt (Admin)" to launch Command Prompt with administrator rights.

Step 3. Run the recovery command using the format: winfr source-drive: destination-drive: /mode /switches
Example: winfr D: G: /regular /n *.avi
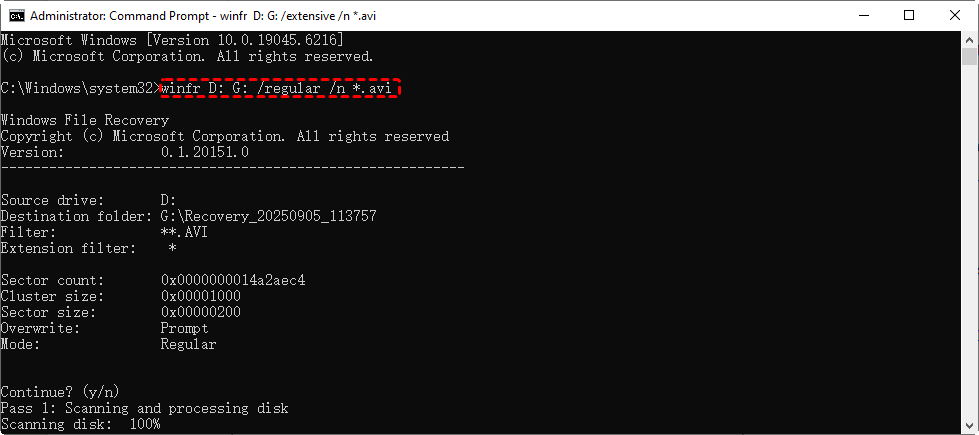
If the regular mode fails to find your deleted AVI files and you receive an error message saying, "No recoverable files were found with this mode", you can try the extensive mode: winfr D: G: /extensive /n *.avi
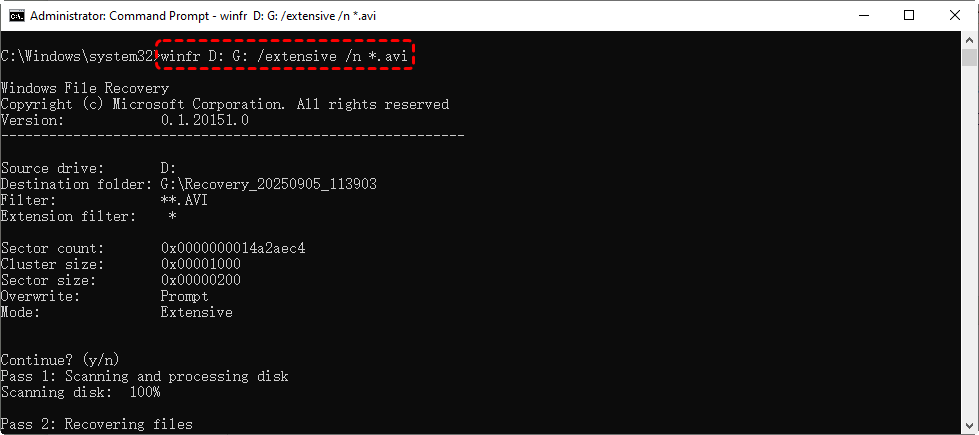
(This scans drive D: for deleted AVI files and restores them to drive G:.)
Step 4. Follow the on-screen instructions to complete the AVI file recovery process. When finished, press "Y" to open the destination folder with all recovered files.
Method 4: Use Third-Party Data Recovery Software (MyRecover)
If your operating system cannot support running Windows File Recovery like Windows 7, 8 or Server series, or you just want a graphical interface for an easier process, MyRecover is a nice alternative
✨High Recovery Success Rate: Uses advanced scanning algorithms and deep scan technology to achieve up to 99% recovery success.
✨Unlimited Data Recovery: No limits on the amount of data you can recover, whether files were deleted, lost, formatted, or affected by viruses.
✨AI-Powered Intelligent Recovery: Built-in AI algorithms help efficiently identify and recover files with minimal omissions.
✨Supports 500+ Data Loss Scenarios: Can handle data loss from deletion, formatting, emptied Recycle Bin, virus attacks, RAW partitions, system crashes, and more.
✨Supports 1000+ File Types: Recovers documents, images, videos, audio, compressed files, emails, and many other file types.
✨Deep Scan and File Preview: Preview files before recovery to ensure completeness and accuracy.
✨Fast Scan and Recovery Speed: Optimized with caching, smart algorithms, and hardware acceleration for quick scanning and restoring.
How to Use MyRecover to Recover Deleted AVI Files
Step 1: Download MyRecover from the official websiteor Microsft Storeand install it on your computer.
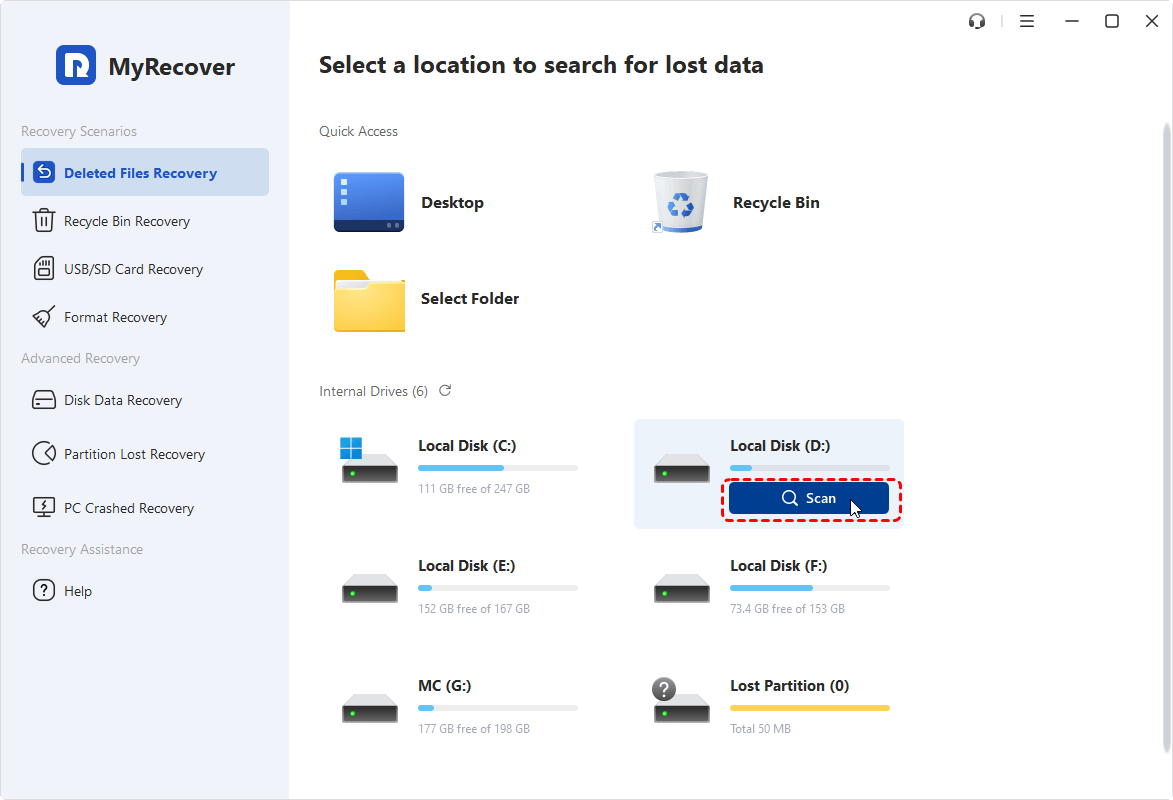
Step 2: Launch MyRecover from your desktop or Start menu. From the main interface, choose the drive where your files were deleted or lost, then click "Scan" to begin scanning the selected drive.
Step 3: Wait while MyRecover performs a scan. Browse through the resultsand choose the file type as you need in the left panel.
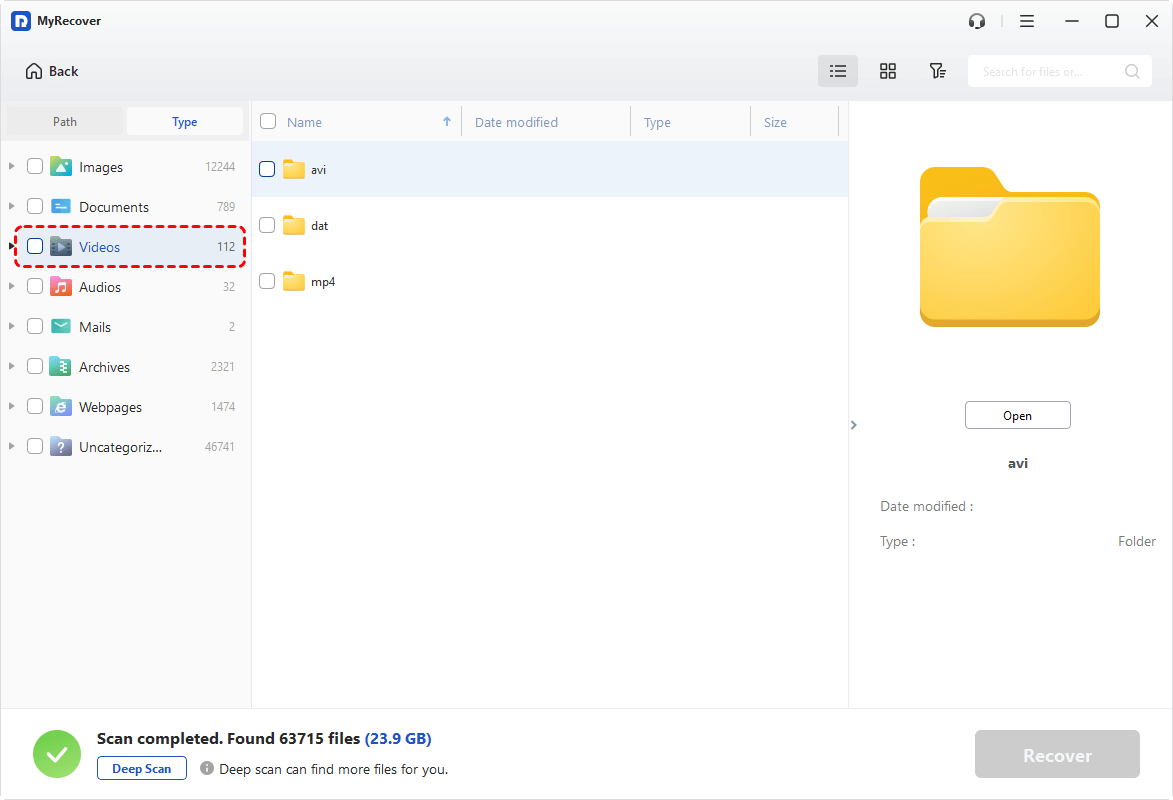
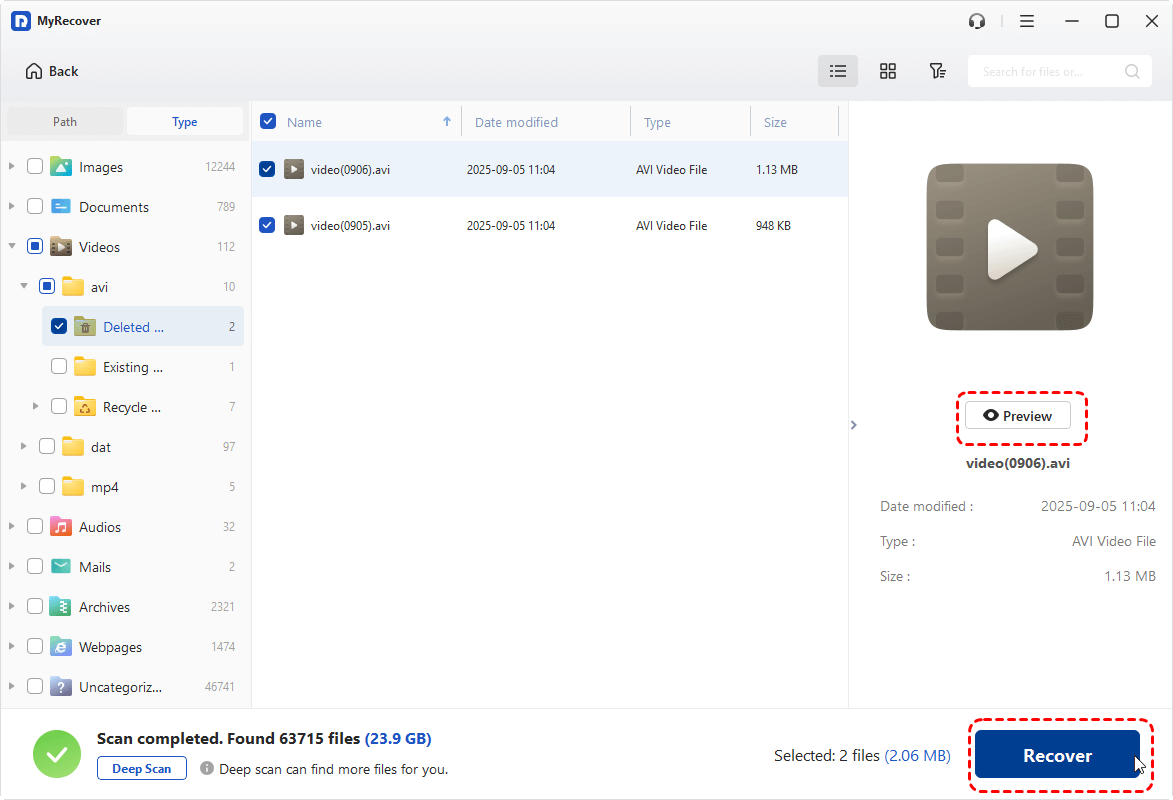
Step 4: Preview files and check their integrity before recovery if necessary. Select the files or folders you want to restore, click "Recover."
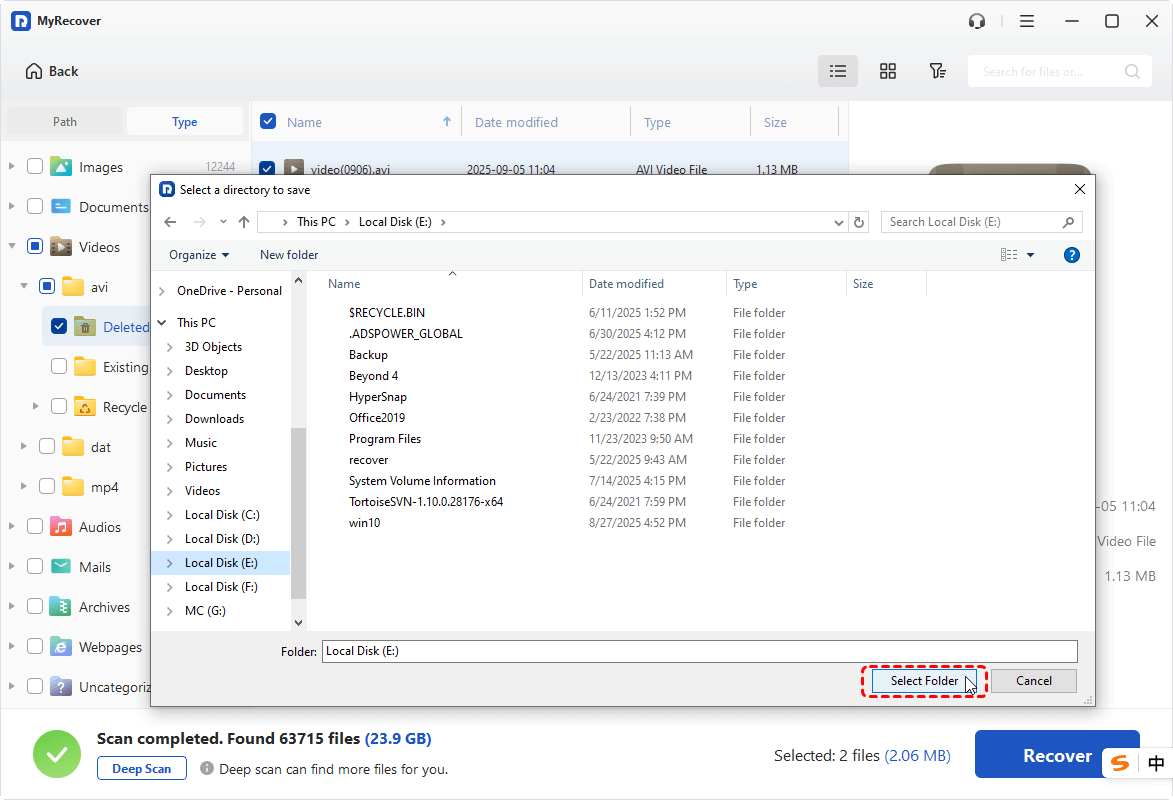
Step 5: Choose a safe destination folder on a different drive to avoid overwriting data.
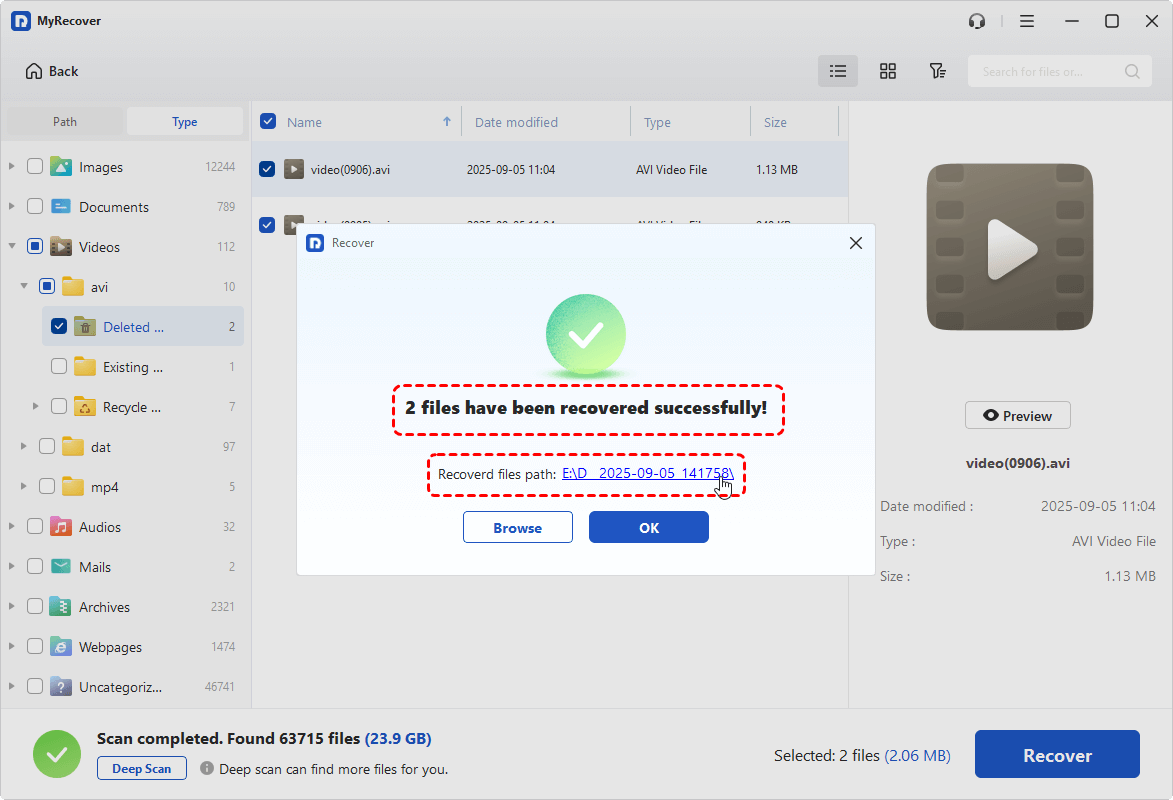
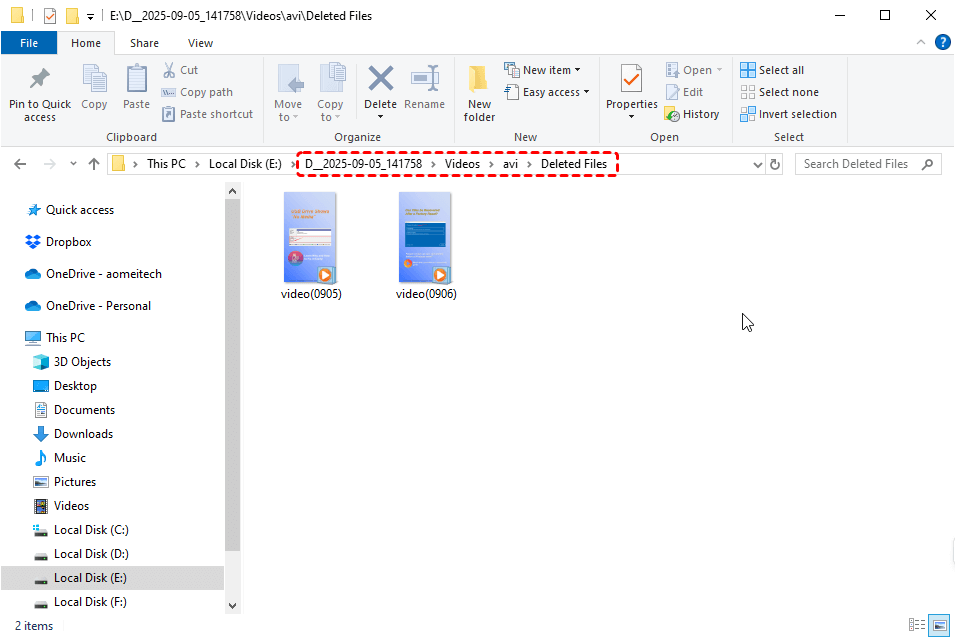
Once the recovery process is complete, open the destination folder to verify that your files were successfully recovered.
If you are MSPs and technicians looking to provide paid technical support service to your clients, you can upgrade to a much higher edition: Technician(one license can support unlimited data recovery on unlimited devices)
Bottom Line
No matter you want to recover deleted AVI, MP4, MKV files, the above methods are worth a try. To make the process as easy and efficient as possible, the MyRecover is highly recommended. Apart from recovering videos, it is also able to recover images, audios, archives, msg, eml, xhtml / html, aspx, etc.


Stay Updated With Our
Latest Tips
Add us as a preferred source on Google to never miss helpful guides.