
How to Perform Registry Cleanup on Windows 10 Without Risks
Registry cleanup on Windows 10 can be beneficial when done correctly, but it also carries potential risks if handled improperly. This article outlines safe approaches to cleaning unused or invalid entries. By following structured methods, users can maintain a registry cleanup without compromising system performance or stability.
By Aria / Updated on March 13, 2026
What Is the Windows Registry?
The Windows Registry is a centralized database that stores configuration settings and options for the Windows operating system, hardware devices, system services, installed applications, and user preferences. Every time Windows starts, launches a program, or loads a driver, it reads data from the registry to determine how components should behave.

In daily use, the registry is constantly modified: new keys are added when software is installed, values are changed during updates, and entries are removed when programs are uninstalled. Therefore, you generally do not need to clean up the Windows registry as part of routine maintenance. However, in very rare cases, a targeted registry cleanup might actually fix some issues.
When You Might Need to Clean Up the Registry
- Leftover registry entries after uninstalling apps might trigger error messages when reinstalling the same program later,
- Program fails to launch due to registry errors like invalid value for registry,
- Removing the malware that created restrictive policies in the registry,
- System troubleshooting requires.
Is Registry Cleanup Really Safe on Windows 10?
The short answer is: registry cleanup can be safe, but only when done correctly. Windows 10 is generally capable of managing its registry without manual intervention. In many cases, leftover registry entries do not noticeably affect performance. However, improper deletion of keys or values can lead to serious problems, including application failures, boot issues, or even an unbootable system.
That is why windows 10 registry cleanup should never be treated as a routine maintenance task. Because the registry is critical to system stability, any cleanup operation must be approached with caution. The key principle is preparation and precision.
How to Perform Registry Cleanup on Windows 10 Without Risks
Cleaning up registry does come with some risks, but if you do it the right way, it can actually fix a ton of system issues. This section will walk you through a few effective methods to clear out unnecessary registry files. And before you dive into the actual steps, creating a backup is an absolute must.
Before the Cleanup: Create a Backup
Before you attempt to perform registry cleanup in Windows 10, backing up your system is not optional, it is mandatory. There are two ways to back up your Windows Registry. If something goes wrong after you clean the registry, they will let you restore your PC to normal in no time.
✔️Option A: Back Up the Registry Manually
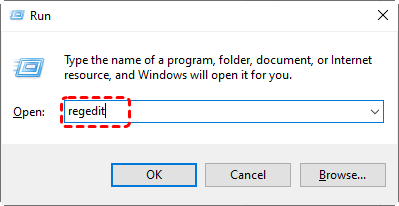
Step 1. Press "Win" + "R" and type "regedit" in the Run dialog, then press "Enter".
Step 2. In the opened Registry Editor, click "File" on the top menu, then select "Export".
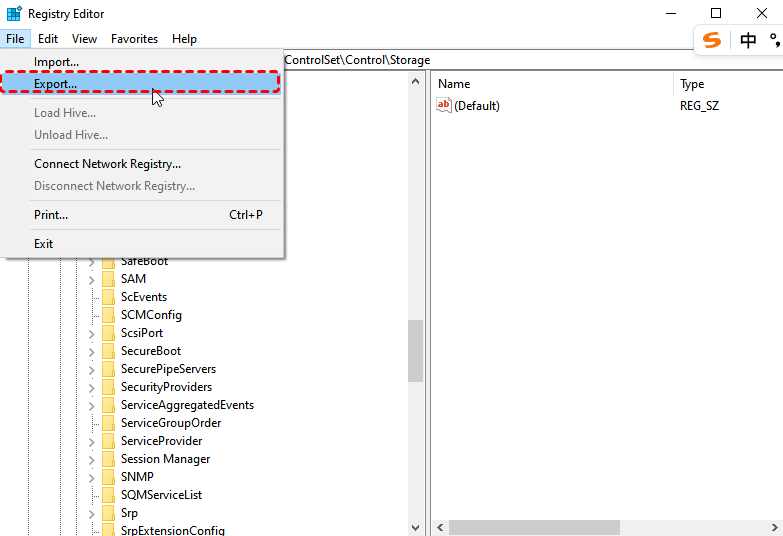
Step 3. Choose a location to save the registry backup. This registry backup can later be imported if needed.
✔️Option B: Create a System Restore Point
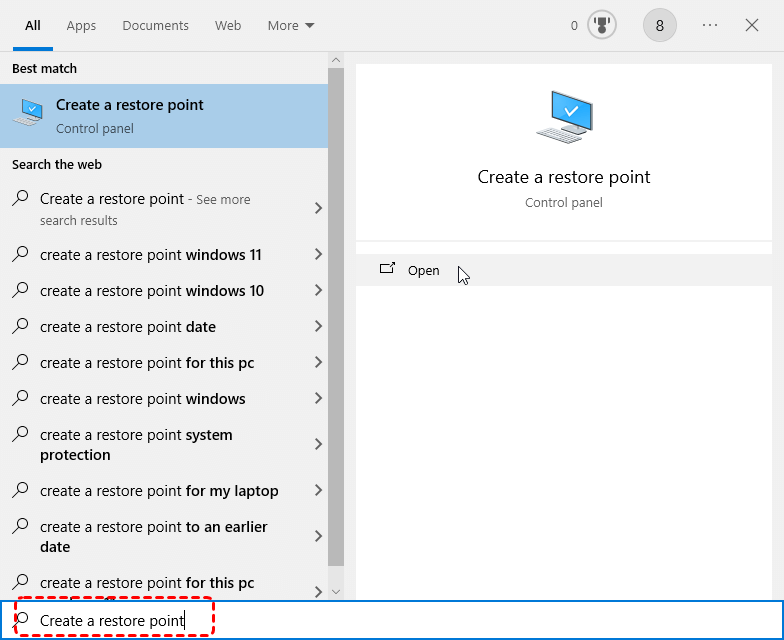
Step 1. Type "Create a restore point" in the Start menu and open it.
Step 2. Under the "System Protection" tab, select your system drive and click "Create".

Step 3. Select the "Turn on System Protection" option and assign the disk space for the restore point based on your needs, then click "Apply" to save the change.
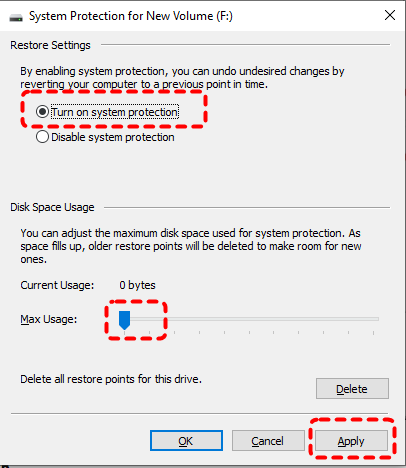
System Restore won’t delete your personal data. If unexpected issues crop up after you clean the Windows Registry, this Restore Point can recover the deleted registry files and roll back the entire system.
Method 1. Perform Registry Cleanup by Properly Uninstalling Software
This is the safest way to clean up your registry. If you want to delete registry files related to a specific program, uninstalling that software will automatically remove its associated registry entries.
Step 1. Go to "Control Panel" > "Programs" > "Uninstall a Program".
Step 2. Locate the software whose registry entries you want to delete and right click on it, then select "Uninstall".
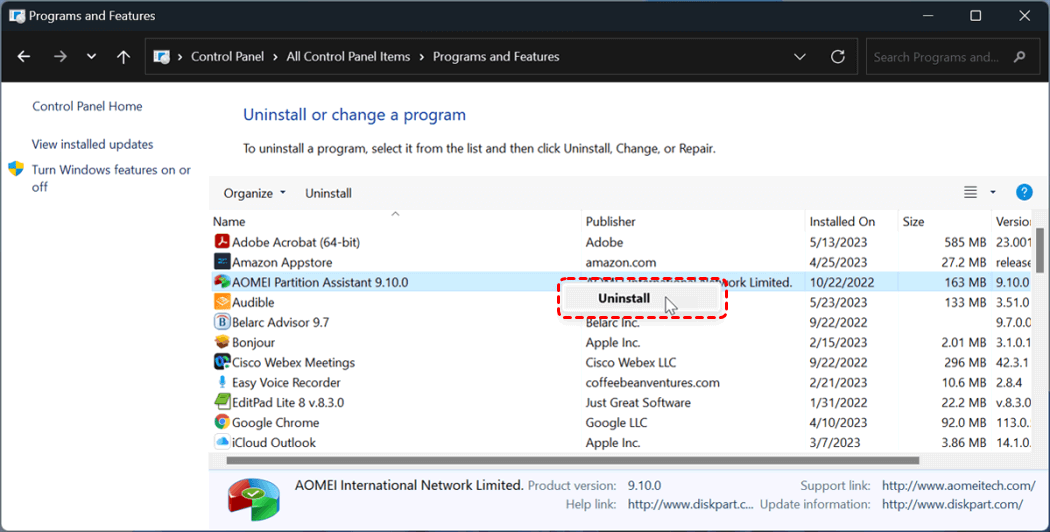
Restart your computer and check if all registry files related to it have been deleted.
Method 2. Manually Clean the Registry
Manual cleanup gives you the highest level of control, but it also carries the highest risk. Be sure to multiple confirmations before the deletion of the registry entries. This method is best suited for advanced users who understand registry structures.
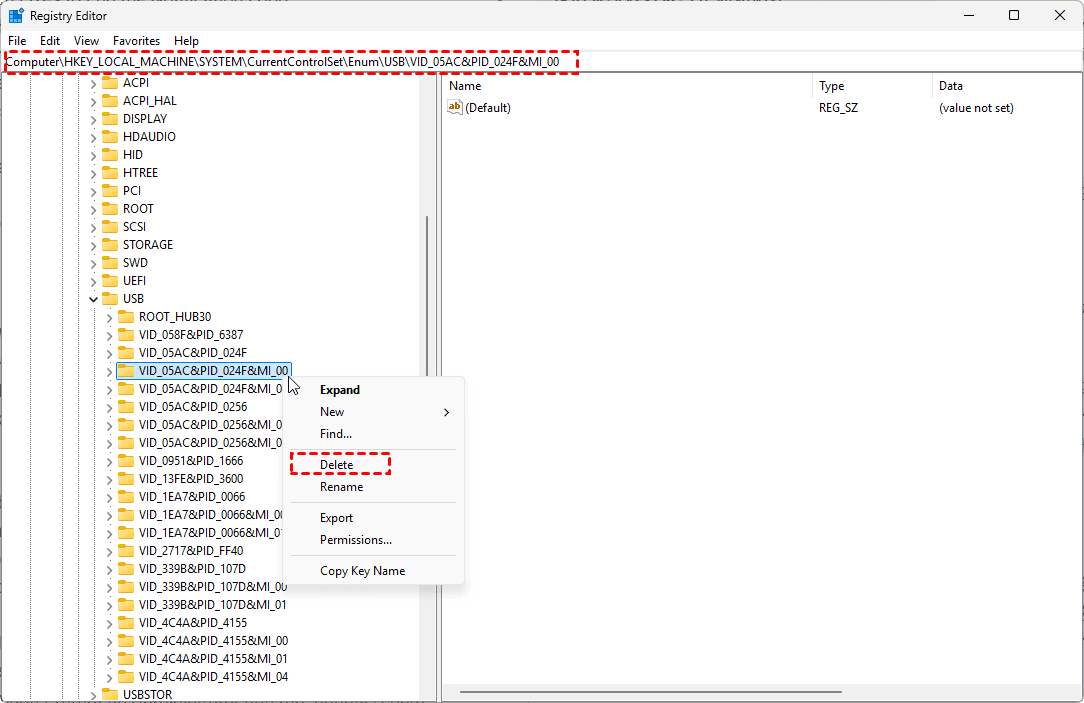
Step 1. Open Registry Editor like described earlier.
Step 2. Navigate to the locations where you want to clean up, such as HKEY_LOCAL_MACHINE\SOFTWARE,
HKEY_CURRENT_USER\Software.
Step 3. Right click on the folder and select "Delete" to clean up the entries you are absolutely certain are no longer needed.
Method 3. Using a Third-Party Registry Cleanup Tool
Additionally, using a third-party registry cleaner like CCleaner is also a good way to delete registry files, and these tools will even create a registry backup before the deletion. If you’re looking for an all-in-one tool, this is a solid option.
Safe Alternatives to Registry Cleanup for Fixing Registry-Related Issues
If you’re hoping to fix some system or registry-related issues by deleting outdated or invalid registry entries, I’m afraid you might be disappointed. Directly editing or deleting registry entries rarely addresses the root cause and often introduces unnecessary risk. Before making any registry changes, it is far safer to use built-in Windows tools to fix the issue.
Use Disk Cleanup to Reduce Registry-Related Issues
Although Disk Cleanup does not directly delete or edit registry keys, it removes temporary files, cached installers, and system junk that often reference outdated registry entries.
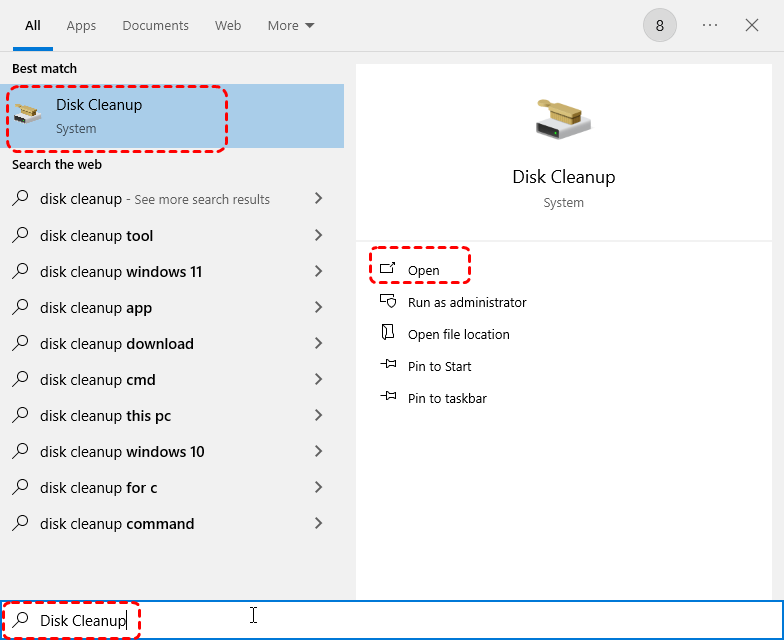
Step 1. Enter "Disk Cleanup" in the Search box and open it.
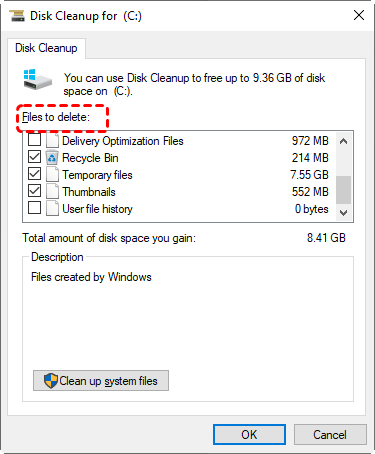
Step 2. Select the system drive to scan.
Step 3. Check the items like Temporary files, Recycle Bin, and Windows Update Cleanup to delete, then click "OK" to remove them.
Using DISM command to Repair Registry-Related Issue
Beyond cleanup, repairing underlying system file corruption can also stabilize registry behavior. DISM does not remove registry entries directly, but it restores system integrity, reducing registry-related errors. If registry problems are linked to corrupted system components, you can try running DISM command to help repair them.
Step 1. Locate Command Prompt in the Start menu and right click on it, then choose "Run as administrator".

Step 2. Enter the following command:
DISM /Online /Cleanup-Image /RestoreHealth
Sfc /scannow
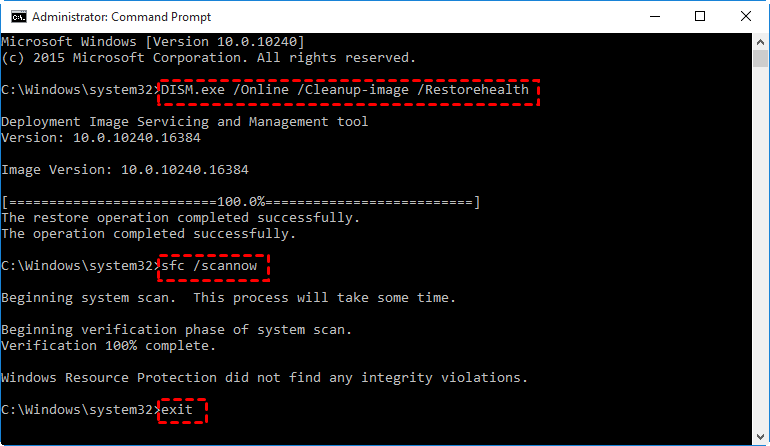
Step 3. Wait for the process to complete and restart your PC to check if the error persists.
How to Recover Deleted Registry File If Cleanup Causes Issues
If registry cleanup results in system instability, missing files, or inaccessible applications, recovery becomes the priority. At this point, System Restore and the Registry backup can really come in handy. But if you don’t have a backup or restore point, do you really have to reinstall your system to get it back to normal? Of course not.
This is where MyReocver becomes valuable. It can scan affected drives and recover deleted or lost system-related files, including those impacted during registry cleanup. It allows preview before recovery and to recover data even when Windows is unbootable, providing an extra safety net.

- Faster scanning compared to command-line tools.
- Higher success rate for permanently deleted files.
- Compatible with all Windows operating systems.
- Work on HDD, SSD, USB flash drive, memory card, etc.
Step 1. Download and install MyRecover on your computer from Microsoft Store or its official site, avid installing it on the drive with lost files.
Step 2. Launch the program and select the drive to scan for lost files, then click "Scan" to search for recoverable files.

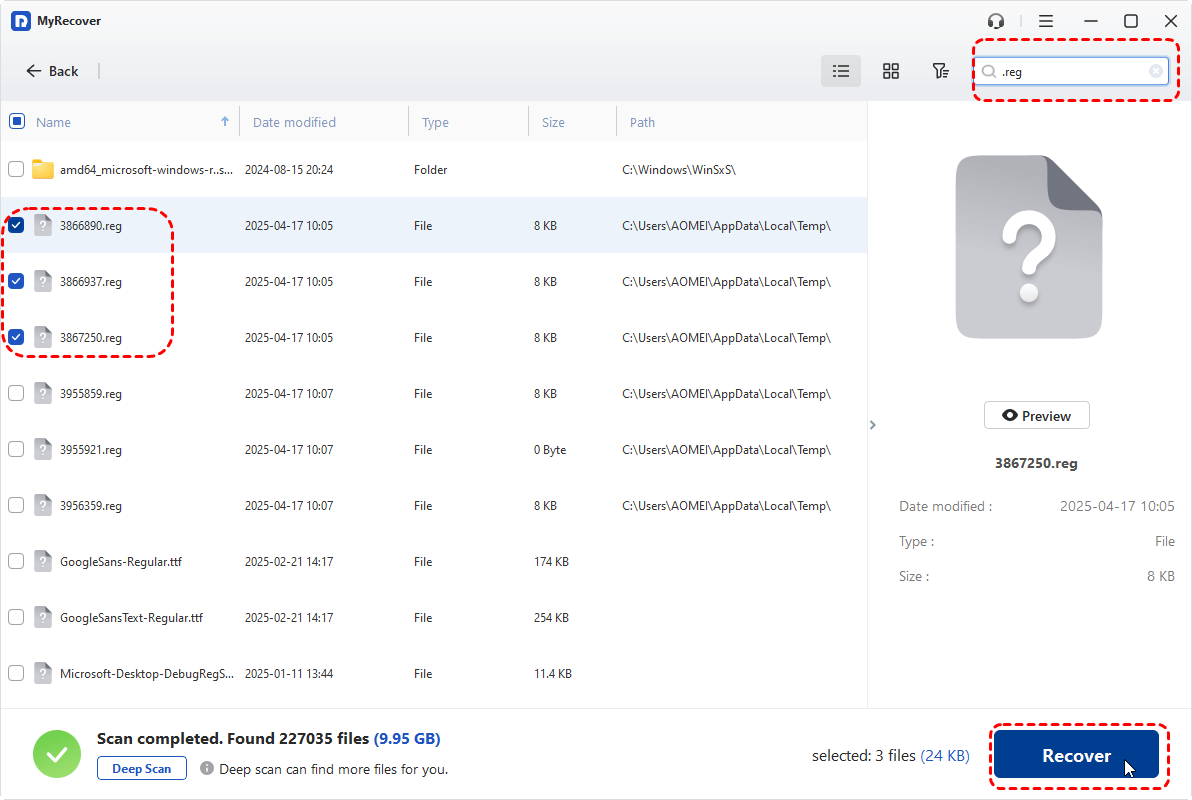
Step 3. After the scan is completed, choose the files you wish to recover under the "Path" or "Type" tab, then click "Recover". You can use the "Filter" feature in the top right corner to quick locate the registry files by searching for ".reg".
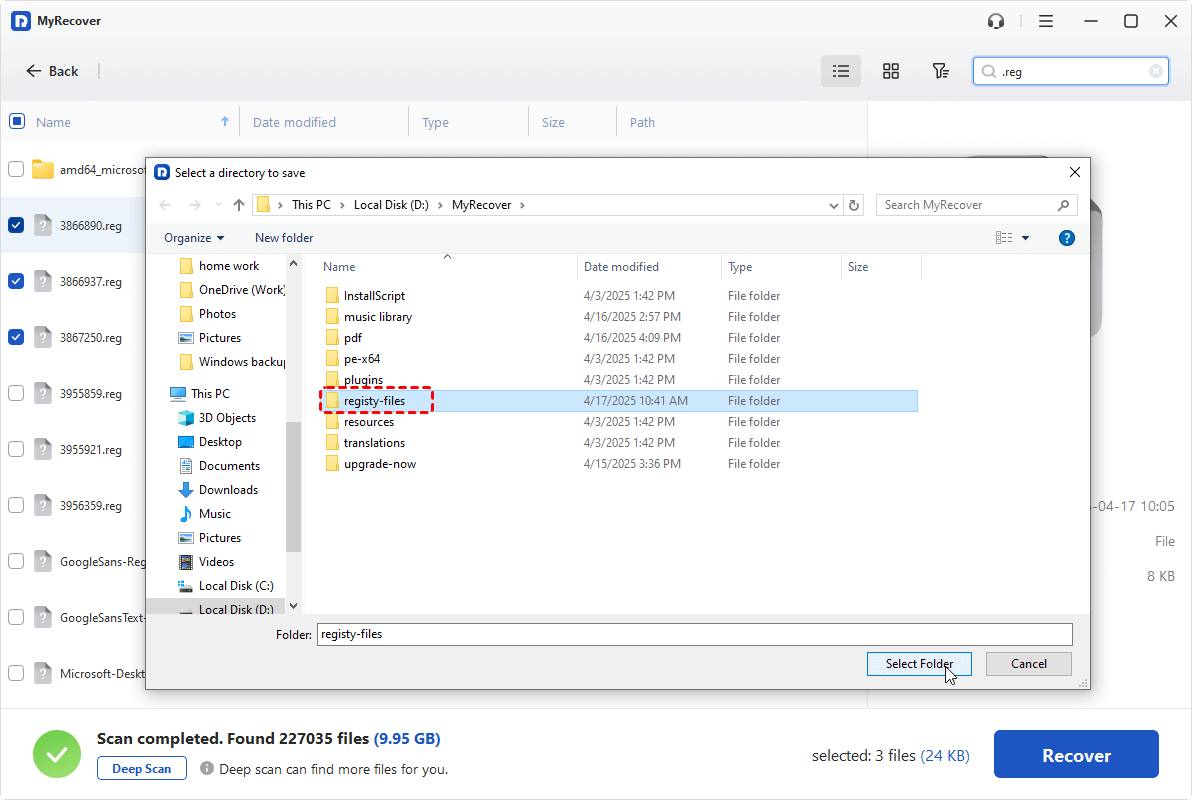
Step 4. Select a safe location to save the recovered files.
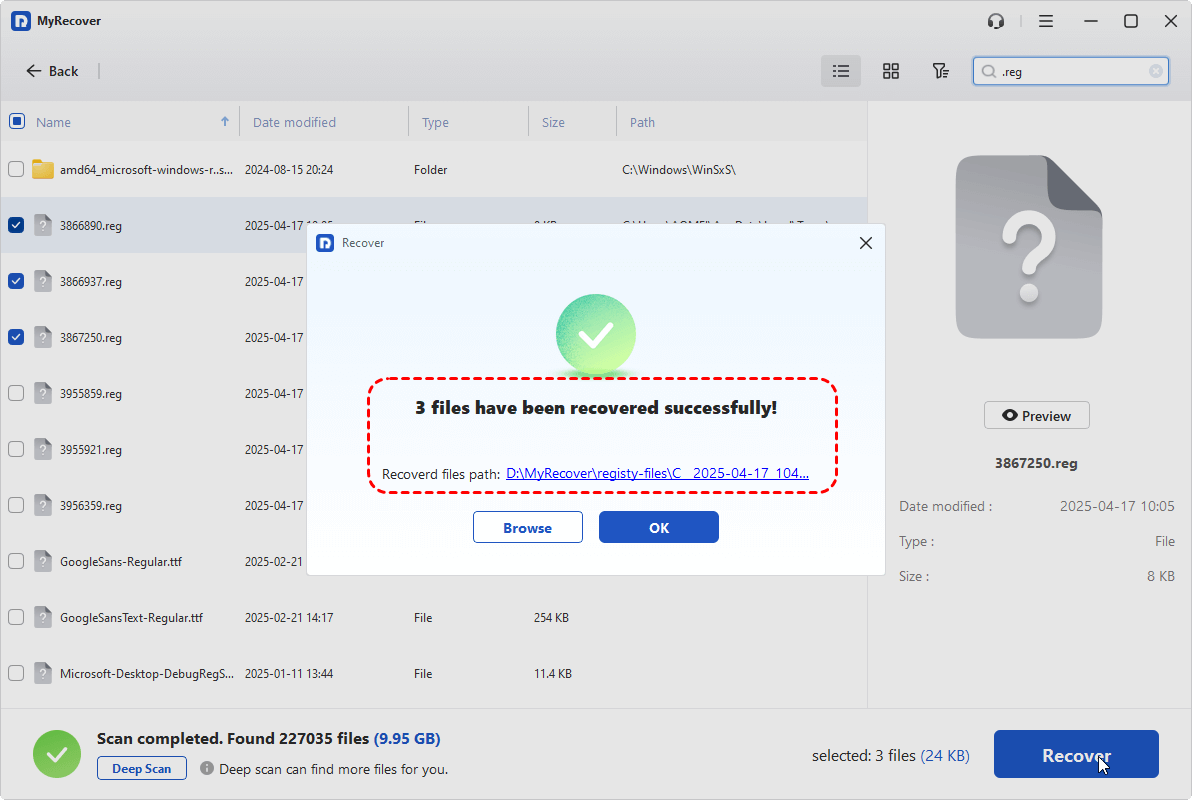
Once the process is done, the message "Files have been recovered successfully" will pop up. You can access the recovered files in the destination folder by clicking on the "Browse" button.
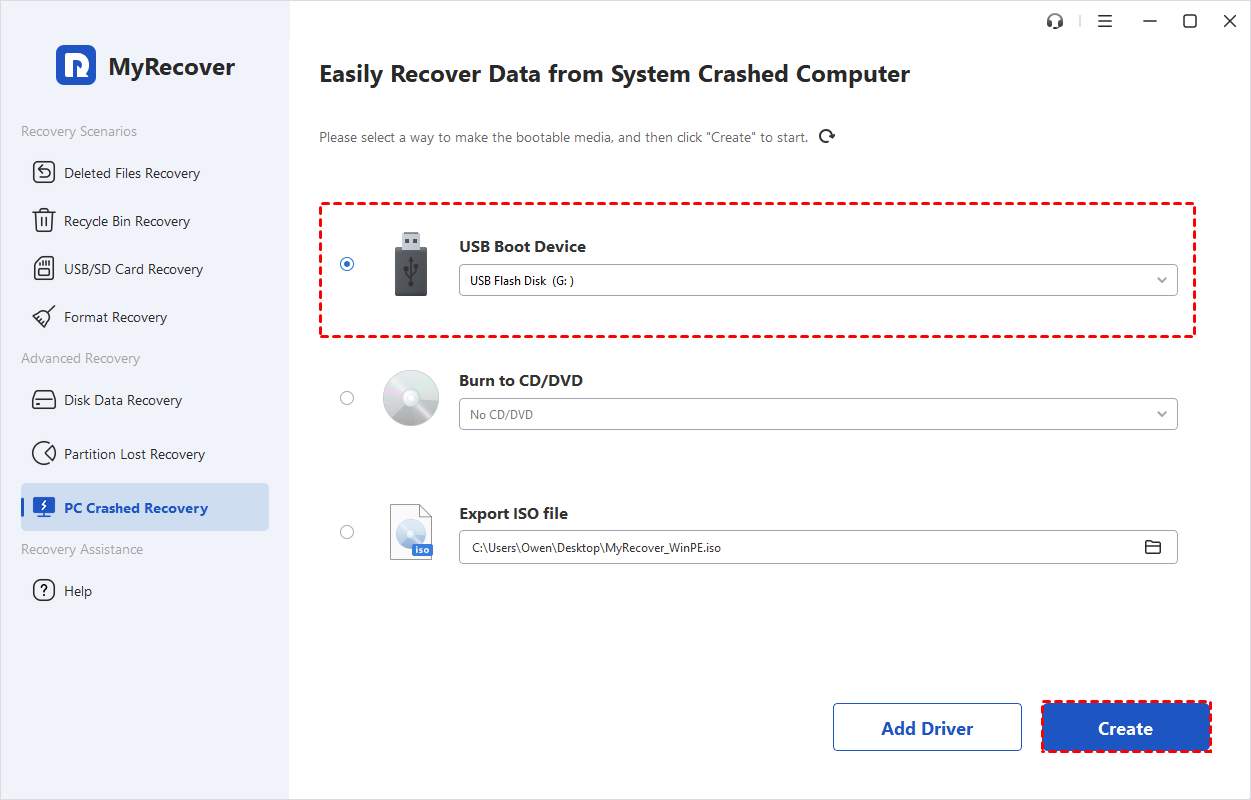
Even if you delete critical Windows registry files and end up with an unbootable PC, MyRecover can still help you recover data from it by creating a recovery drive. Prepare a blank USB drive and connect it to a working computer. (If there’s any data on it, remember to back it up first.) Following these steps:
Step 1. Open MyRecover on a working computer and select "PC Crashed Recovery", click "USB Boot Device" and "Create" to start the process.
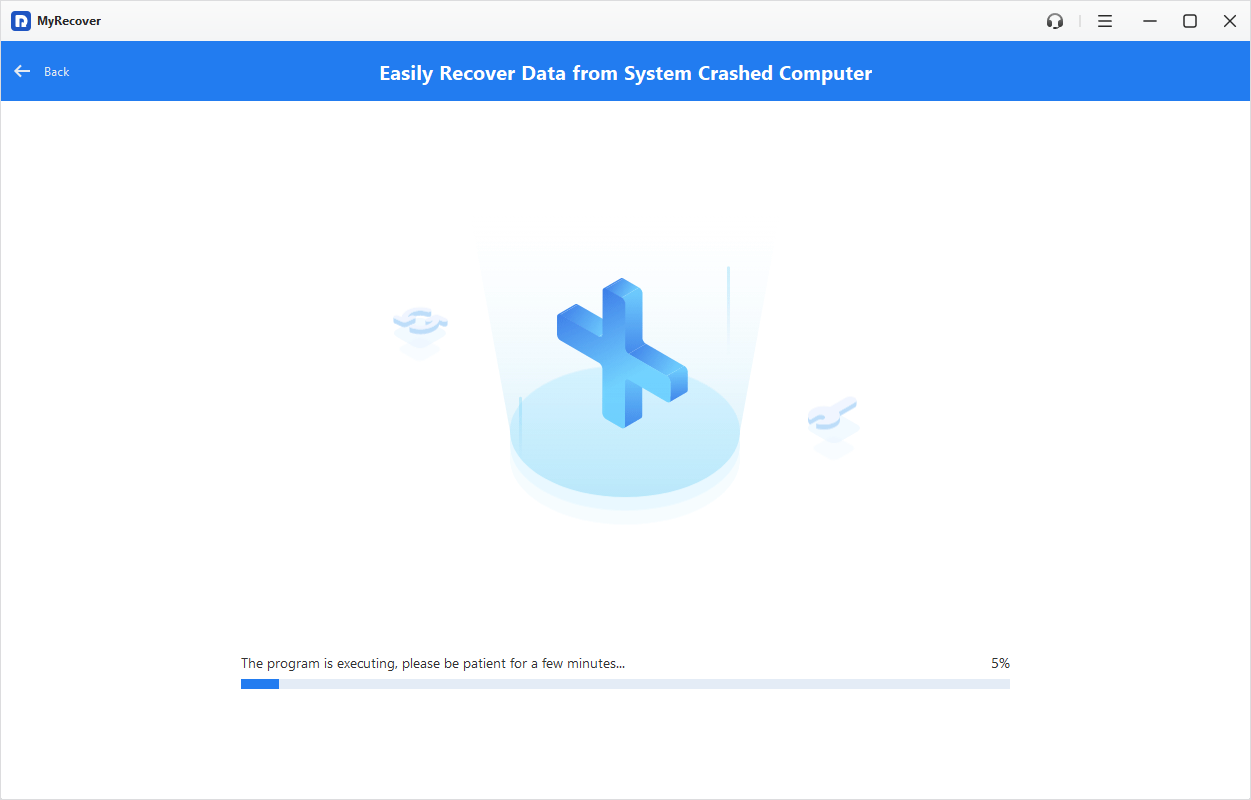
Step 2. Wait for the process to complete, you will get a USB bootable media. Insert the drive into the unbootable media and boot the computer with the drive.
Step 3. Then, it will automatically enter the interface of MyRecover. Then, you can recover data follow the steps mentioned above.
Conclusion
Registry cleanup on Windows 10 is neither inherently dangerous nor universally necessary—it is a targeted solution for specific problems. By understanding what the registry does, and choosing the right cleanup method, you can minimize risk while addressing system issues. And if something does go wrong, having a reliable recovery solution like MyRecover ensures that critical data and system files are not lost permanently.
For IT admins, professionals, or businesses, MyRecover also offers a Technician Edition, a comprehensive business data recovery solution that supports unlimited devices with just one license. This makes it perfect not just for personal recovery but also for MSPs and enterprises needing a reliable tool.


Stay Updated With Our
Latest Tips
Add us as a preferred source on Google to never miss helpful guides.