
11 Fixes: This Device is Currently in Use When Ejecting USB
Are you seeing the "This Device is Currently in Use" message while trying to eject a USB drive from your computer? This common Windows issue can prevent you from safely removing external storage devices. Our guide provides practical solutions for Windows 10 and Windows 11, including how to identify which programs are using the device, how to stop them, and alternative ways to eject your USB without losing data.
By Emma / Updated on February 2, 2026
Real User Query
This is the second time I’ve had trouble safely ejecting an external drive. The first one, a Passport drive, now won’t load and asks me to format it, which I haven’t done because it contains important documents.
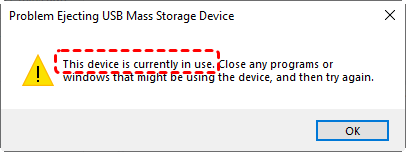
Currently, I have a 2TB Seagate Expansion Portable Drive with most of my photos and documents, and I cannot safely eject it on my Windows 10 Dell laptop. I keep getting the message: "Problem Ejecting USB Attached SCSI (UAS) Mass Storage Device. This device is currently in use."I’ve closed all visible programs, but the problem persists. I’m concerned that unplugging it might make the drive unusable, as happened with my previous external drive.
Why the Error "This Device is Currently in Use" When Ejecting USB Device?
This error usually occurs when Windows detects that the USB device is still being accessed by a program, process, or system service. Common causes include:
- Open files or applications running from the USB drive.
- Background processes indexing or scanning the drive (e.g., antivirus software).
- Windows Explorer still accessing the drive.
- System shutdowns or improper ejections in previous sessions.
How to Solve or Stop "This Device is Currently in Use" Error?
Understanding the common causes helps explain why the error occurs. Fortunately, there are several practical steps you can take to safely eject your USB drive.
Method 1. Eject from Windows File Explore or Disk Management
If you cannot safely eject your USB drive from the system tray in the lower-right corner of your screen, one of the simplest alternatives is to use Windows File Explorer or Disk Management.
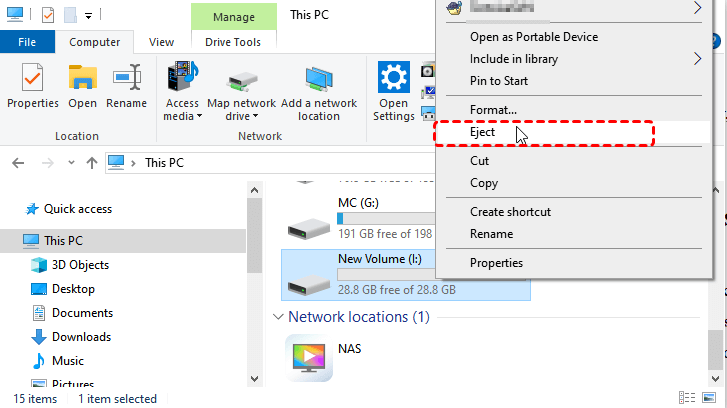
Eject via File Explorer
Step 1. Open File Explorer and locate your USB drive under "This PC".
Step 2. Right-click the drive and select "Eject".
Wait for the confirmation that it is safe to remove the device.
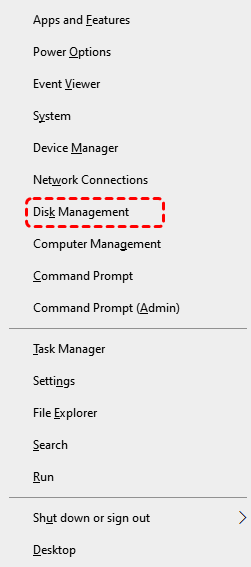
Eject via Disk Management (if File Explorer fails)
Step 1. Press "Win + X"and select "Disk Management".
Step 2. Find your USB drive in the list, right-click it, and choose "Eject".
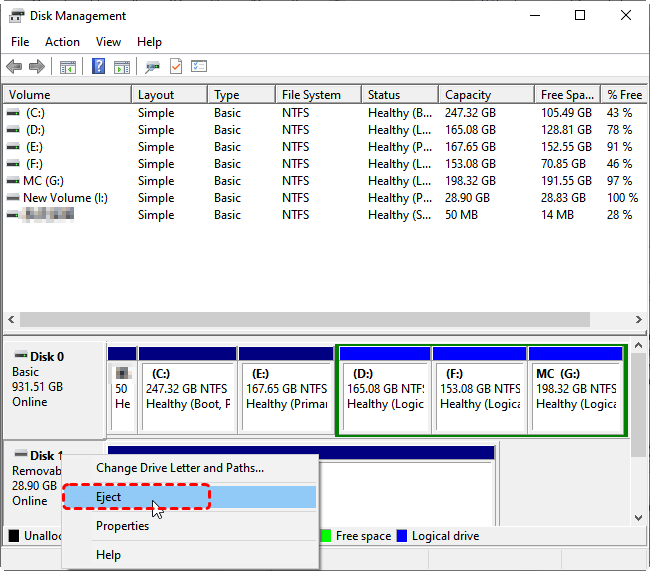
Step 3. Once the system confirms, it is safe to unplug the drive.
If you still receive the "This device is currently in use" message, proceed to the following solutions.
Method 2. Safely Remove USB via Command Prompt
If File Explorer or Disk Management fails, you can force a safe removal using the Command Prompt. This method directly unmounts the USB drive, allowing you to unplug it safely.
Step 1. Press "Win + S", type "cmd", right-click "Command Prompt", and select "Run as administrator".

Step 2. In the Command Prompt window, type the following command to display all volumes:
mountvol
Step 3. Identify your USB drive by its drive letter (e.g., I:). To unmount it, type:
mountvol H:\ /p (Replace H: with the actual drive letter of your USB.)
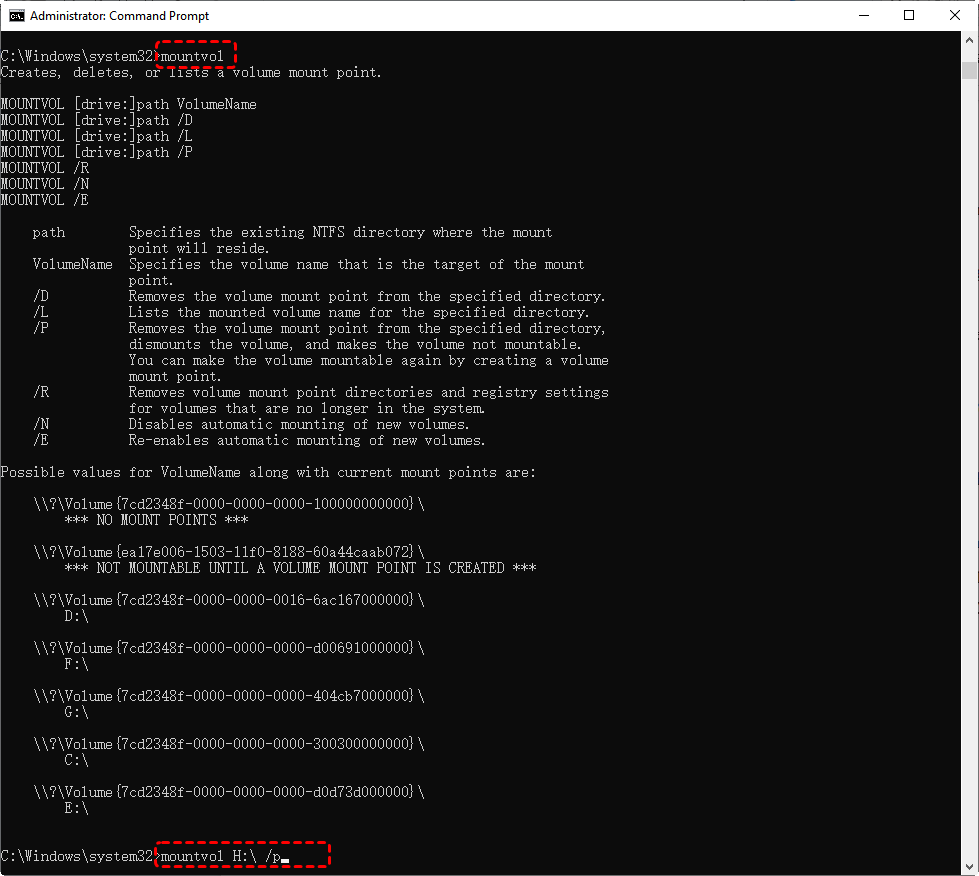
Once the command completes, the drive might be be safely unmounted.
Method 3. Make the Device Offline
If your USB drive still cannot be safely ejected, you can take the device offlinethrough commands. This also forces Windows to disconnect from the drive.
Step 1. Open Command Prompt as administrator.
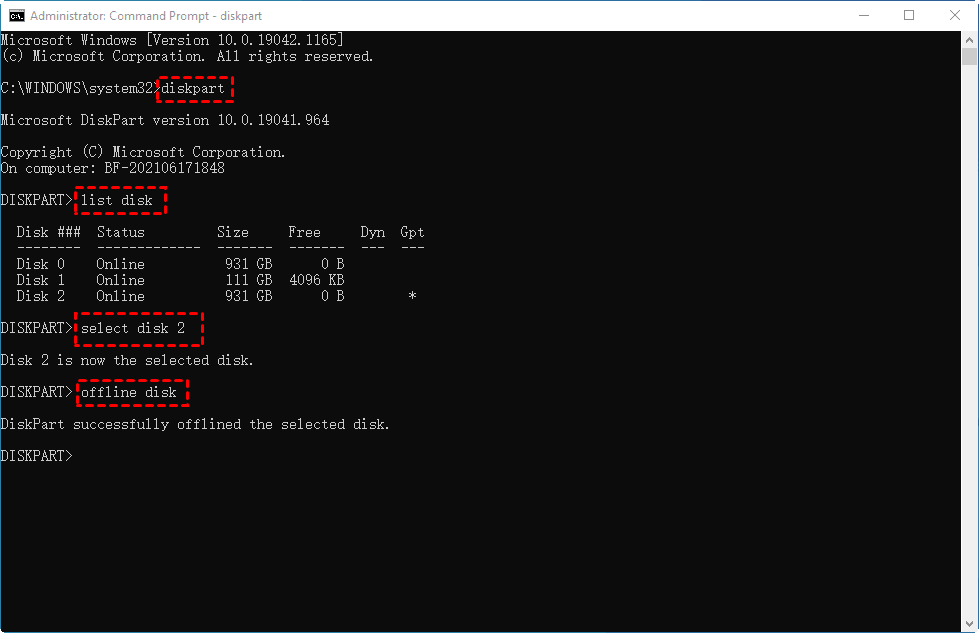
Step 2. In the Command Prompt, type "diskpart" and press "Enter".
Step 3. Type the commandto list all drives connected to your PC: list disk
Step 4. Identify your USB drive from the list (check the size to confirm). Select the USB drive by typing: select disk X (Replace X with the number corresponding to your USB drive.)
Step 5. Take the drive offline by typing: offline disk
Close Command Prompt. Your USB drive is now safely disconnected and can be unplugged.
Method 4. Close All Applications
Sometimes the USB device is still being accessed by open programs or files. Closing them can resolve the issueand stop the "This device is currently in use" error message from poping out .
- Close all files stored on the USB drive (documents, images, videos, etc.).
- Exit any programs that might be using the drive, such as Word, Excel, Photoshop, or media players.
If you’re unsure which programs are using the drive, proceed to Method 5 to check background processes.
Method 5. End Background Process
If the problem persists, some background processes may be accessing the USB drive. You can stop them using Task Manager.
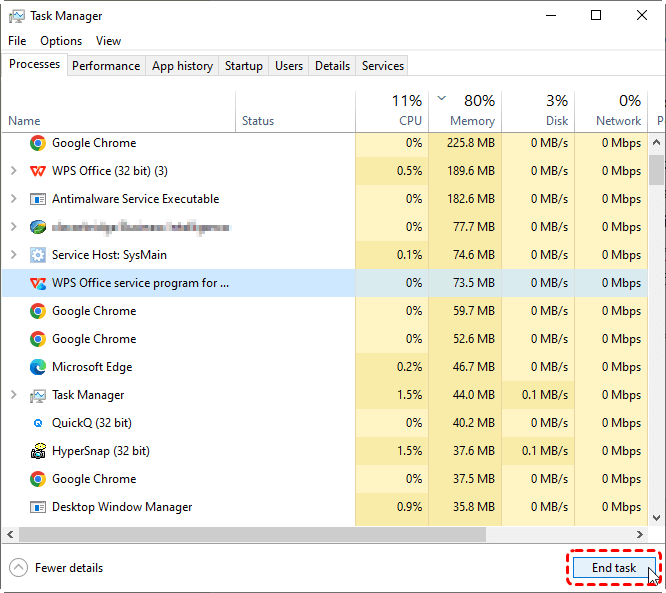
Step 1. Press "Ctrl + Shift + Esc" to open "Task Manager".
Step 2. Look for processes that might be using the USB drive (backup software, antivirus scans, media players).
Step 3. Select the process and click "End Task".
Attempt to eject the USB drive again.
Method 6. Uninstall the Disk Driver from Device Manager
In addition, you can uninstall the USB drive’s driver from Device Manager. Doing this safely disconnects the device from Windows, allowing you to remove it without risk of data corruption.
Step 1. Press "Win + X" and select "Device Manager".
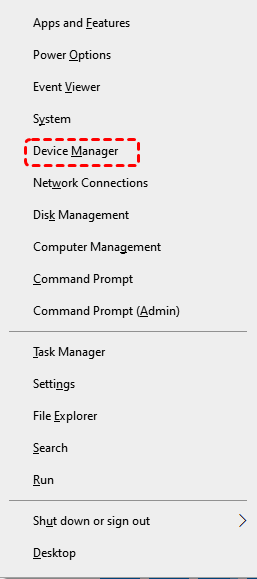
Step 2. Expand the section Disk drives to view all connected drives.
Step 3. Locate your USB drive in the list, right-click it, and select "Uninstall device".
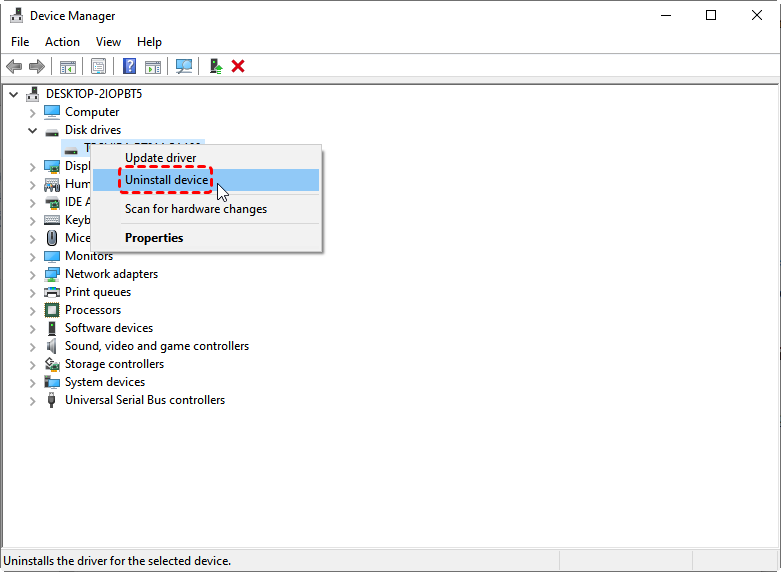
A confirmation window will appear. Click "Uninstall" to proceed. Once the device is uninstalled, you can safely unplug your USB drive.The next time you connect the USB drive, Windows will automatically reinstall the driver.
Method 7. Disable Computer Security Software
Sometimes, antivirus or security software continuously scans connected USB drives, preventing them from being safely ejected. Temporarily disabling such programs can release the device and allow safe removal. Take Windows Defender as an example.
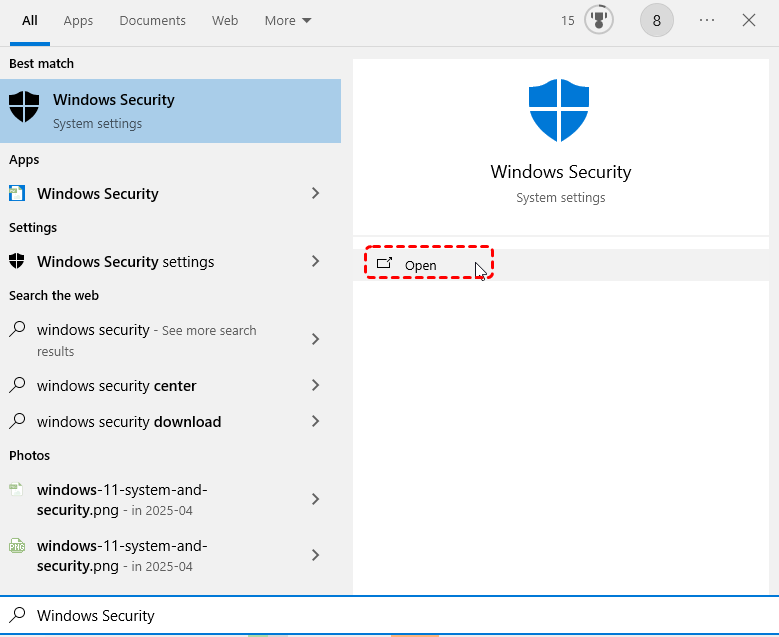
Step 1. Press "Win +S" and input "Windows Security". Click "Open".
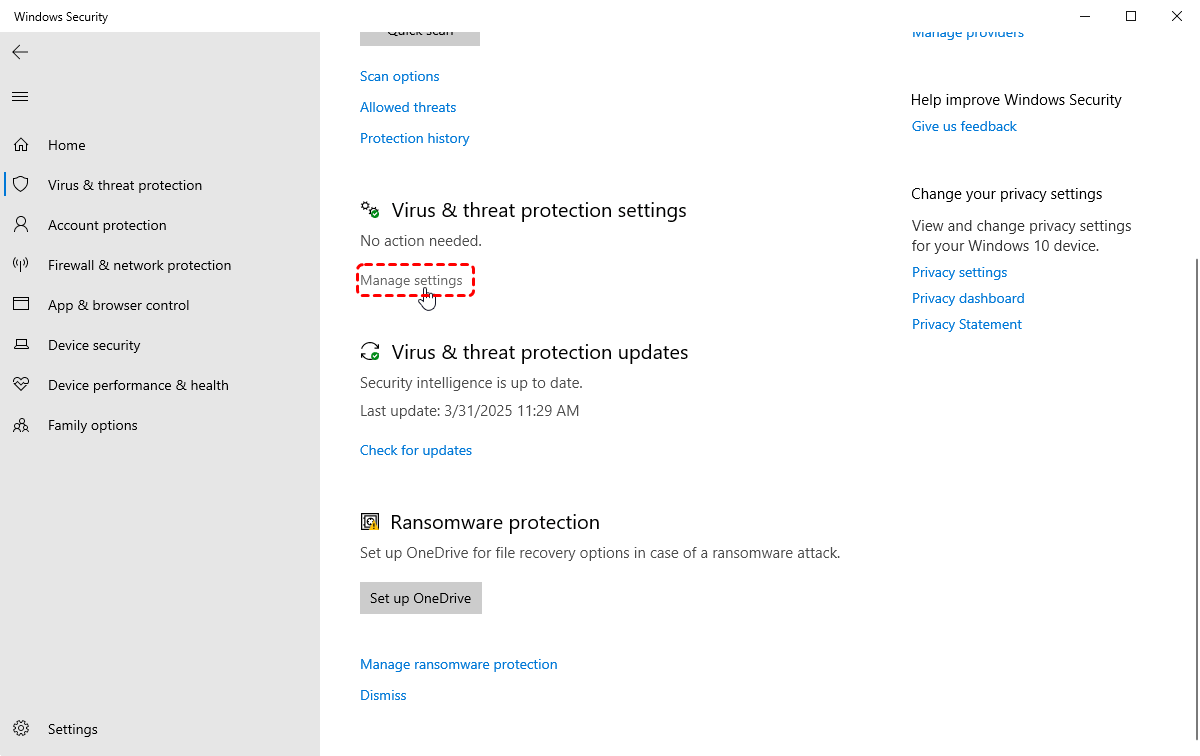
Step 2. Under "Virus & threat protection" settings, click "Manage settings".
Step 3. Toggle off Real-time protection.
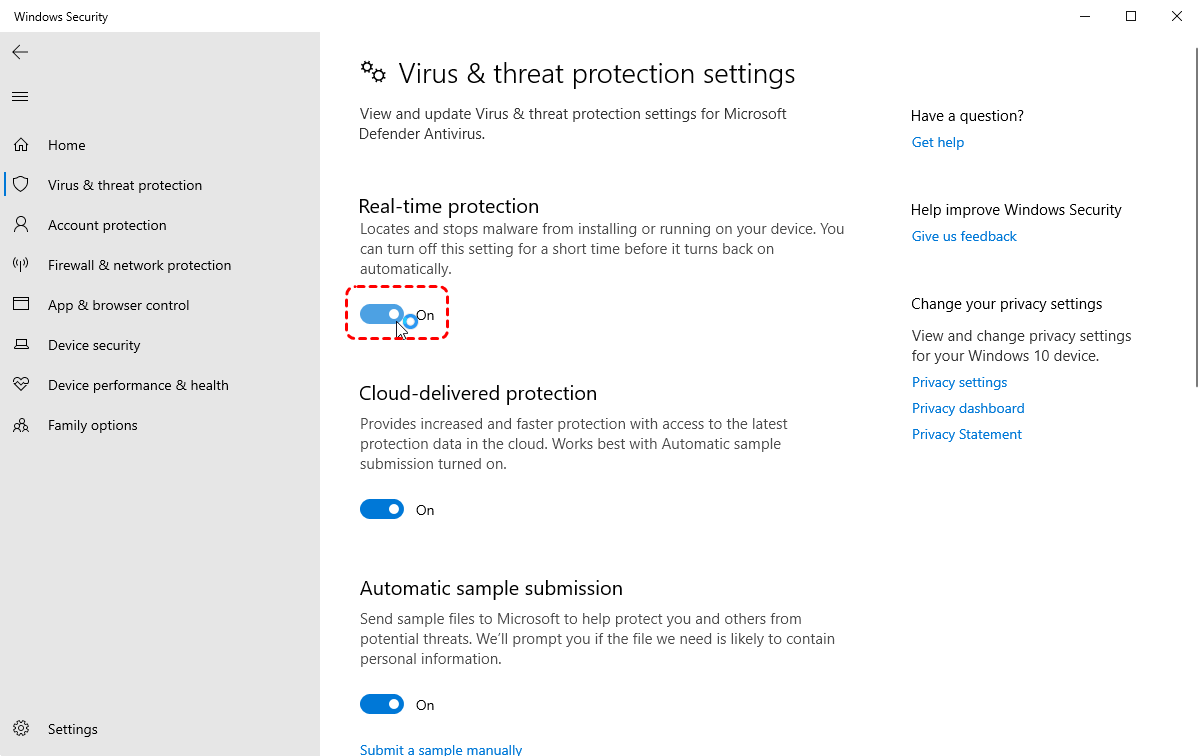
Once disabled, try ejecting the USB drive again. After safely removing your drive, re-enable your security software immediately to keep your system protected.
Method 8. Disable Indexing on USB Drive
The Windows indexing service may continuously scan your USB drive, preventing safe removal. Disabling indexing can stop this issue.
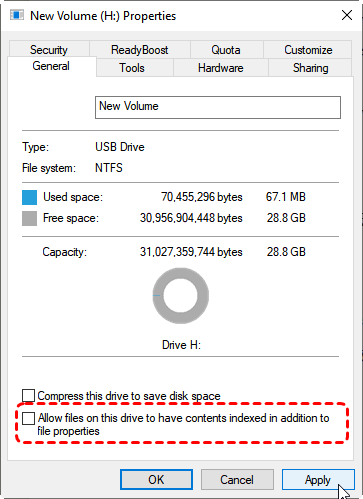
Step 1. Open File Explorer, right-click your USB drive, and choose "Properties".
Step 2. Under the General tab, scroll to the bottom and uncheck "Allow files on this drive to have contents indexed...".
Step 3. Click "Apply", then confirm the changes.
Method 9. Use Windows Hardware Troubleshooter
Windows includes a built-in troubleshooter that can automatically detect and fix problems preventing a USB drive from being ejected.
Step 1. Press "Win + R" to open the "Run" dialog. Type the "msdt.exe -id DeviceDiagnostic" command to open "Hardware and Devices Troubleshooter".
Step 2. Click "Next"and allow the tool to detect and fix any issues with your hardware.
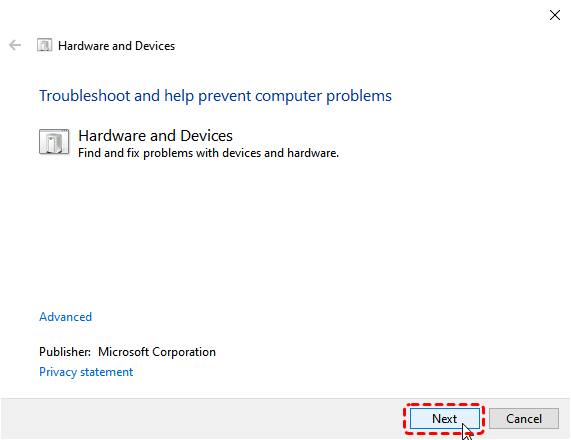
Step 3. Follow the on-screen instructions. Once the process finishes, try ejecting your USB drive again.
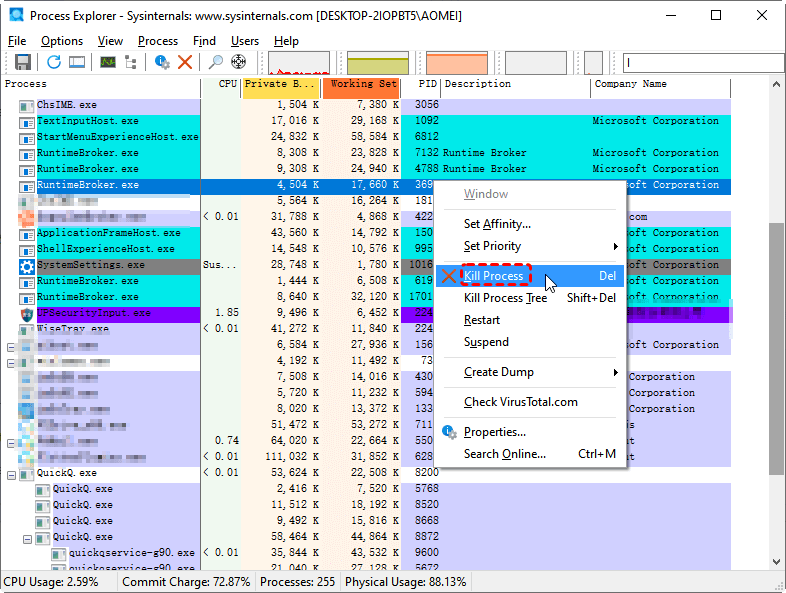
Method 10. Kill Process
When Windows reports that your USB device is still in use, it usually means a program or background service is keeping a file on the drive open. So, we need to figure out which application is responsible and end the process. In such a case, you can turn to apowerful troubleshooting tool from Microsoft: Process Explorer, which can help you pinpoint the exact process that’s preventing safe removal.
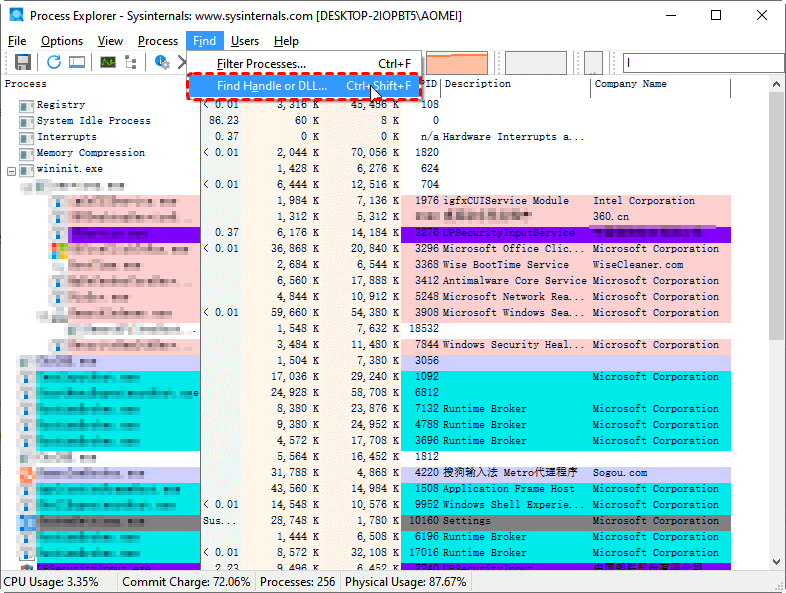
Step 1. Download Process Explorer from Microsoft’s official site and run it.
Step 2. Go to the menu "Find > Find Handle or DLL…". A search box will appear. In the search bar, type your drive letter (for example, D:\).
Step 3. The search results will list all programs currently accessing files on that drive.
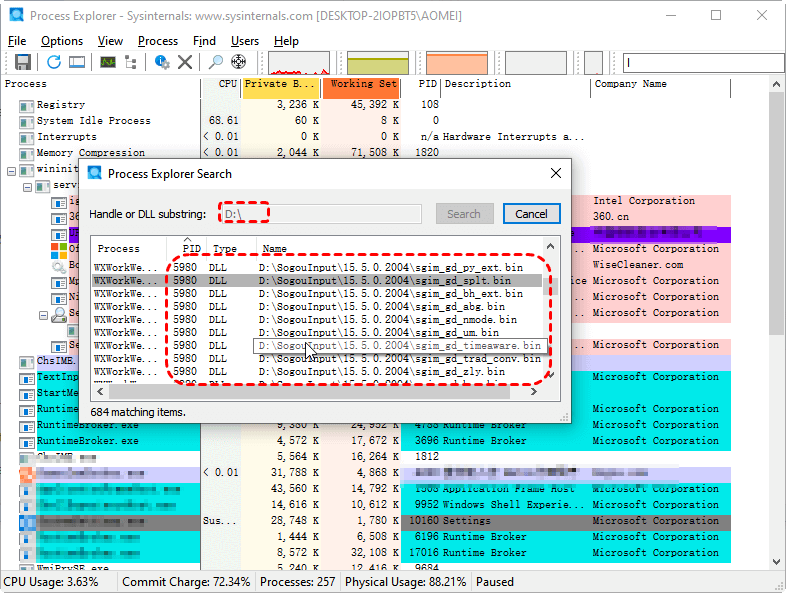
Step 4. Once you’ve identified the process, close the program normally. If that doesn’t work, right-click it in Process Explorer and select "Kill Process".
Try ejecting the USB device again.
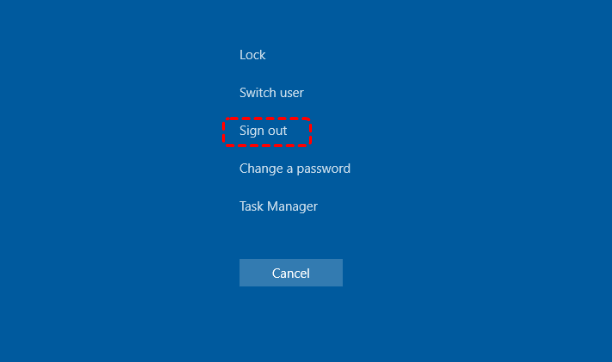
Method 11. Restart or Log off the Computer
If the above methods does not solve the "This device is currently in use" in Windows 10 or Windows 11, restarting or logging off your computer might be a nice try. It will automatically end all processes and release the drive, allowing you to safely unplug it.
Restart: Click the "Start menu > Power > Restart". After the system reboots, try ejecting the drive again.

Log off: Press "Ctrl + Alt + Delete", choose "Sign out", then log back in and attempt to eject the drive.
You Might Need: Recover Data from the USB Device
Once you’ve tried all the above methods and successfully ejected your USB drive, that’s great. However, if the drive was showing the "This device is currently in use" error for a long time, or you had to force-remove it, there’s a chance some files may have been corrupted or lost.
In such cases, it’s wise to check your USB drive and recover any important data immediately. Using a reliable data recovery tool like MyRecover is highly recommended. It is able to scan the USB drive, let you preview the recoverable files, and safely restore them to another location. This ensures your documents, photos, and other important files remain intact even after encountering ejection issues.

- ✨500+ Devices Supported | SSD, HDD, USB Flash Drive, SD Sard, etc.
- ✨1000+ File Formats Supported | PNG, MP4, MP3, TXT, ZIP, MSG, etc.
- ✨500+ Data Loss Scenarios | Deletion, Format, Power Outage, Virus Attack, etc.
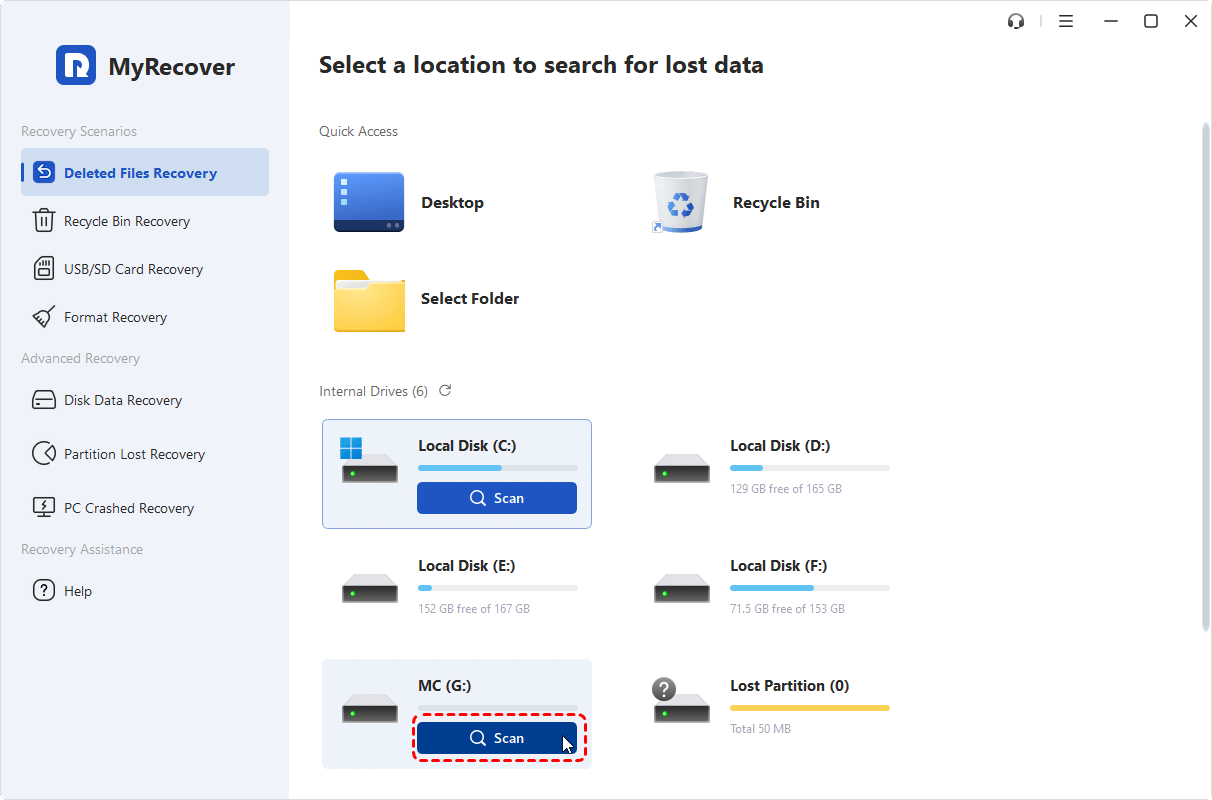
Step 1. Install MyRecover on your computer, making sure not to install it on the USB drive to avoid overwriting any data.
Step 2. Launch MyRecover and select the USB drive that you want to recover.Click "Scan" to let the software perform a scan to find all recoverable files.
Step 3. Preview the scanned results and use the search box or filters to locate the files you need.
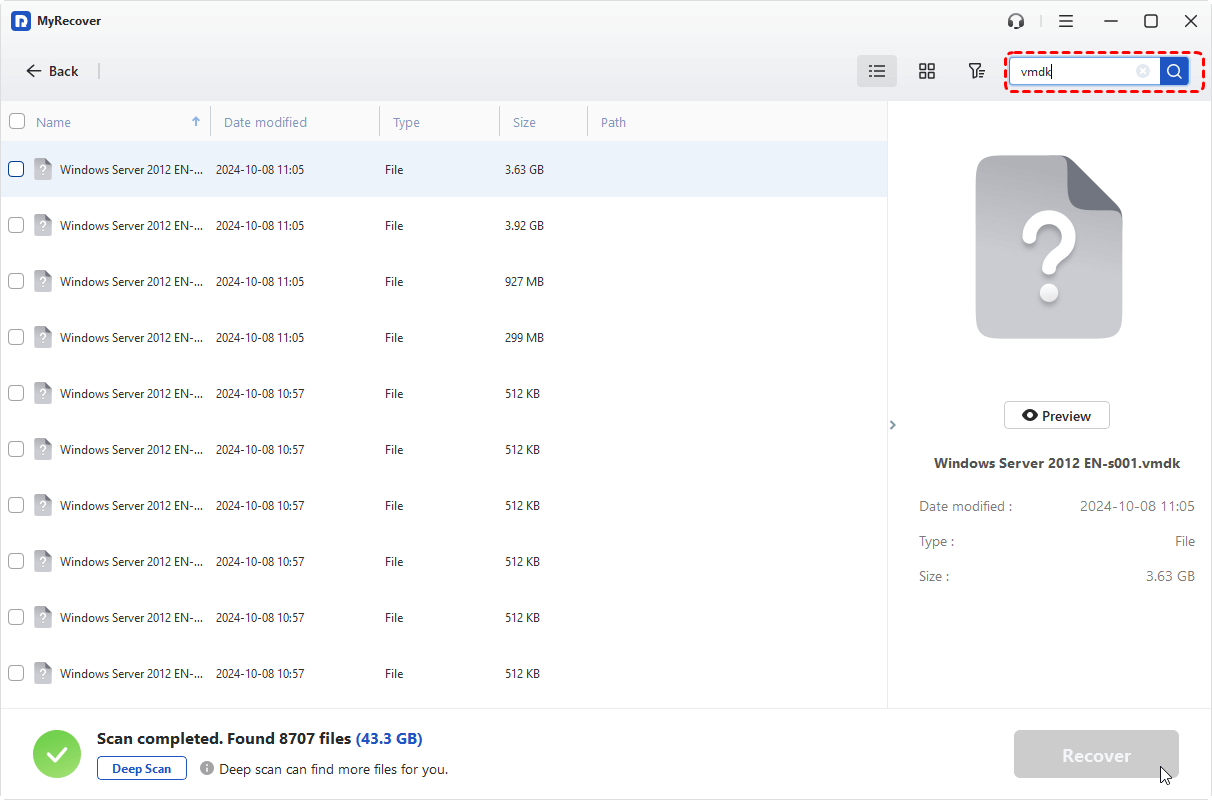
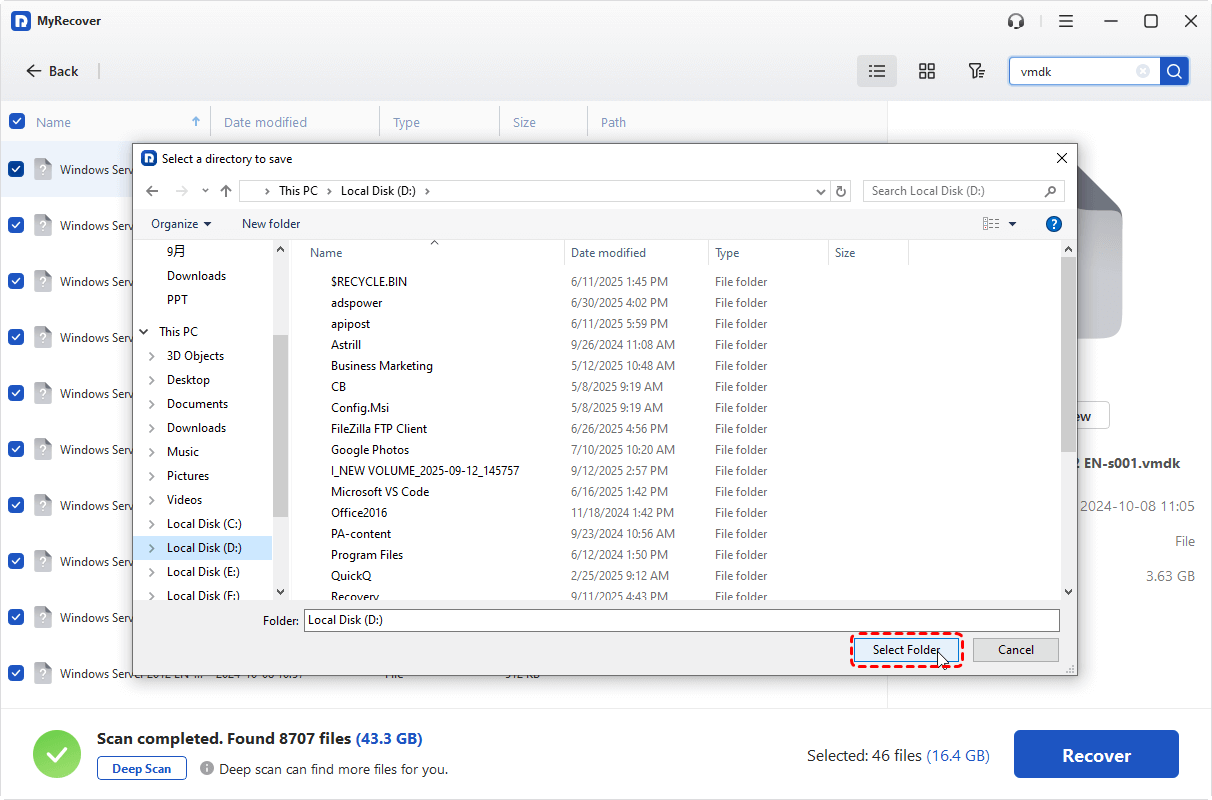
Step 4. Select the files you want to restore, click "Recover," and save them to a safe location on your computer, not the USB drive.
Wrapping Up
Safely ejecting a USB drive in Windows can sometimes be tricky, especially when the system reports that the device is currently in use. By following the methods outlined above—from basic solutions like closing applications and using File Explorer to advanced tools like Process Explorer—you can identify what’s keeping your drive active and remove it without risking data loss.
If any files were affected during the process, using a reliable recovery tool like MyRecover ensures that your important documents, photos, and other data remain safe. If you have to format the USB device to resolve some serious recognition issue, the MyRecover can also help recover files from formatted drive.


Stay Updated With Our
Latest Tips
Add us as a preferred source on Google to never miss helpful guides.