
How to Retrieve Data from Laptop with Black Screen
Struggling with getting data from a laptop that won't turn on? This guide explains step-by-step methods to recover your files securely, whether your laptop has a black screen, power issue, or startup error — ensuring your data stays safe and retrievable.
By Vera / Updated on October 22, 2025
Understanding the Black Screen Problem
A black screen doesn’t always mean your laptop is dead. Sometimes, it’s just a sign that something went wrong — maybe with the display, operating system, or even an update.
Common Causes of a Black Screen on Laptops
Before diving into recovery, it’s good to understand why this happens.
1. Hardware Issues
Your screen might be damaged, or there could be loose internal connections. In some cases, the GPU (graphics card) or RAM might be malfunctioning.
2. Software or System Errors
A corrupted operating system or failed Windows update can lead to a black screen during startup.
3. Driver or Update Conflicts
An incompatible driver or system update can cause your screen to go blank while the system still runs in the background.
Preparation Before Retrieving Data
Before jumping into recovery, let’s get a few things ready.
Step 1: Check Power and Display Connections
Plug your laptop into power, connect it to an external monitor, and press Windows + P to toggle display modes. Sometimes the display is just being redirected.
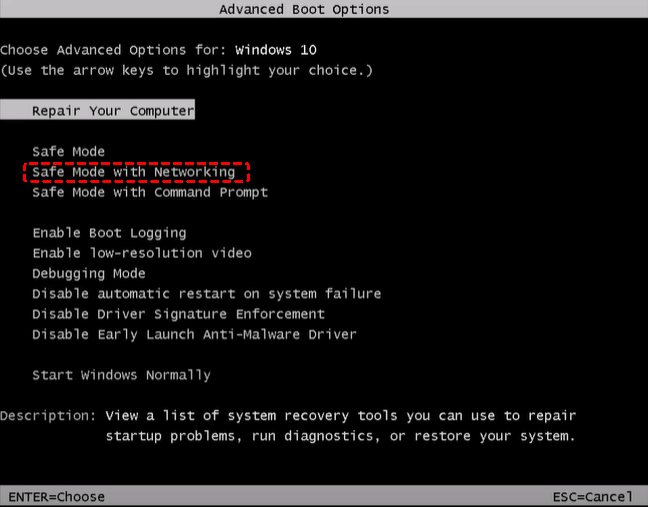
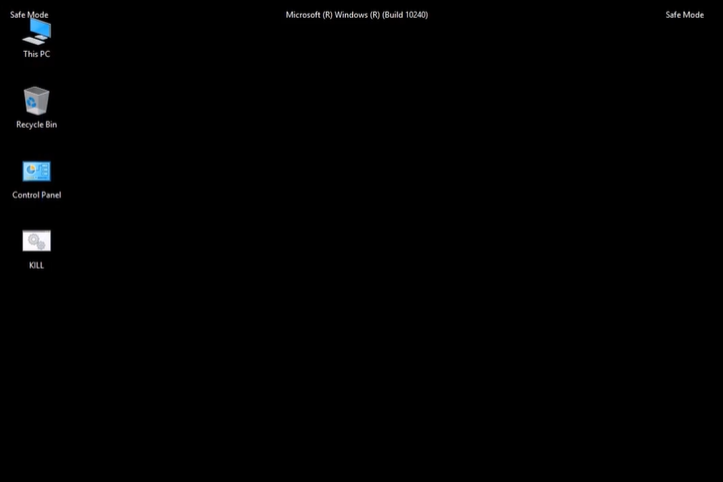
Step 2: Boot into Safe Mode (If Possible)
If you can briefly see the boot logo, try pressing F8 or Shift + F8 to enter Safe Mode. This allows you to copy files if the system still runs.
Step 3: Gather Necessary Tools
Depending on your recovery method, you may need:
- An external hard drive or USB stick.
- A screwdriver.
- A second working computer.
- A data recovery tool or bootable USB software.
[4 Ways] How to Retrieve Data from Laptop with Black Screen
Even if your screen is black, the hard drive still holds your files. As long as the drive isn’t physically damaged, you can easily extract data using the following few clever tricks (no tech degree required!).
Method 1: Connect the Laptop Hard Drive to Another Computer
This is one of the simplest ways to get your files off a laptop with a dead screen.
What You’ll Need
- A compatible hard drive enclosure (SATA or NVMe depending on your drive)
- A working computer
Step-by-Step Instructions
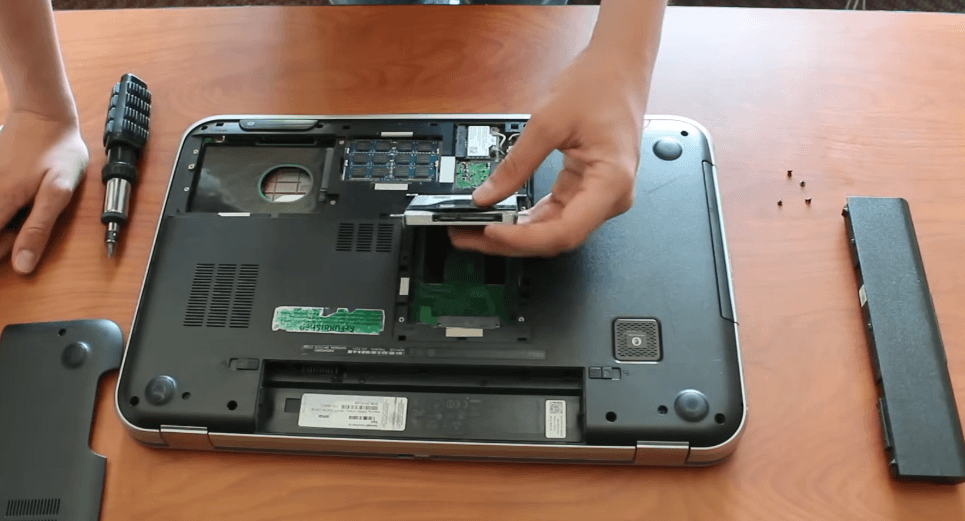
1. Turn off your laptop completely and remove the battery if possible.
2. Unscrew the back panel to locate the hard drive.
3. Carefully remove the drive and place it into the enclosure.
4. Connect the enclosure to another computer via USB.
5. Open "This PC" — your drive should show up like a normal USB device.
6. Copy all your important files to a safe location.
Method 2: Boot the Laptop from a Live USB Drive
If your laptop turns on but doesn’t load Windows, a bootable USB drive can save the day. You’ll boot your laptop using an operating system stored on a USB (like Linux or WinPE), which lets you access the internal drive.
Step-by-Step Guide
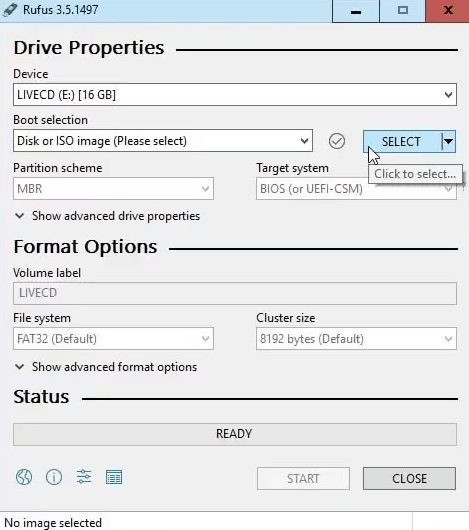
1. On a working computer, download a Linux distribution (like Ubuntu).
2. Use a tool like Rufus to create a bootable USB stick.
3. Plug it into your black-screen laptop and power it on.
4. Press the correct key (often F12, Esc, or Del) to access the boot menu.
5. Select the USB as the boot device.
6. Once Linux loads, open "Files" to browse your hard drive.
7. Copy your important data to an external USB drive.
It’s like giving your laptop a temporary operating system!
Method 3: Use a Professional Data Recovery Tool (MyRecover)
If you connect the hard drive in your computer to another available computer and find that the data is lost or damaged, MyRecover can be your best friend. It’s an advanced yet beginner-friendly data recovery tool that helps retrieve files from laptops, even if the screen is black or Windows won’t boot.
Why Choose MyRecover
- 🧠 Smart Scanning: Automatically detects all lost, deleted, or hidden files.
- ⚙️ Multiple File Systems Supported: Works with NTFS, FAT32, exFAT, and more.
- 💾 No Data Overwriting: Safely restores files without damaging your drive.
- 🖥️ User-Friendly Interface: Perfect for non-tech users.
Step-by-Step Data Recovery Using MyRecover
1. Remove your laptop’s hard drive and connect it to another working computer using an enclosure or adapter.
2. Download and install MyRecover on the working computer.
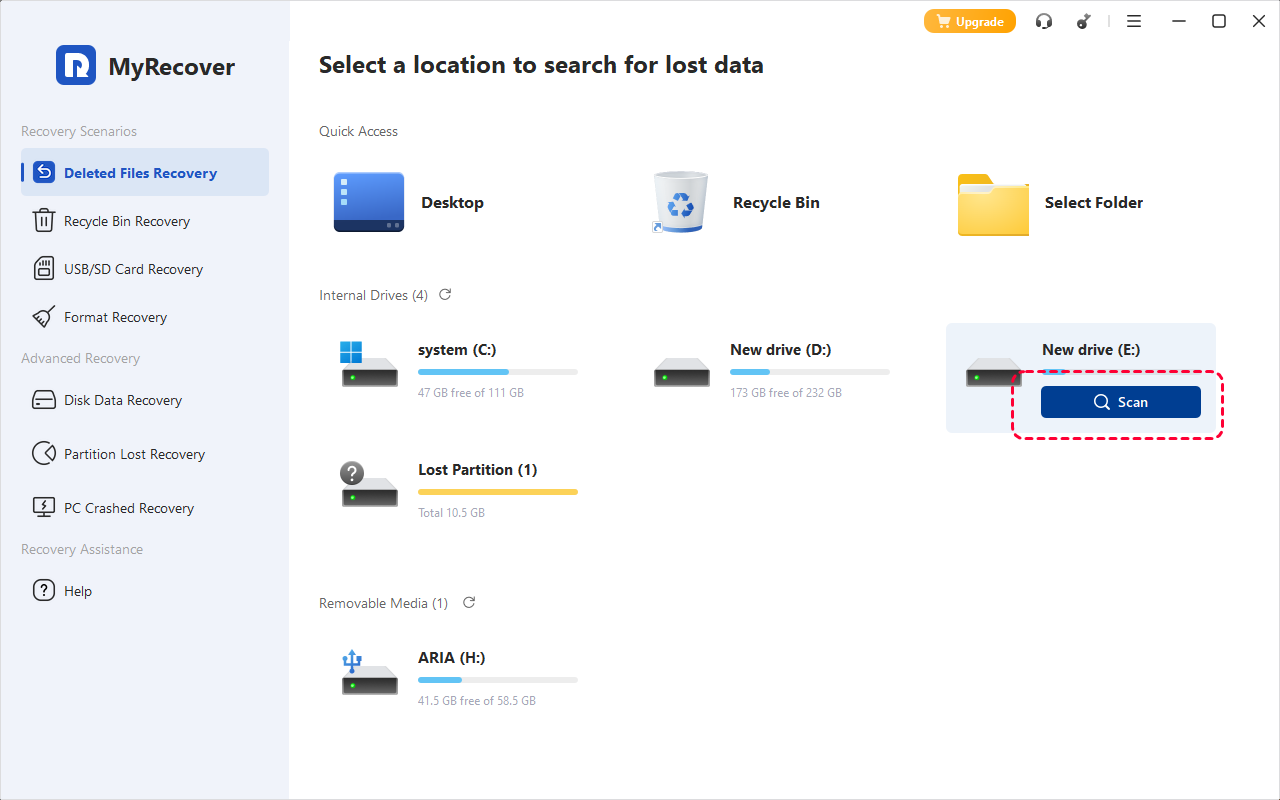
3. Launch the software and select the connected drive that came from your black-screen laptop.
4. Click Scan — MyRecover will automatically scan for deleted, lost, or inaccessible files.
5. Once the scan is complete, preview your files and select the ones you want to recover.
6. Click Recover, then save your data to a different drive (never the original one).

That’s it! Within minutes, your files are back and safe — no tech skills required.
Method 4: Seek Professional Data Recovery Services
If all else fails, it’s time to call the pros.
When to Choose This Option
- Your hard drive is physically damaged.
- The drive isn’t detected by any computer.
- You hear clicking or grinding noises.
What to Expect from Professionals
Data recovery specialists use cleanroom environments and advanced hardware tools to extract data safely. While it can be costly (ranging from $200 to $1,000+), it’s worth it for critical files you can’t afford to lose.
Tips to Prevent Data Loss in the Future
Now that you’ve hopefully rescued your data, let’s make sure it never happens again.
Regular Backups
Use cloud storage (like Google Drive or Dropbox) or an external hard drive for weekly backups.
Keep Your System Updated
Outdated drivers and unpatched updates often lead to black screen issues. Keep your OS and BIOS current.
Use Antivirus and Disk Monitoring Tools
Viruses and failing drives can trigger system crashes. Run regular scans and monitor drive health using tools like CrystalDiskInfo.
Conclusion
A black screen might feel like the end of your laptop’s life, but your data is rarely lost forever. Whether you use a hard drive enclosure, bootable USB, or MyRecover, there’s always a way to retrieve your important files.
So, the next time your laptop refuses to show life, remember: stay calm, grab your tools, and follow these steps. Your data’s waiting to be saved!


Stay Updated With Our
Latest Tips
Add us as a preferred source on Google to never miss helpful guides.