
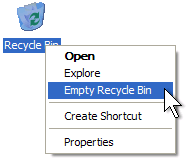
Recover Emptied Recycle Bin Windows 10 or 11: A Step - by - Step Guide for Novices
In most cases, the Recycle Bin plays a crucial role in safeguarding file security, offering a second chance to retrieve deleted data. If you've accidentally emptied it and are now seeking recovery solutions, this article will introduce you to several methods to recover Emptied Recycle bin. Whether you have backups or not, and whether you prefer working with the command line or GUI, we've got you covered.
By Aria / Updated on June 13, 2025
Does Emptying Recycle Bin Permanently Delete?
Most people are sure to feel panicked when accidentally emptying the Recycle Bin. Indeed, the importance of the Recycle Bin for temporarily deleted files is self-evident—you can restore any temporarily deleted files or folders at any time.
However, once the Recycle Bin is emptied, all files in it disappeared instantly. You have no access to undo the deletion operation. So, does emptying Recycle Bin mean files are permanently deleted? Yes, emptying the Recycle Bin typically means files are permanently deleted from the storage device. Fortunately, recovering permanently deleted files can even be achieved with the correct methods.
The sooner you attempt recovery, the better your chances of successful retrieval. Once new data is written to the drive, it may overwrite the deleted files, making recovery impossible. Therefore, try to avoid using the drive or saving new files to it until you attempt the recovery.
How to Recover Emptied Recycle Bin in Windows 10/11
When you empty the Recycle Bin on Windows, it may seem like your files are permanently gone. However, it is possible to recover emptied Recycle Bin files, provided you act quickly and follow the right methods. This section provides six proven methods you can use to recover deleted files from Recycle Bin after empty. Each approach uses different built-in Windows features or recovery tools. You can choose anyone according your actual situation.
Method 1. Restore from Previous Versions
The Previous Versions feature in Windows allows users to restore old versions of files or folders from system restore points or automatic backups, helping to recover content that was accidentally modified or deleted. If File History or System Protection were enabled, you may be able to recover a deleted file or folder from a previous version.
Step 1. Navigate to the folder or drive where the files you want to recover were originally saved in File Explorer.
Step 2. Right-click the folder or drive to choose "Restore previous versions".
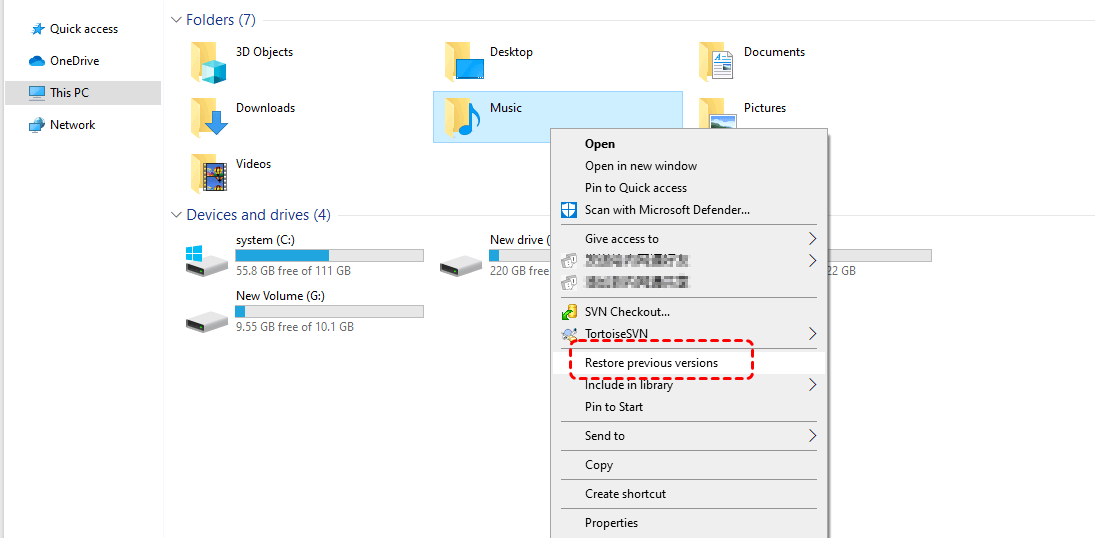
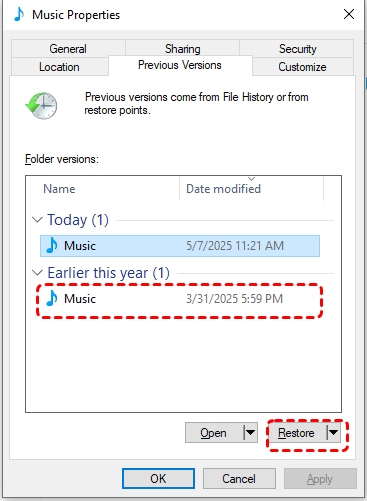
Step 3. Then, you can choose a version including the lost file and click "Restore". You can also click "Open" or "Open in File History" to verify if it's the correct version.
Method 2. Restore your Files with File History
File History is a Windows feature that backs up files in Libraries, Desktop, Documents, and other common folders. It allows you to restore deleted or modified files from backed-up versions to secure your data. If you have enabled File History on Windows in advance, this is one of the easiest ways to recover emptied Recycle Bin items.
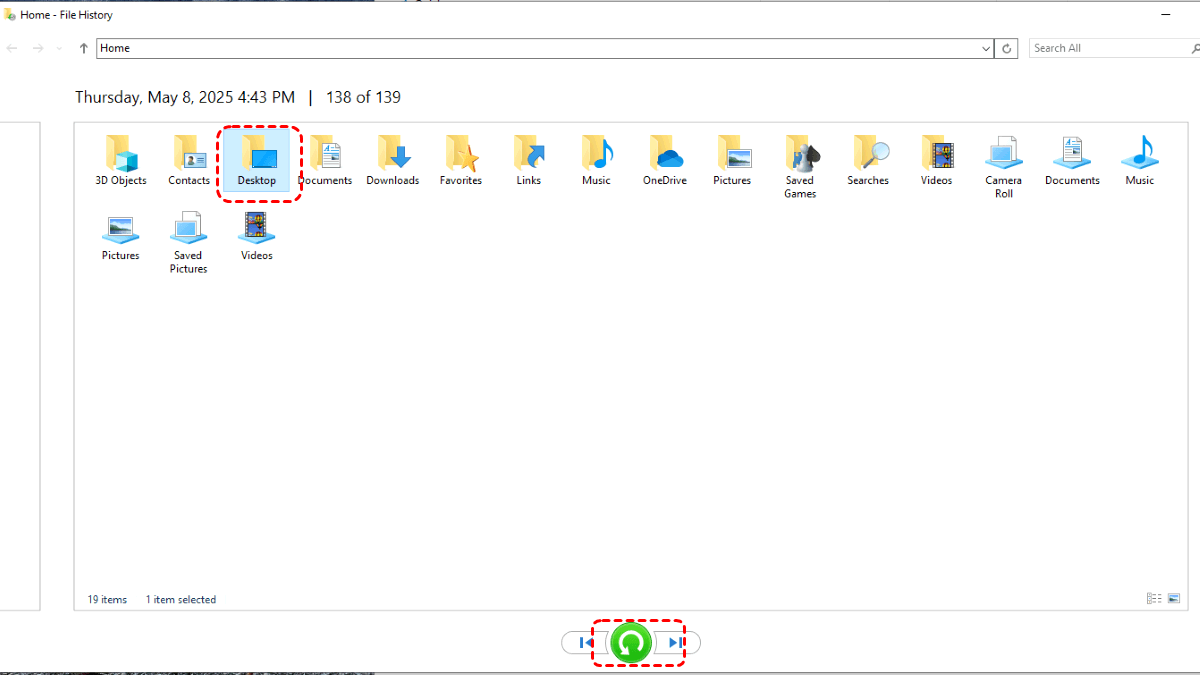
Step 1. Type "Restore your files in File History" in the Start menu and open it.
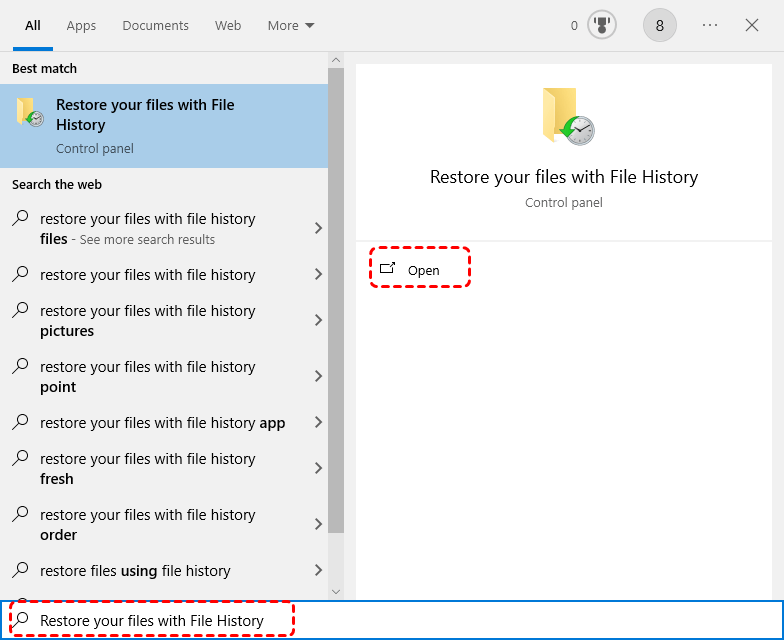
Step 2. Browse the backup and locate to the folder where the deleted files were stored.
Step 3. Click the green restore button to recover files to its original location.
Method 3. Recover Files with Backup and Restore
Backup and Restore (Windows 7) allows users to create backups of files and system images, then restore them to recover data from accidental deletions, system failures, or hardware issues, ensuring system and file recovery to a previous state. Similarly, this method also requires you to create a backup in advance.
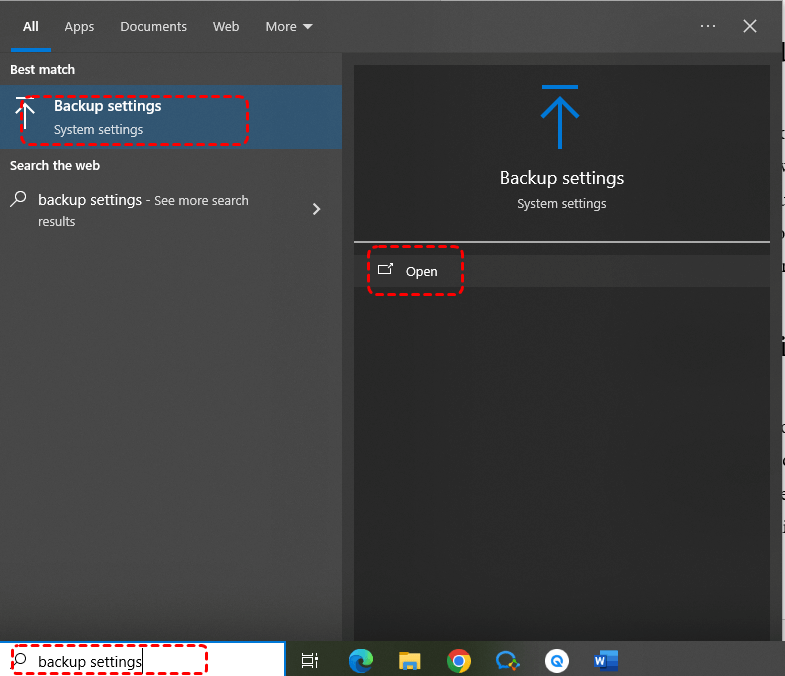
Step 1. Type "Backup settings" in the Start menu and open it.
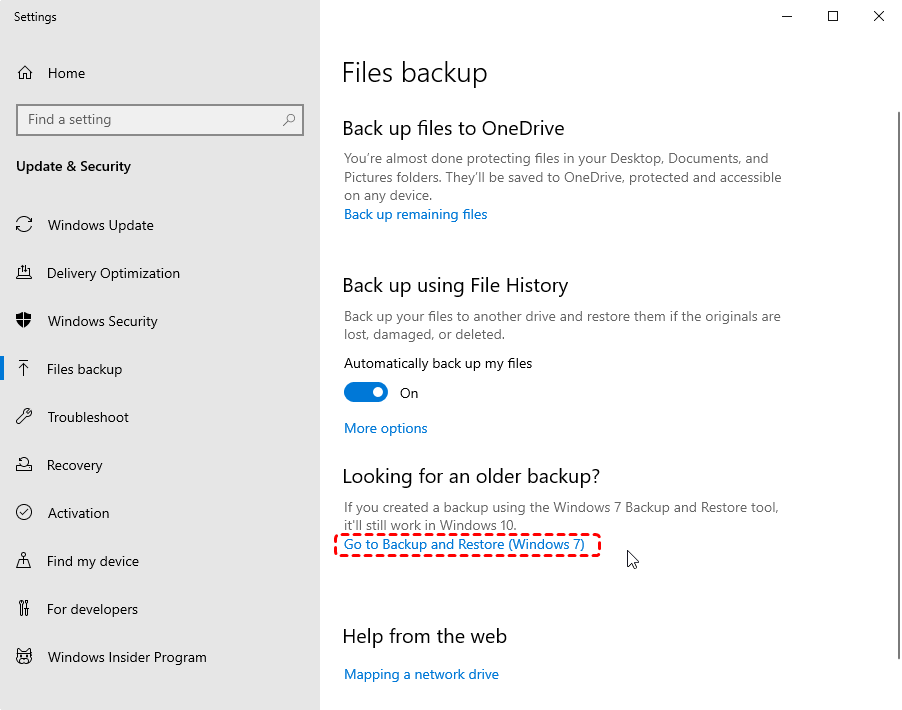
Step 2. Select "Go to Backup and Restore (Windows 7)", then click "Select another backup to restore files from".
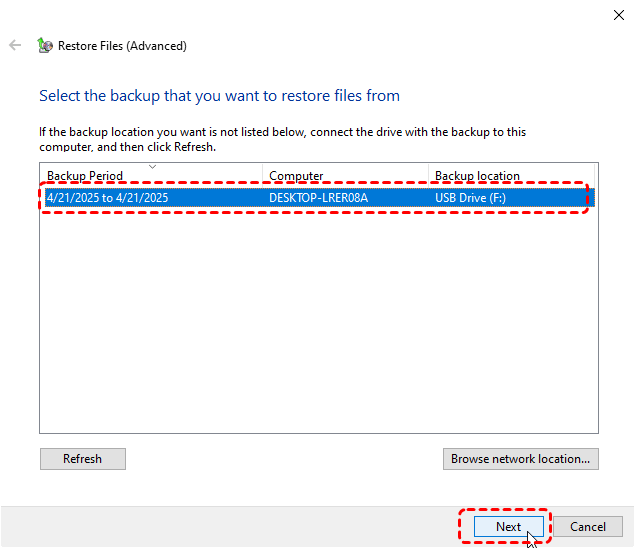
Step 3. Choose a created backup to restore files from.
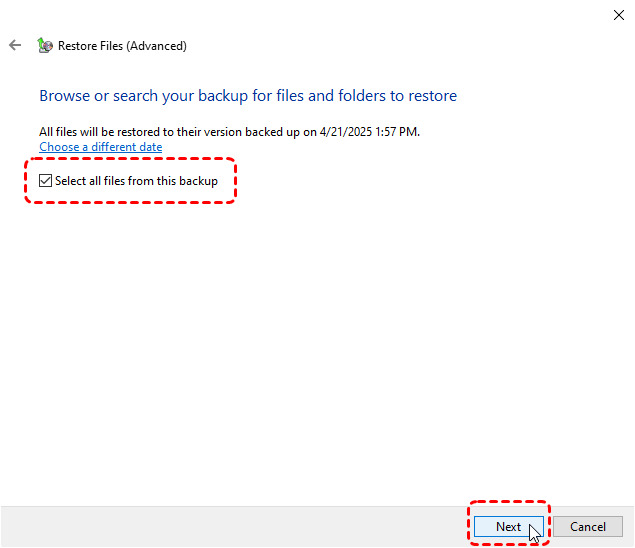
Step 4. Select files or folders you want restore. If you don't want to restore all the files in the backup, you can click "Browse for files" to select specific file.
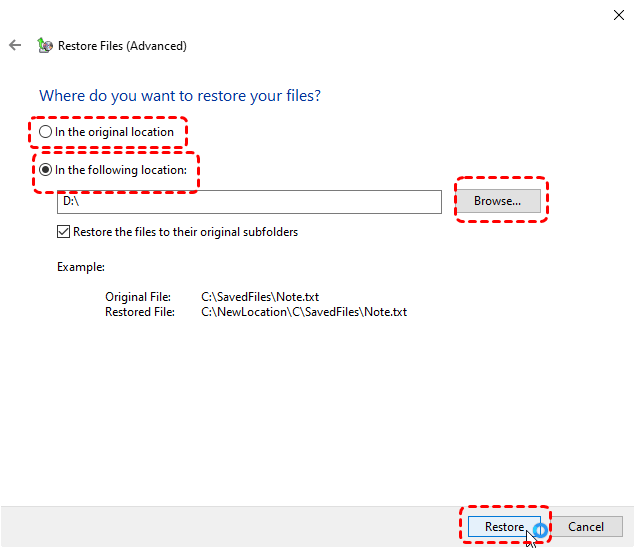
Step 5. Select a destination to save the restored files and click "Restore" to start the process.
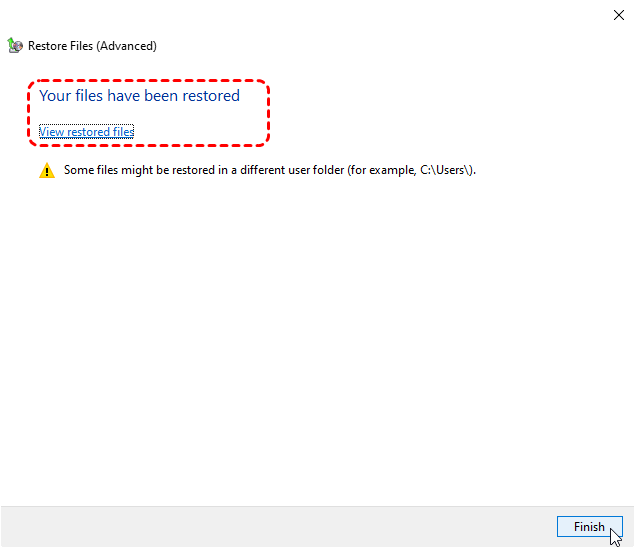
When the message "Your files have been restored" pops up, you can click "View restored files" to check them.
Method 4. Restore from Cloud Storage
If you've synced PC files to cloud storage tools like Google Drive, OneDrive, or Dropbox, the cloud's Recycle Bin remains unaffected even if the PC's Recycle Bin is emptied. You can still restore files from the cloud Recycle Bin (within 30 days). Here's take OneDrive as example:
Step 1. Sign in to your Microsoft account.

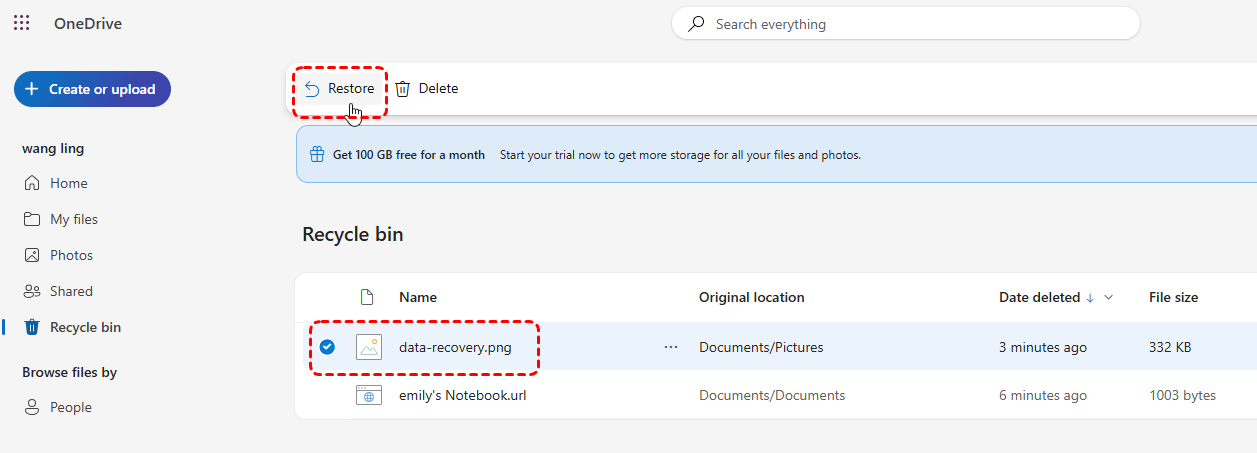
Step 2. Select "Recycle bin", browse and select the files you want to recover.
Step 3. Click "Restore" to recover the deleted files to its original location.
Method 5. Windows File Recovery
Windows File Recovery is a free, built-in tool from Microsoft that helps users recover deleted files from various storage devices, including hard drives, USB drives, and SD cards. It supports running on Windows 10 and 11, only supports the most common file formats, and has no user graphical interface. In emergency situations without backups, you can also try using Windows File Recovery command to recover deleted files from Recycle Bin after empty.
Step 1. Download and install Windows File Recovery from the official channel.

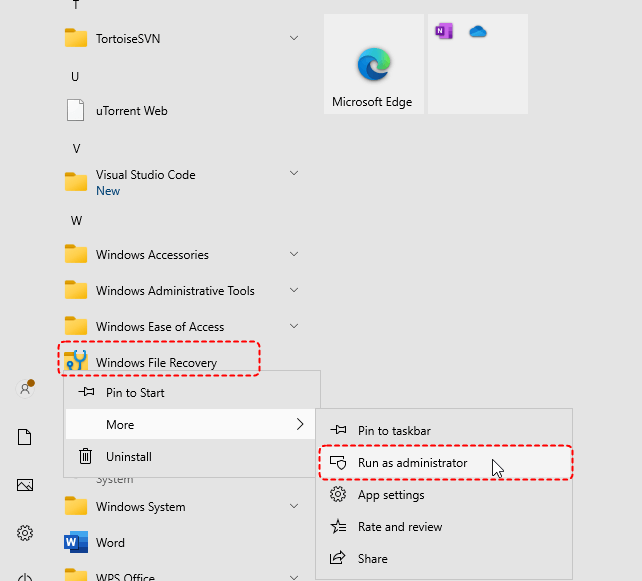
Step 2. Type "Windows File Recovery" in the Start menu and right-click to select "Run as administrator".
Step 3. Enter the command "winfr D: E: /extensive" to perform a comprehensive scan for the drive with lost files (replace drive letters "D" and "E" with your actual drive letter), then press "Enter".
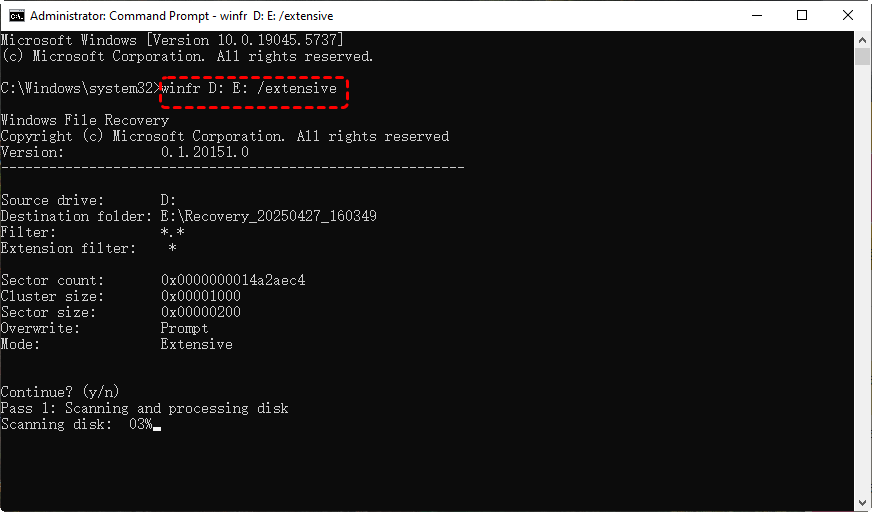
Step 4. Press "y" to continue the process. When the process is completed, you can press "y" to check the recovered files in the destination folder.
- ★Tips:
- D: the source drive.
- E: the destination drive.
- Extensive: the mode, to run a deep scan for the drive.
If you want to recover specific file or file types, you can add the filter command after the basic structure. For example, if you want to recover audio files from the G source drive, you can enter the command "winfr G: E: /extensive /n *mp3".

Method 6. Third-Party Recovery Tool—MyRecover
If you had no backups before file loss and dislike command-line tools, MyRecover is tailor-made for you. It recovers files without requiring backups, featuring a user-optimized graphical interface that allows even novices to complete data recovery independently by clicking icons. MyRecover runs on multiple devices, including Windows 11/10/8.1/8/7 and Servers. Additionally, it restores over 1,000 file formats, such as images, videos, compressed files, emails, and more.

- No Tech Skills Needed: User-friendly interface designed for beginners and non-tech-savvy users.
- Supports Over 1000 File Types: Recover photos, videos, documents, emails, ZIP files, and more.
- Supports Multiple Storage Devices: Works seamlessly with internal and external HDD, SSD drives, USB flash drives, SD/memory cards, digital cameras, and more.
- Safe & Read-Only Process: Your original data remains untouched during the scan and recovery process.
4 steps to recover deleted files from recycle bin after empty
Step 1. Download and install MyRecover on your computer, avoid installing it on the drive with lost files.
Step 2. Select the drive where the data was stored before being deleted to the recycle bin and click "Scan".

Step 3. Choose the file you want to recover from the recoverable lists and click "Recover".

Step 4. Select a different location (not the original drive) to avoid overwriting any uncovered data.

When the message "Files have been recovered successfully" pops up, you can click the path to recovered files to check them.

FAQs
1. Where do files go when you empty the Recycle Bin?
When you empty the Recycle Bin, the files are not immediately erased from your hard drive. Instead, the space they occupied is marked as "available" for new data, but the actual data remains on the drive until it is overwritten by new files.
2. How to make deleted files unrecoverable?
To make deleted files unrecoverable, you need to overwrite the data with random information, making it impossible to recover the original file.
3. How can I recover permanently deleted files from Recycle Bin without File History?
If you've permanently deleted files from the Recycle Bin (i.e., emptied the Recycle Bin) and there is no File History or backup, recovery becomes more challenging—but still possible with MyRecover. It recovers permanently deleted files without requiring backups.
Summary
In short, it's entirely possible to recover files from emptied Recycle Bin on Windows 10/11 using the methods above. Nevertheless, always think twice before emptying the Recycle Bin. If you are seeking solutions for recovering deleted files from Recycle Bin after emptied, tools like MyRecover give you an opportunity to retrieve your files.
Moreover, the Professional and Technician editions of MyRecover can recover files from corrupted Windows system, and they allow unlimited data recovery and let you preview the file contents before getting them back.


Stay Updated With Our
Latest Tips
Add us as a preferred source on Google to never miss helpful guides.