
2 Must-Have Free Tools for Directly Restoring Files
Looking for a reliable tool for directly restoring files without complex setups or recovery steps? This article introduces top-rated software for directly restoring files, offering users efficient and user-friendly solutions to recover deleted, lost, or corrupted data.
By Emma / Updated on July 21, 2025
Why Need Tools for Directly Restoring Files?
File loss can happen unexpectedly—accidental deletion, formatting errors, system crashes, or malware attacks can all lead to valuable data disappearing in seconds. Built-in recovery options like the Recycle Bin or system restore points are often limited and may not help once files are permanently deleted or storage becomes corrupted.
That’s why using a tool for directly restoring files is essential. These specialized programs scan deep into your storage device to recover lost data, even when the file system fails to recognize it. They eliminate the need for complex manual recovery steps and offer a faster, more reliable way to get your files back.
Whether you're recovering work documents, family photos, or important system files, the right software tool for directly restoring files ensures you won’t lose what matters most.
2 Free Tools for Restoring Personal Files in Windows Computers
Accidentally deleted an important file? Lost data after formatting or a system crash? Don’t worry—there are free tools for restoring personal files in Windows that can help you recover your data quickly and easily. Below are two trusted options: Windows File Recovery and MyRecover.
1. Windows File Recovery (by Microsoft)
If you are one of tech-savvy users looking for a free, official tool, the Windows File Recovery can be a great option. It is a command-line utility developed by Microsoft, helping users recover deleted files from local storage devices like hard drives, SSDs, and USB flash drives. While it’s powerful and completely free, it requires familiarity with command-line syntax.
- ★Highlights:
- Supports NTFS, FAT, exFAT file systems
- Works with internal and external drives
- Offers regular and extensive recovery modes
- Official Microsoft tool (no third-party risks)
❌Only works on Windows 10 and Windows 11.
❌ Command-line only—no graphical interface.
❌ Not ideal for beginners.
Step 1: Install Windows File Recovery
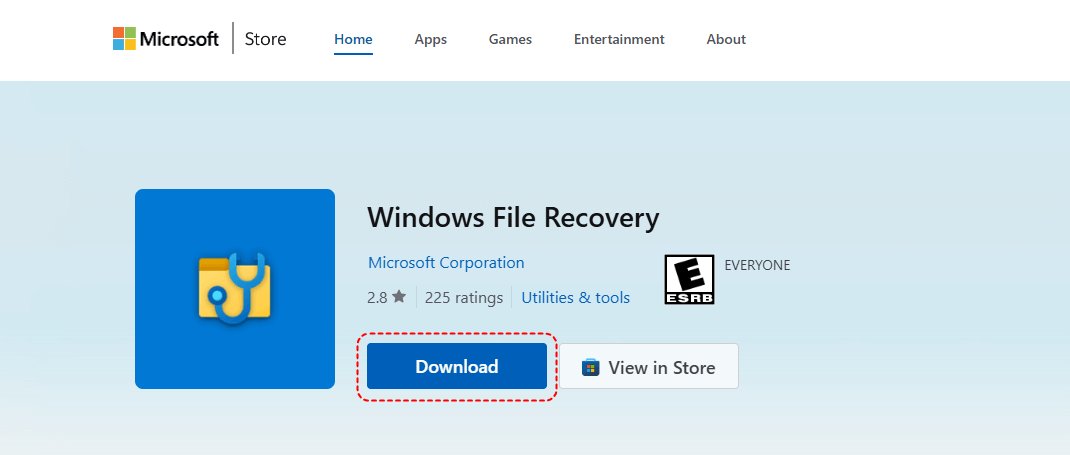
1. Open Microsoft Store on your PC. Search for "Windows File Recovery". Click "Download" to download and add it to your system.
Step 2: Open Command Prompt as Administrator
Press "Windows + S", search for "Command Prompt", right-click it, and choose "Run as administrator”.

Step 3: Understand the Basic Command Format
winfr source-drive: destination-drive: /mode /switches
- source-drive: – the drive where files were lost
- destination-drive: – the drive to save recovered files (must be different).
- /mode – choose from "Regular", "Extensive", or "Segment".
- /switches – specify file type, folder path, etc.
Step 4: Example Command
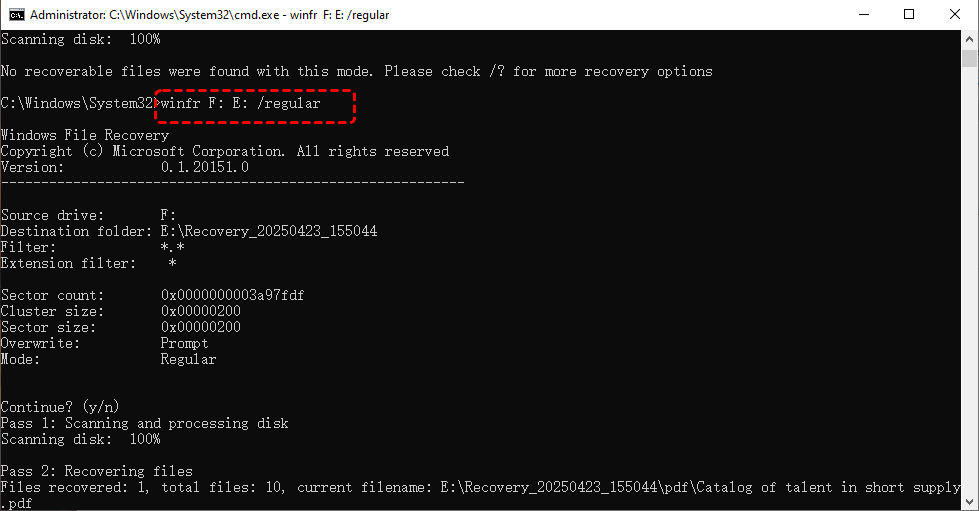
To recover recently deleted .docx files from "F:"and save them to "E:", run: winfr F: E: /regular
Step 5: Wait for Scan and Check Recovered Files
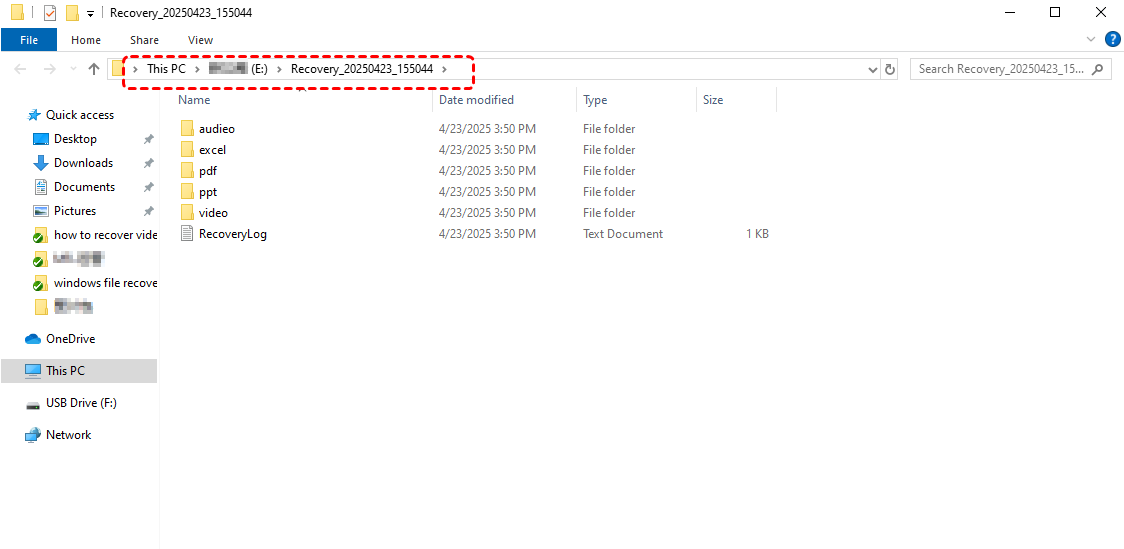
The scan will begin and a recovery folder will be created in your destination drive (e.g., `E:\Recovery_`).Open the folder and check if your lost files have been restored.
- Notes:✎...
- Use "/n"to define a specific path or file type (e.g., /n \Users\John\Documents\*.pdf`)
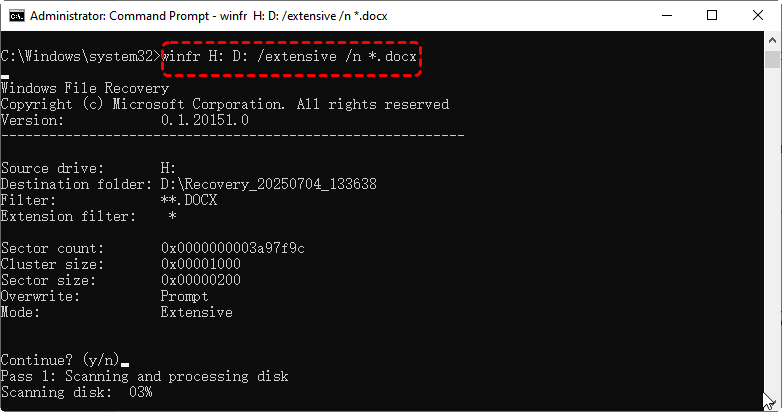
- If regular mode doesn’t work, try "/extensive"for a deeper scan: winfr H: D: /extensive /n *.docx
-

2. MyRecover (by AOMEI)
If you are a beginner and everyday user who prefers a visual interface, then try MyRecover instead. It is a user-friendly data recovery tool developed by AOMEI. Unlike Windows File Recovery, it offers a clean and intuitive interface, making it ideal for non-technical users. It can recover files deleted by mistake, lost due to formatting, file system corruption, power failure, etc.
- ★Highlights:
- Supports recovery from HDDs, SSDs, USB drives, and SD cards
- Compatible with NTFS, FAT32, exFAT, ReFS, and even Ext file systems
- Allows quick filtering by specific file types for faster targeting
- Offers both Quick Scan and Deep Scan for comprehensive recovery
- Fully supports all major Windows versions, including 11, 10, 8, 7, and Server 2025/2022/2019/2016/2012.
Step 1: Download and Install MyRecover
Go to the official website and free download the software tool for restoring personal files directly. Then install the program following the prompts.
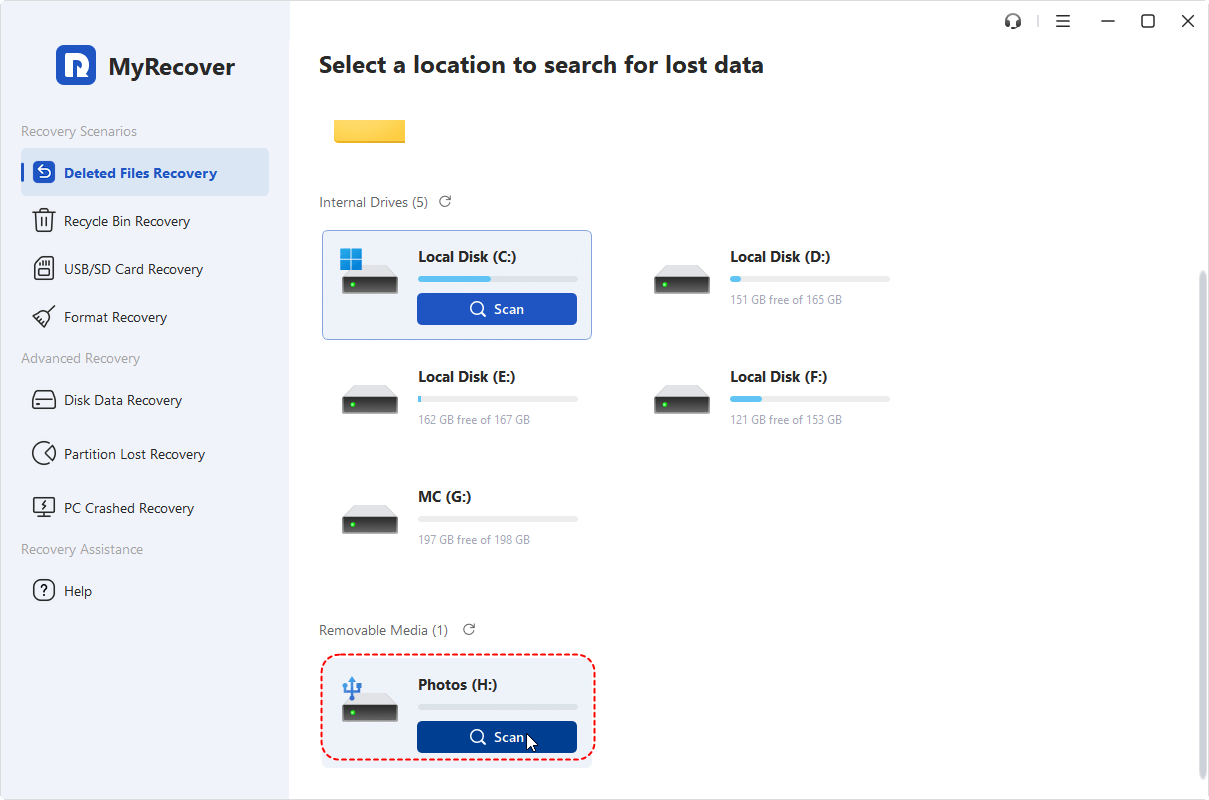
Step 2: Launch MyRecover and Scan the Drive
Open MyRecover. On the home screen, select the drive or partition where your data was lost (e.g., Local Disk C, USB drive, SD card, etc.). Click "Scan" to start the scanning.
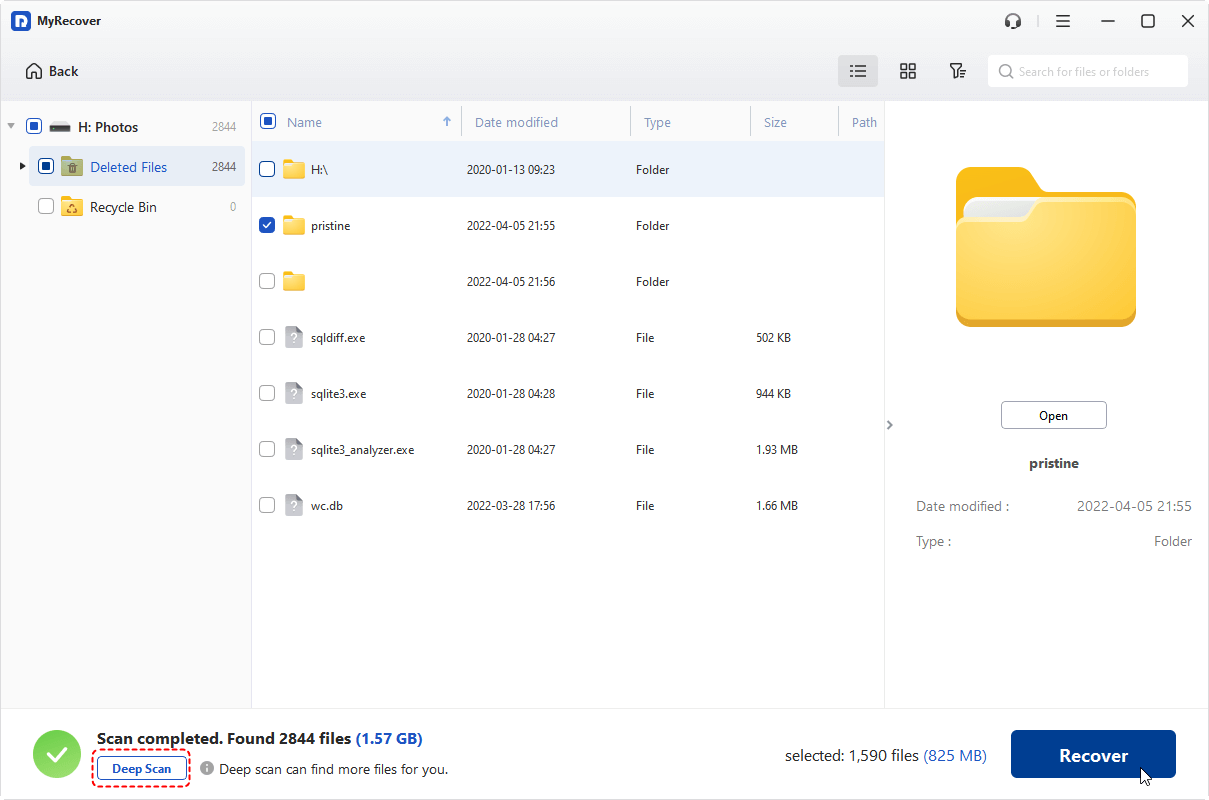
Step 3: Filter and Choose Target Files
MyRecover will begin with a "Quick Scan" or a "Deep Scan", according to the status of the drive. If the "Quick Scan" does not find the files you want to recover, manully choose "Deep Scan" instead. Use the left panel or search bar to filter files by type (Documents, Photos, Videos, etc.) or name.
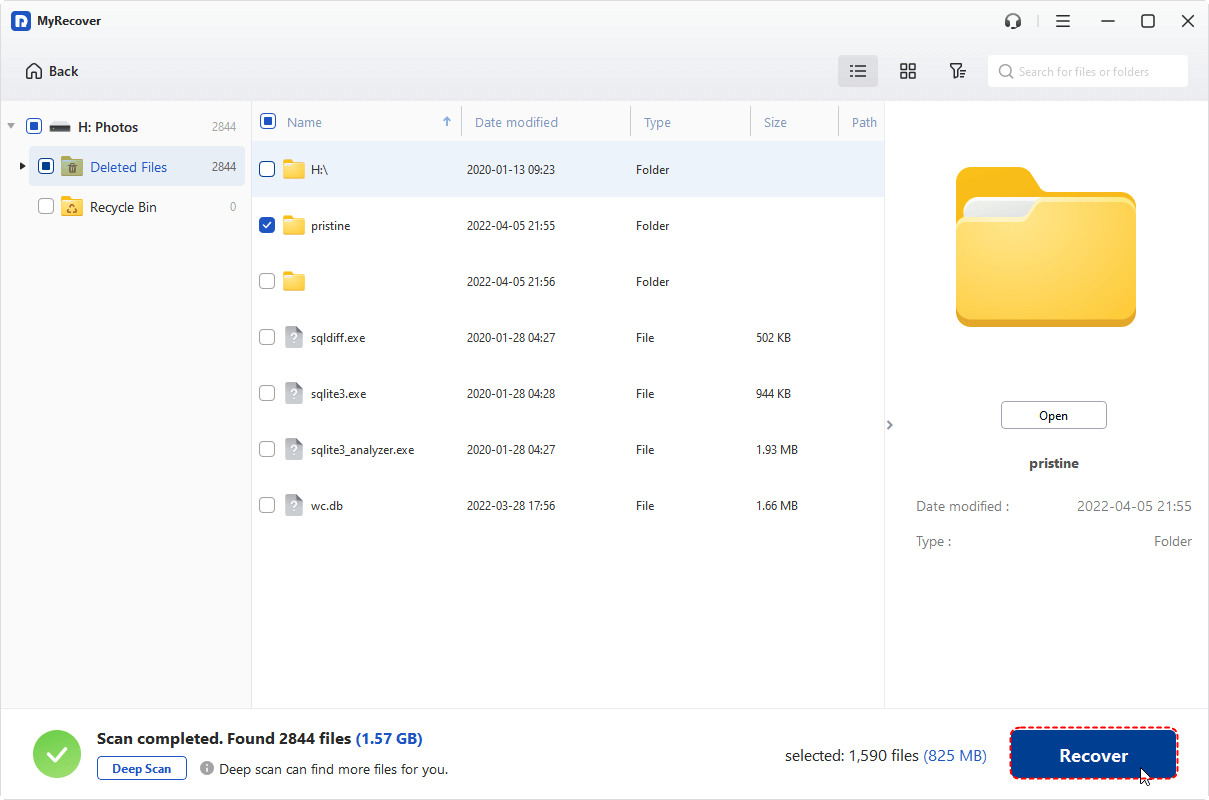
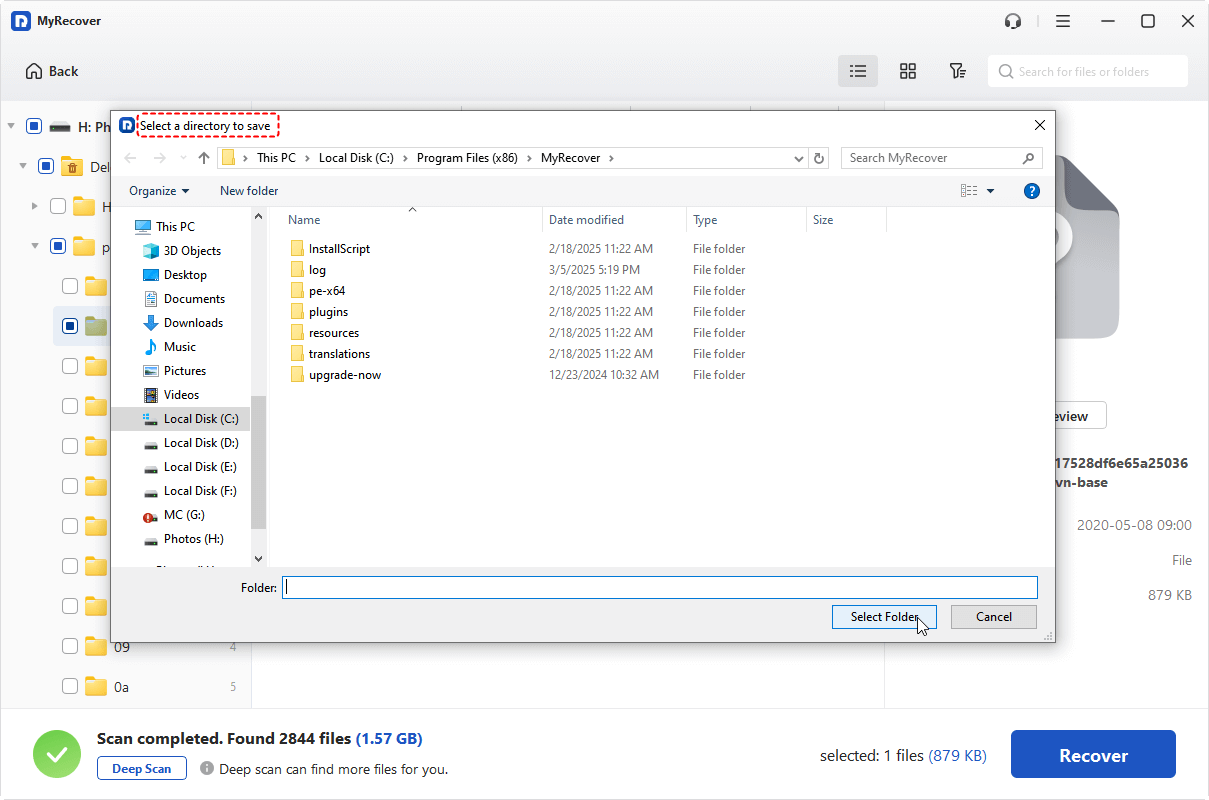
Step 4: Recover Your Files
Select the files you want to recover, then click "Recover". Choose a different drive (not the original one) to save the recovered files.
- Note:✎...
- The free version limits the amount of data that can be recovered—up to 500MB per account. For unlimited data recovery and access to additional features, you can upgrade to the Professional edition and unlock even more powerful capabilities, like recovering files from unbootable computers.
Final Thoughts
If you’re comfortable with command-line toolsfor directly restoring files, Windows File Recovery offers a completely free and secure way to recover files. For a smoother, more visual experience, MyRecover is a great choice—especially for everyday users.No matter which you choose, both tools are reliable options to help restore personal files on Windows computers without paying a cent.


Stay Updated With Our
Latest Tips
Add us as a preferred source on Google to never miss helpful guides.