
What Happens When Windows 10 Support Ends? What You Need to Do?
Windows 10 support will eventually end, meaning Microsoft will stop providing security updates, bug fixes, and technical assistance. Continuing to use Windows 10 after support ends can expose your PC to security vulnerabilities and software incompatibilities. This article outlines the Windows 10 end-of-support timeline and provides practical steps to prepare, including upgrading to Windows 11, backing up important data, and considering data recovery solutions for emergencies.
By Emma / Updated on October 22, 2025
What Happens If Support On Windows 10 Stops?
Windows 10 will reach the end of its extended support on October 14, 2025. After this date, Microsoft will no longer provide:
- Technical support for any issues
- Software updates
- Security patches and fixes
This doesn’t mean your computer will immediately stop working, but it does introduce several long-term risksbecause of the lack of ongoing software and security updates, including:
- Increased vulnerability to cyber attacks: Your system becomes more susceptible to viruses, ransomware, and phishing threats without ongoing security updates.
- Application issues: Some programs may stop working properly if they rely on updated Windows features or security protocols.
- Hardware incompatibility: Drivers for printers, graphics cards, or other peripherals may no longer receive updates, potentially causing malfunctions.
- Data loss and productivity impact: Both personal and business users could face data loss or reduced productivity if the system is compromised.
What To Do When Windows 10 Support Ends
When Microsoft ends support for Windows 10, your computer won’t suddenly stop working, but it will gradually become less secure and less reliable. Without updates and patches, the risks of malware, data loss, and system instability will increase over time. To stay protected and ensure a smooth transition, users should take proactive steps well before the official end date.
Upgrade to Windows 11
The most effective way to stay secure after Windows 10 reaches its end of support is to upgrade to a newer, supported system. Windows 11 is Microsoft’s latest operating system and will continue receiving feature updates and security patches. By upgrading, you’ll have access to improved performance, modern security features like TPM 2.0 requirements, and compatibility with new software and hardware.
Step 1: Check System Requirements
Windows 11 has stricter requirements than Windows 10. At a minimum, your PC needs:
- A compatible 64-bit processor with 1 GHz or faster speed and at least 2 cores
- 4 GB RAM or more
- 64 GB storage or more
- UEFI firmware with Secure Boot enabled
- TPM (Trusted Platform Module) version 2.0
- A DirectX 12-compatible graphics card with a WDDM 2.0 driver
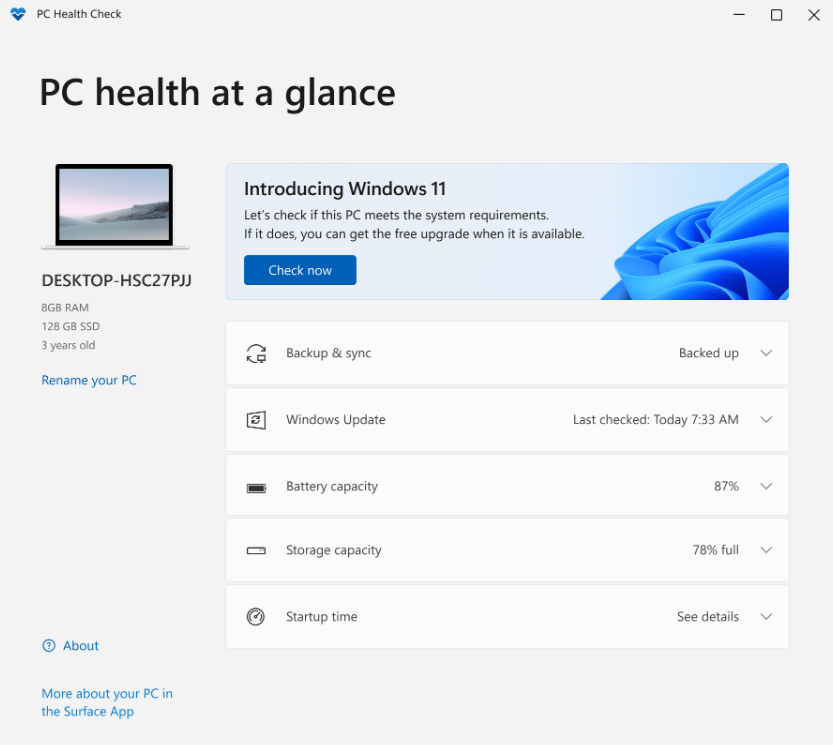
To confirm compatibility, download and run Microsoft’s free PC Health Check tool, which will show whether your device meets all the requirements.
If your current PC doesn’t meet Windows 11 requirements, you may consider upgrading your hardware.
Step 2. Get the Windows 11 Upgrade
If your PC is eligible, Microsoft offers the Windows 11 upgrade for free through Windows Update.
- Go to "Settings > Update & Security > Windows Update".
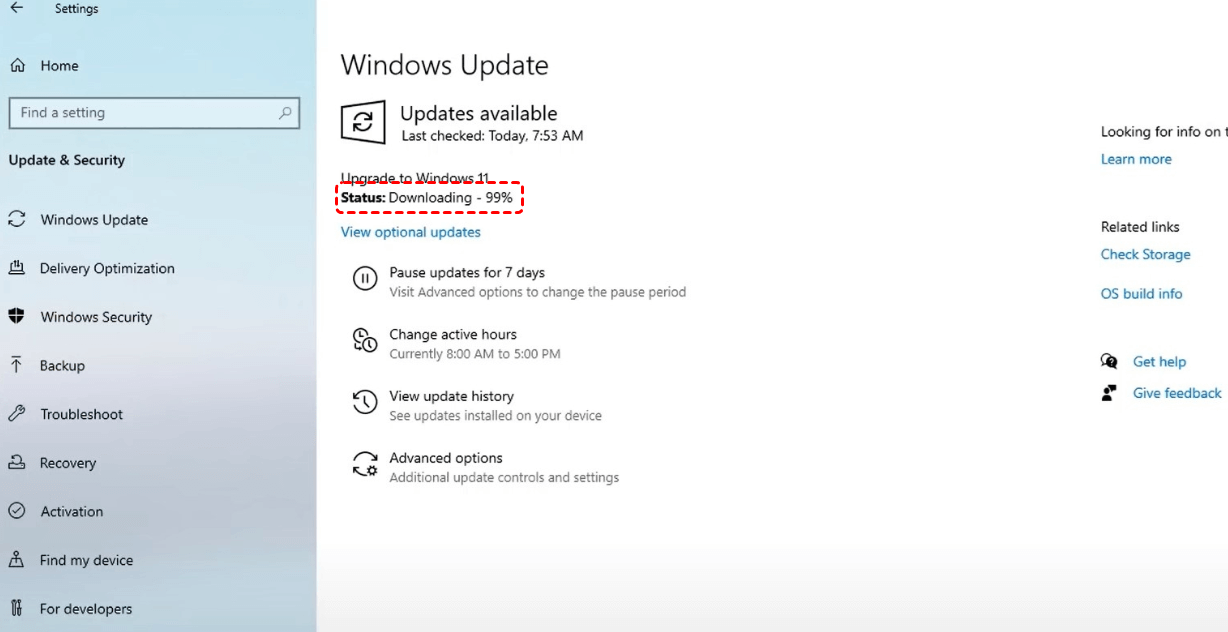
- Check for updates, and if Windows 11 is available, you’ll see an option to "Download and Install".
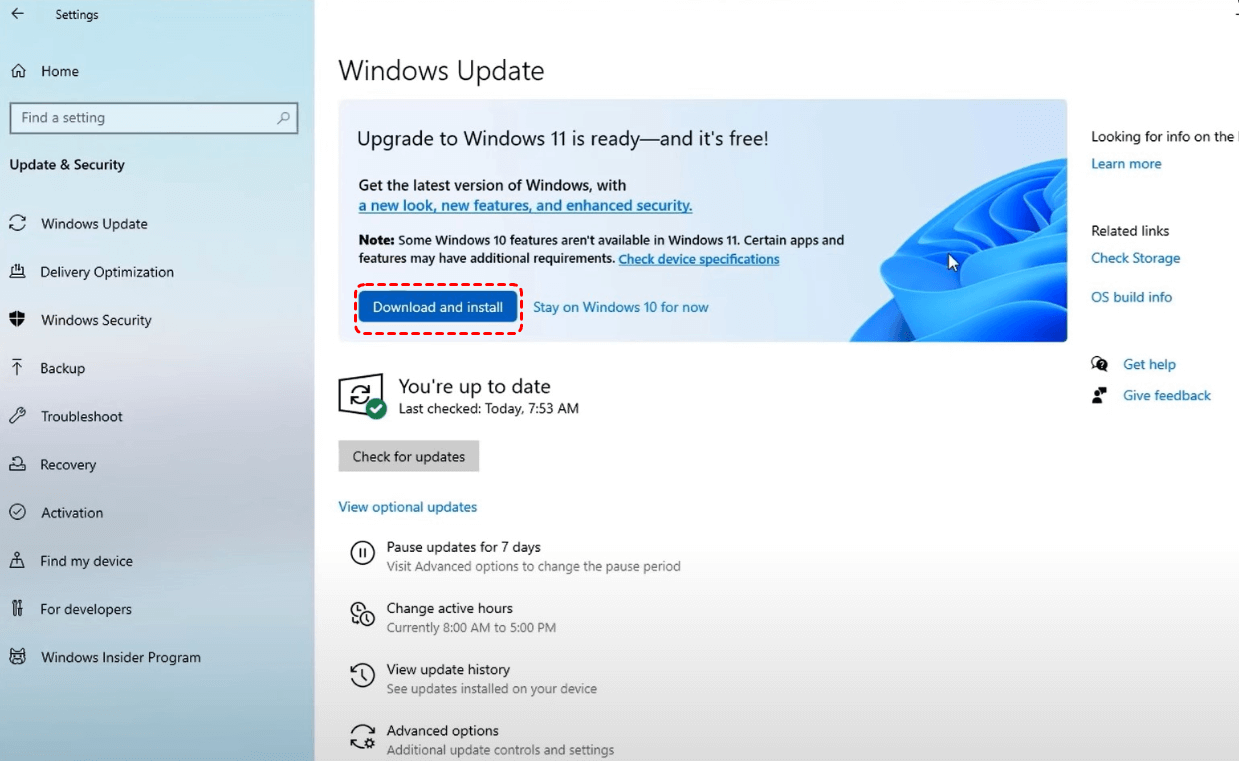
- Follow the on-screen instructions to complete the upgrade.
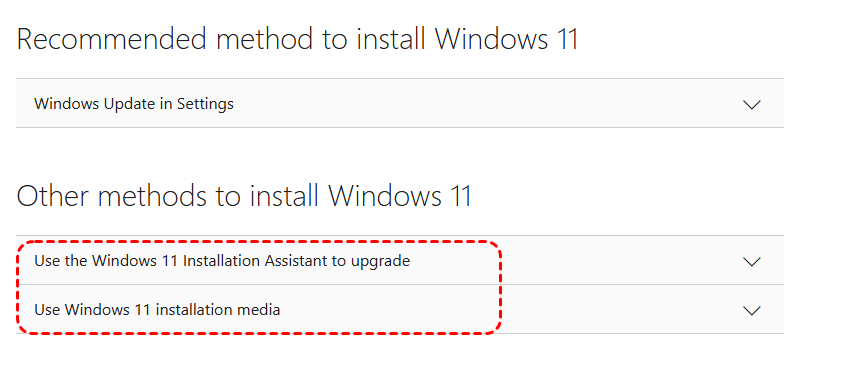
For unsupported devices, you may explore manual installation using an ISO file from Microsoft’s websiteor through installation media (for more details, check or ways to install Windows 11 offered by Microsoft), but this approach isn’t recommended because it may result in compatibility and security issues.
Step 3: Post-Upgrade Setup
Once the upgrade is complete:
- Reconnect your Microsoft account to sync settings and files.
- Reinstall or update any applications that may not have transferred.
- Check for driver updates to ensure all your peripherals (printers, scanners, graphics cards) work properly.
Back up Important Data
When Windows 10 support ends, protecting your files becomes more important than ever. One of the most convenient ways to secure your documents, pictures, and other personal files is by using Windows File History, a built-in backup feature.
Step 1. Connect an external drive (HDD, SSD, or large USB).

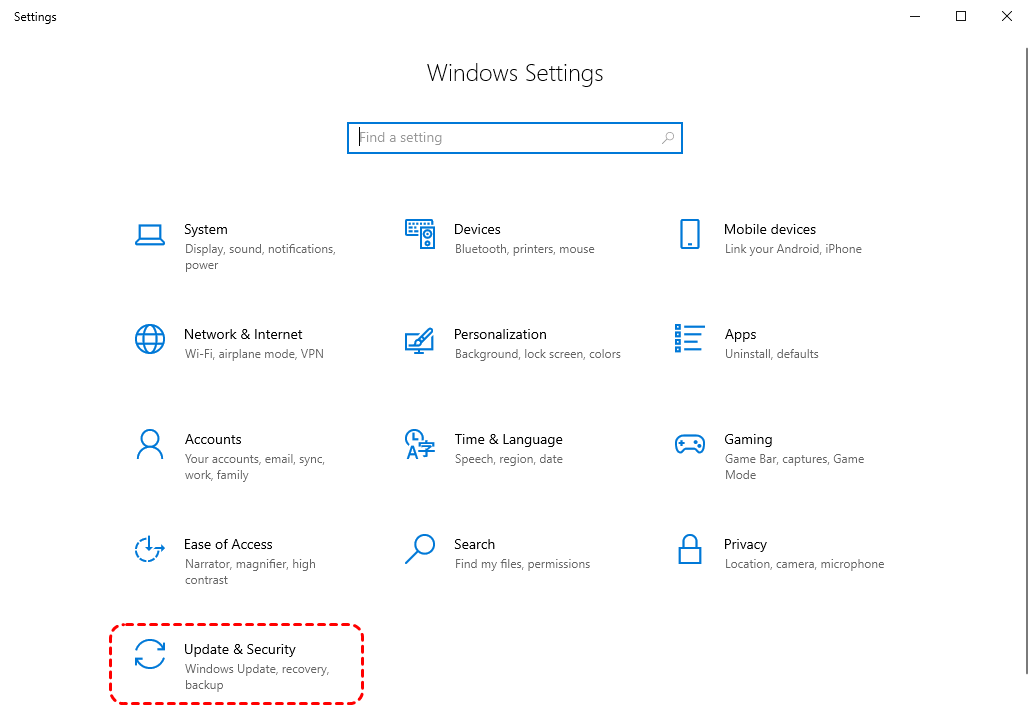
Step 2. Go to "Settings > Update & Security > Backup".
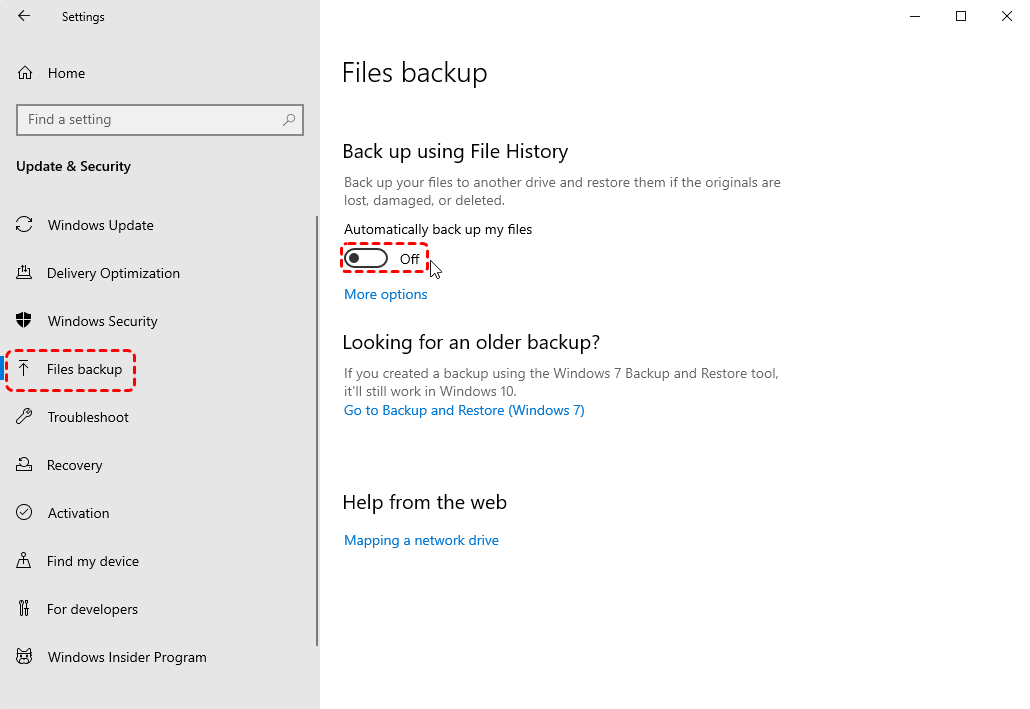
Step 3. Turn on "Automatically back up my files".
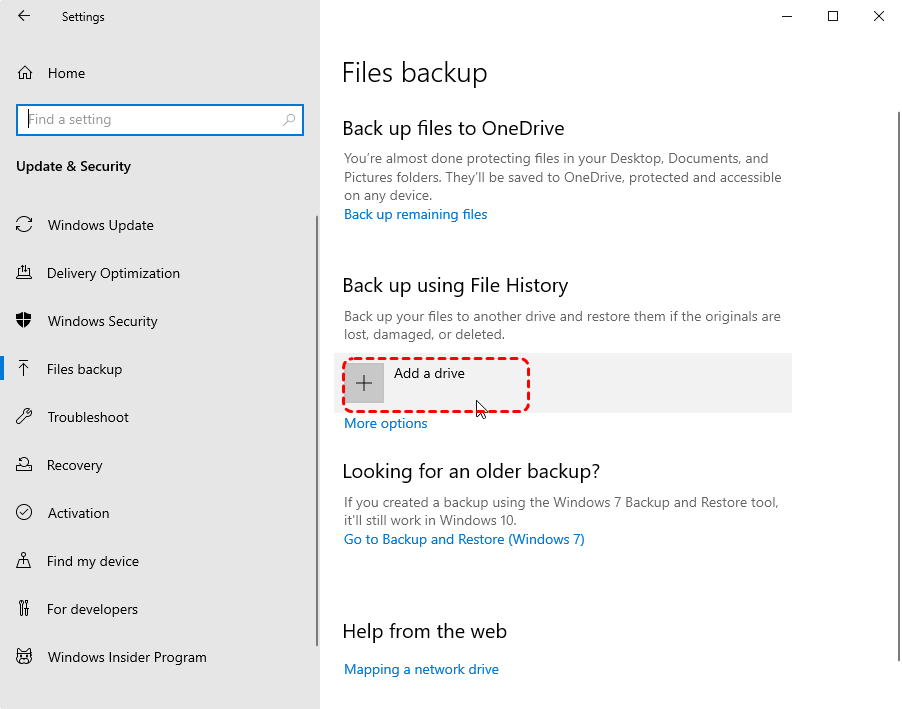
Step 4. Select "Add a drive" and choose the connected storage device.
Step 5. Use the "More options" link to customize how often backups occur and how long they’re kept.
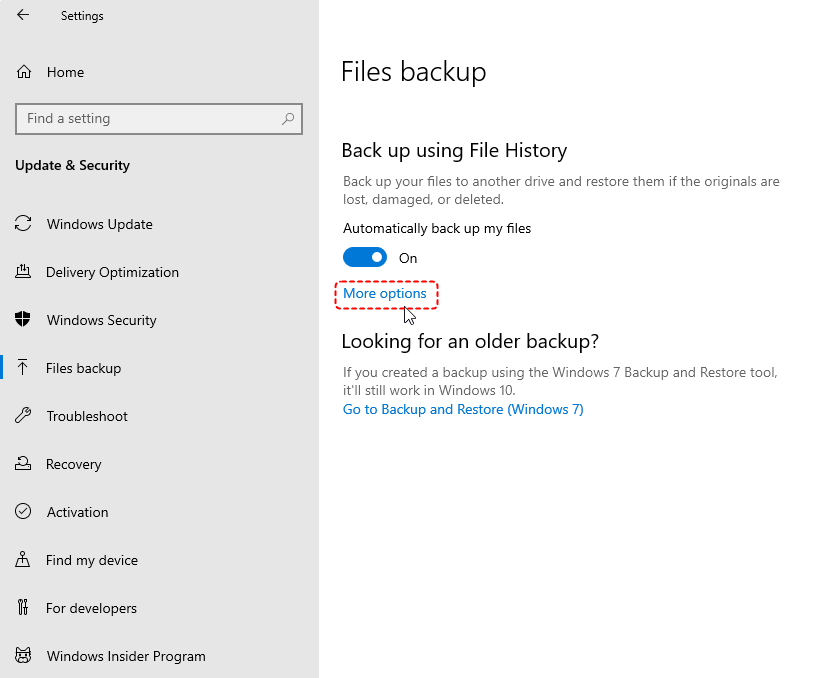
With File History, Windows will automatically back up copies of your files at regular intervals. If a file is lost, corrupted, or accidentally deleted, you can easily restore from Windows File Recovery.
- For extra protection, combine File History with cloud storage services such as OneDrive or Google Drive. This way, even if your external drive is damaged or lost, your important files remain safe online.
- Consider creating a system image backup if you want a complete snapshot of your PC, including Windows settings, installed programs, and system files. This allows you to restore the entire system in case of serious failures.
- You can also make a full backup through "Backup and Restore (Windows 7)", a legacy tool still included in Windows 10. It enables you to create scheduled backups of files or generate a system image for disaster recovery.
Prepare Data Recovery Solutions
Even with careful planning, problems such as accidental deletion, drive corruption, or malware attacks can occur. That’s why it’s wise to have a data recovery tool on hand. Reliable software like MyRecover allows you to quickly restore deleted or lost files from your PC, external hard drives, or even formatted storage devices.

- ✨500+ Devices Supported | SSD, HDD, USB Flash Drive, SD Sard, etc
- ✨1000+ File Formats Supported | PNG, MP4, MP3, TXT, ZIP, MSG, etc
- ✨500+ Data Loss Scenarios | Deletion, Format, System Crash, Virus Attack, etc
- ✨High Success Rate |Industry-leading 99% recovery success rate
- ✨AI-Powered Intelligent Recovery |Built-in AI file recognition & recovery algorithms
- ✨Preview | File preview to verify integrity before recovery
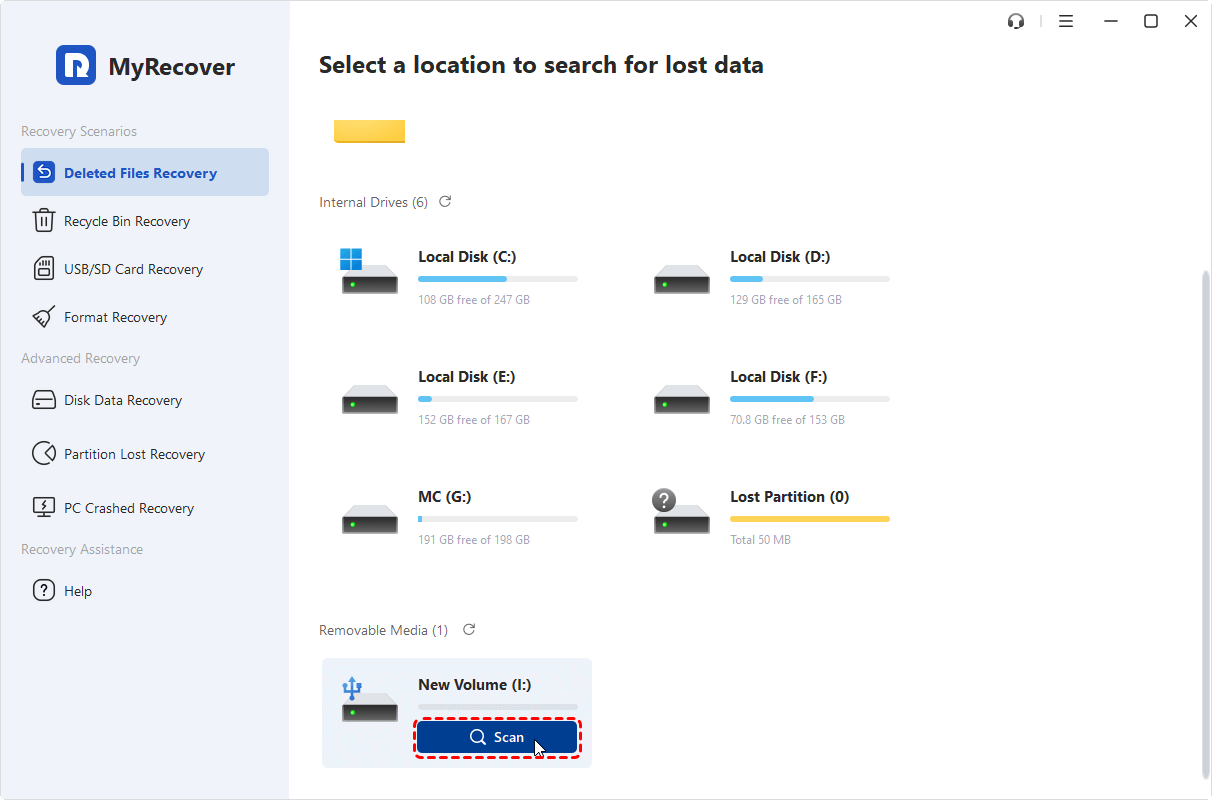
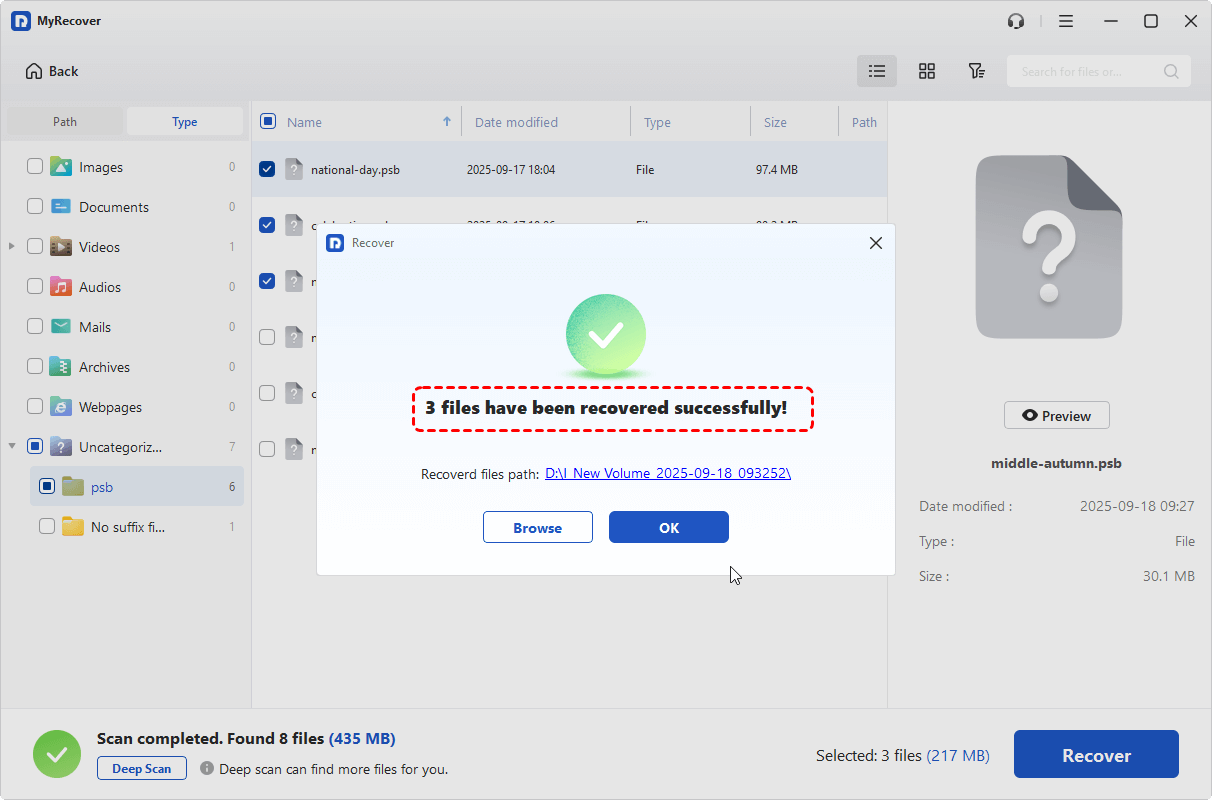
Step 1. Launch MyRecover, select the target drive and click on "Scan".
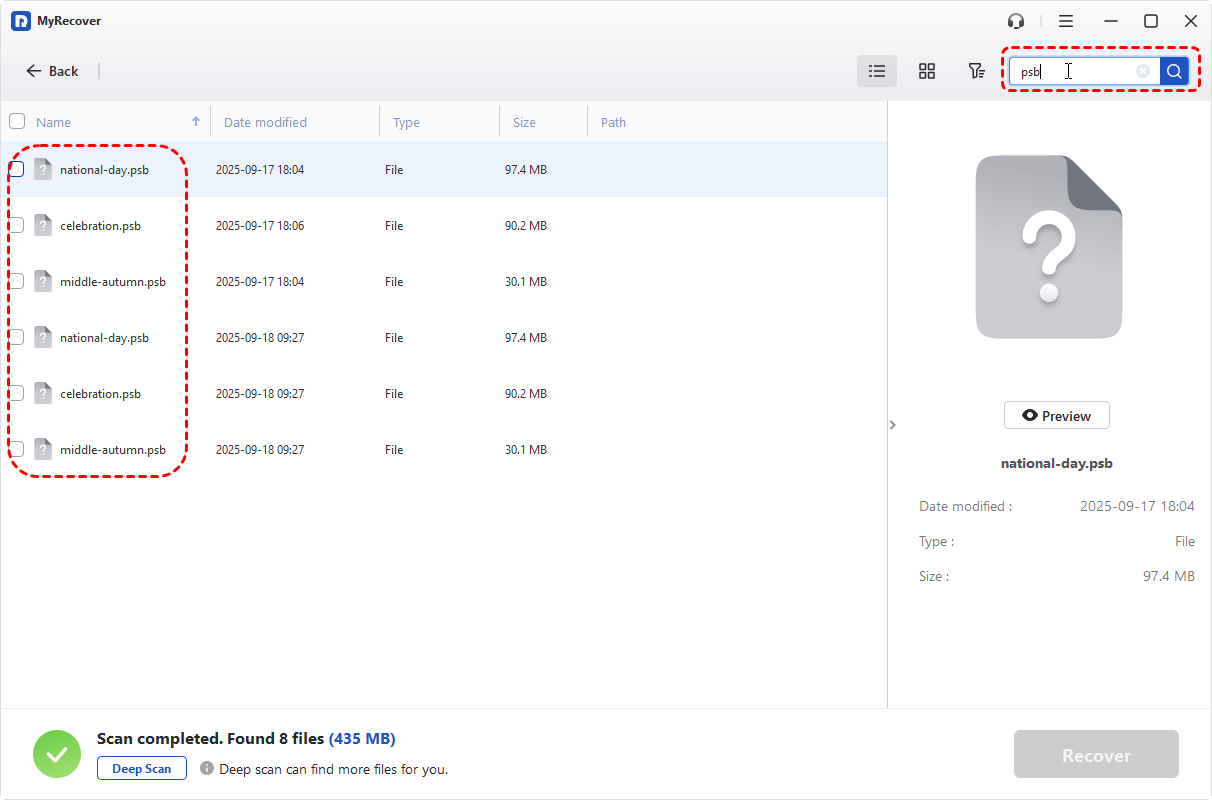
Step 2. After the scanning, browse through the result, search or filter what you need and click "Recover".
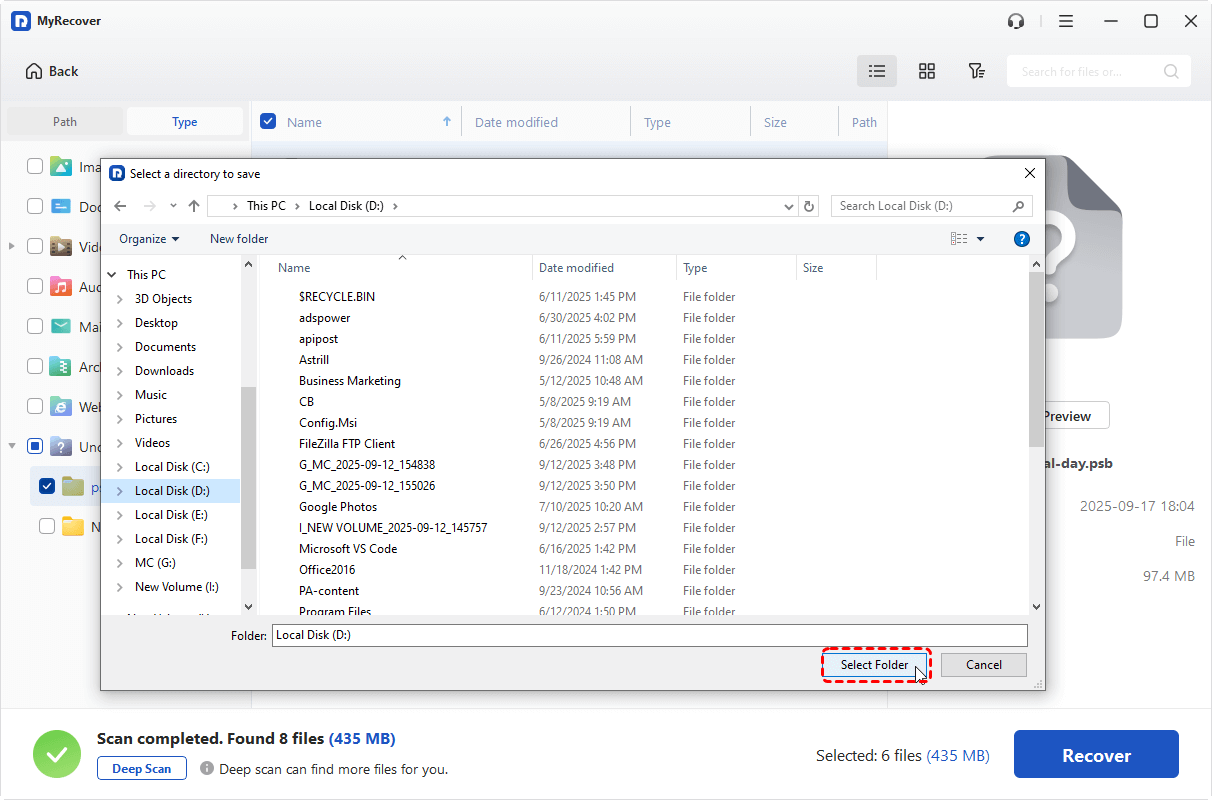
Step 3. Choose another different location to save the files. Wait for the process to complete.
Installing recovery software in advance ensures you’re prepared for emergencies. Instead of panicking when files go missing, you can act immediately to recover critical data. Think of it as an extra safety net alongside your regular backups.
To Conclude
Now you should have a clear understanding of what will happen when Windows 10 support officially ends on October 14, 2025, and the practical steps you can take to safeguard your data. By planning ahead and implementing these measures, you can ensure your computer remains secure, functional, and reliable even after Microsoft ends support.
For extra peace of mind, consider using MyRecover, a professional data recovery solution that helps you easily restore permanently lost or deleted files in just a few clicks. With powerful features and a high recovery success rate, it’s an excellent tool to keep your valuable data protected during this transition.


Stay Updated With Our
Latest Tips
Add us as a preferred source on Google to never miss helpful guides.