
Does File History Backup Everything? The Complete Truth About File History
While File History can efficiently back up a wide range of personal files stored in libraries, contacts, favorites, and desktop folders; it does have its limitations. In this guide, we'll explore exactly does File History backup everything on computer, and explain how it works helping you make the most of this powerful feature to protect data security to the greatest extent.
By Aria / Updated on June 17, 2025
Does File History Backup Everything?
When it comes to ensure your data is secure in Windows, File History is invariably the tool that comes to mind. File History is one of the most useful backup tools built into Windows. But the question that many users ask is: Does File History backup everything on my computer? While File History provides an automatic way to keep versions of your files, it's important to understand what exactly gets backed up and what doesn’t.
By default, File History is primarily focused on backing up personal files, including documents, photos, music, and videos. However, it does not back up everything on your system. Specifically, system files, installed applications, and some user settings are excluded from the backup. This means if your computer’s operating system or applications experience a failure, you won't be able to restore those directly from File History.
How Does Files History Backup Work
File History automatically backs up versions of files in your libraries. This includes files you create, modify, and save to these locations. The process is designed to work in the background, periodically saving versions of your files to an external hard drive or a network location.
Now that you have a clear understanding of the underlying mechanisms of File History backup, it's time to translate this knowledge into practical action. This section will guide you through the step-by-step process of enabling File History and recovering files from File History. From initial setup to customizing backup preferences, these instructions will help you leverage this powerful tool effectively and safeguard your important personal data with ease.
How to Enable and Configure File History in Windows 10
To ensure that File History is actively backing up your files, you’ll need to enable it first. Here's how to enable File History in Windows 10:
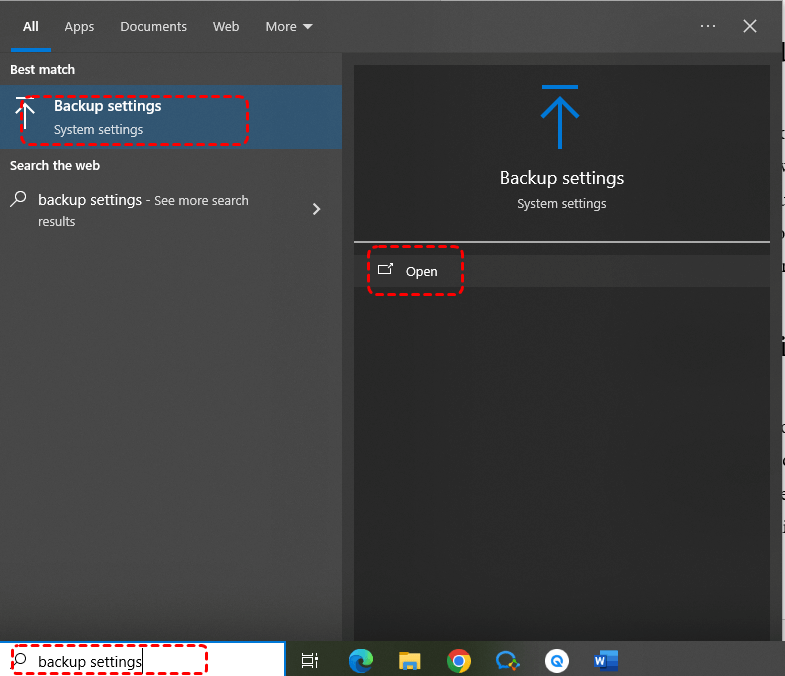
Step 1. Type "backup settings" in the Start menu and open it.
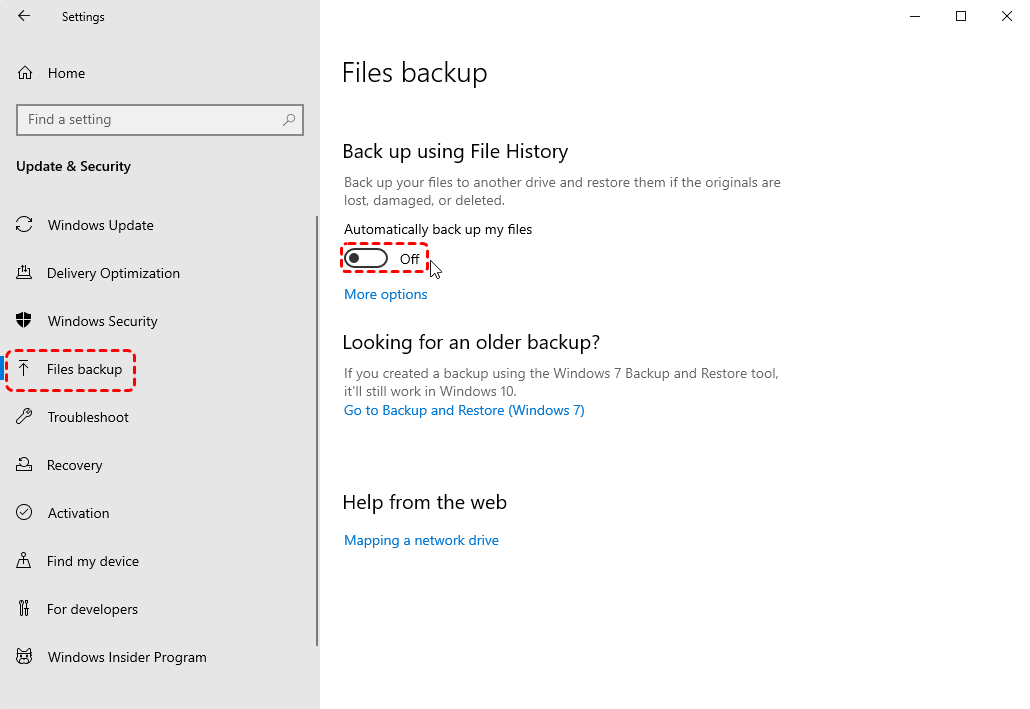
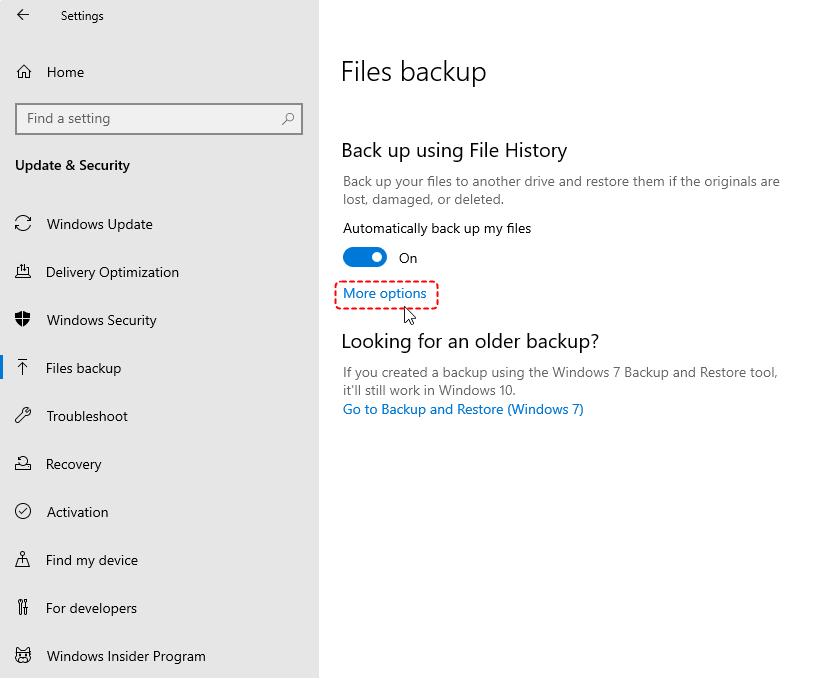
Step 2. Turn "Automatically back up my files" to ON.
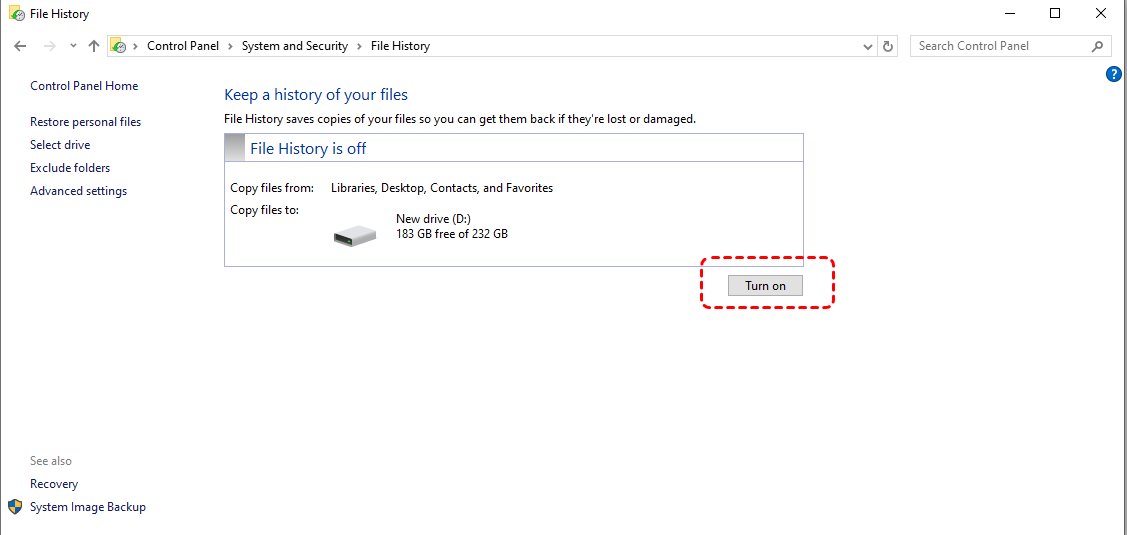
Alternatively, you can open "Control Panel". Under the "System & security", choose "Save backup copies of your files with File History". Then, select "Turn on" to enable File History.
Step 3. Click "More options" to set backup frequency and configure backup folders.
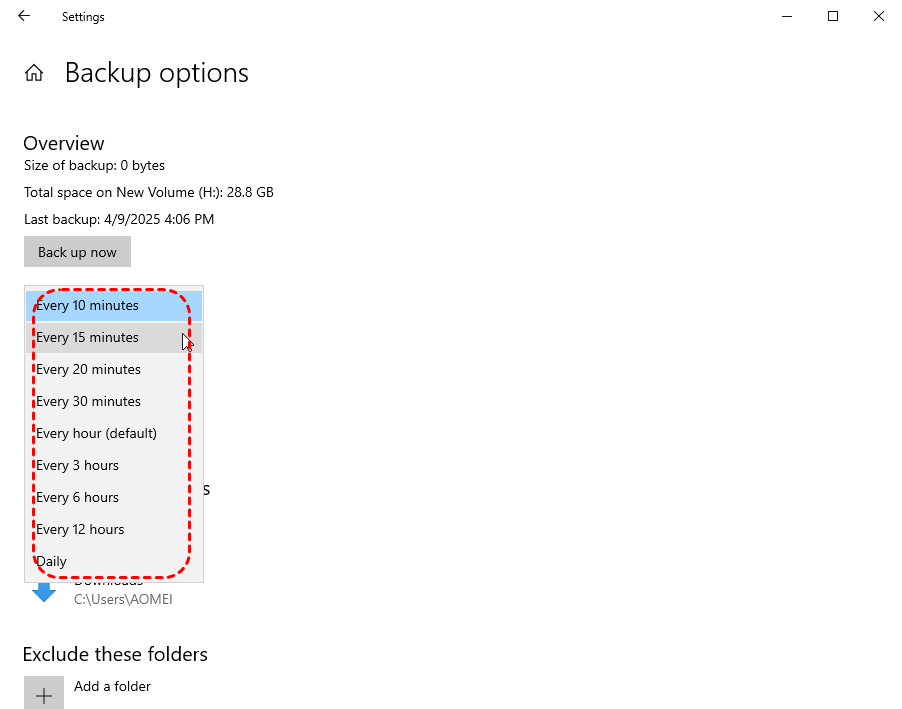
Step 4. Expand "Backup my files" to choose how often you want it to back up your files as your needs.
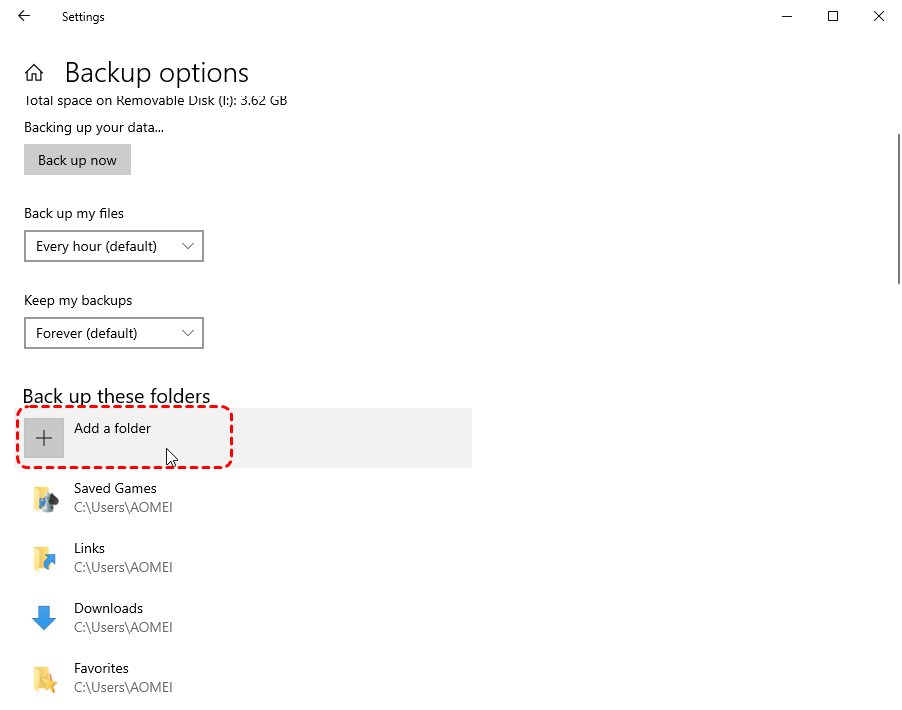
Step 5. Expand "Keep my files" to set backup retention period according to your desire.
Step 6. You can add any specific folder to File History backup plan. Similarly, you can also exclude folders from the backup plan.
Once enabled, File History will automatically back up the selected files or folders at regular intervals. It keeps versions of your important files, so you can restore previous versions if needed.
How to Restore Files from File History in Windows 10
If you had enabled File History before the file loss, recovering the lost files from File History backups is straightforward. Here are two methods to restore lost files from File History.
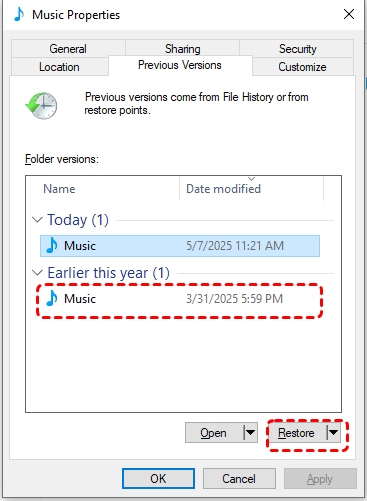
Method 1. Restore Previous Versions in File Explorer
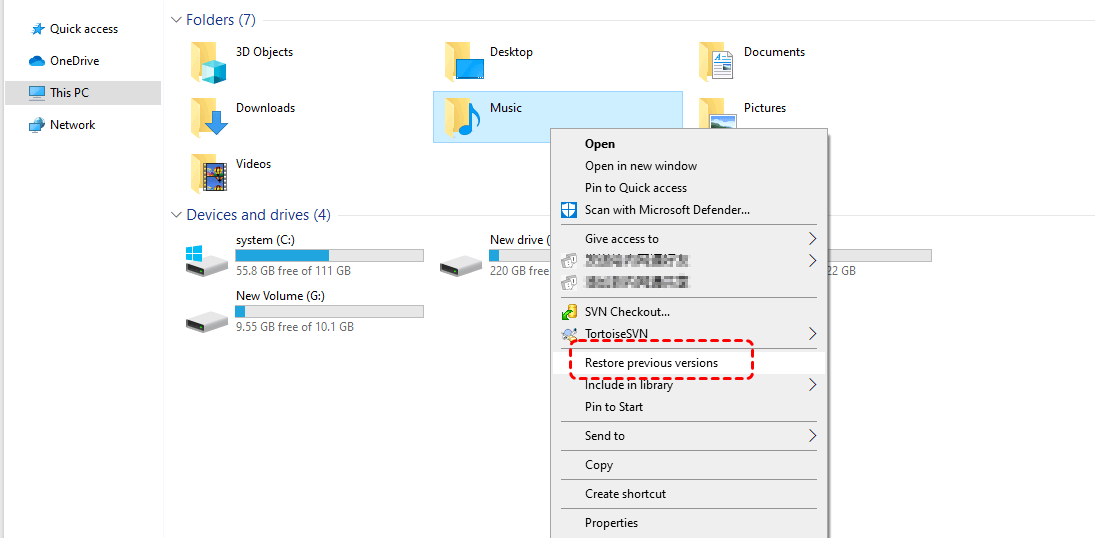
Step 1. Navigate to the folder where the lost files were stored.
Step 2. Right-click the folder and choose "Restore previous versions", which will display available versions backed up by File History.
Step 3. Click "Restore" to retrieve the desired version to its original location.
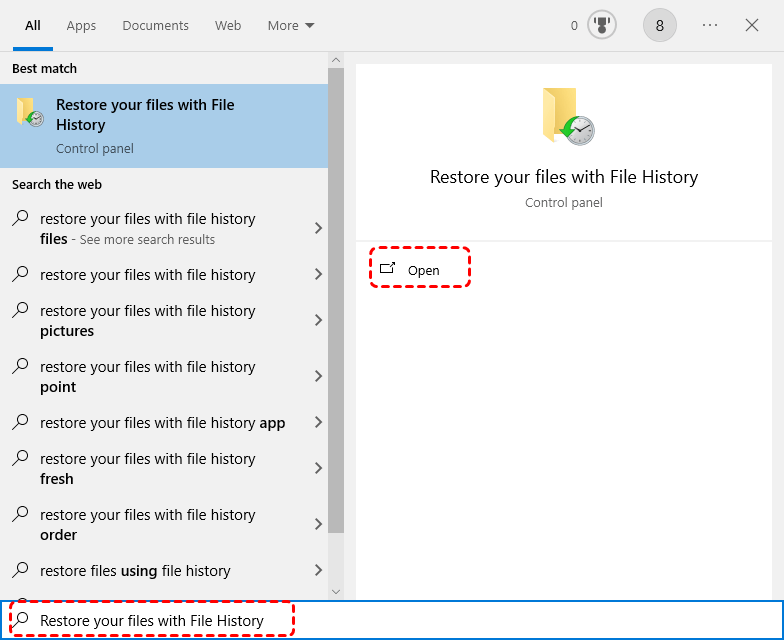
Method 2. Restore your Files with File History
Step 1. Enter "Restore your files with File History" in the Start menu and open it.
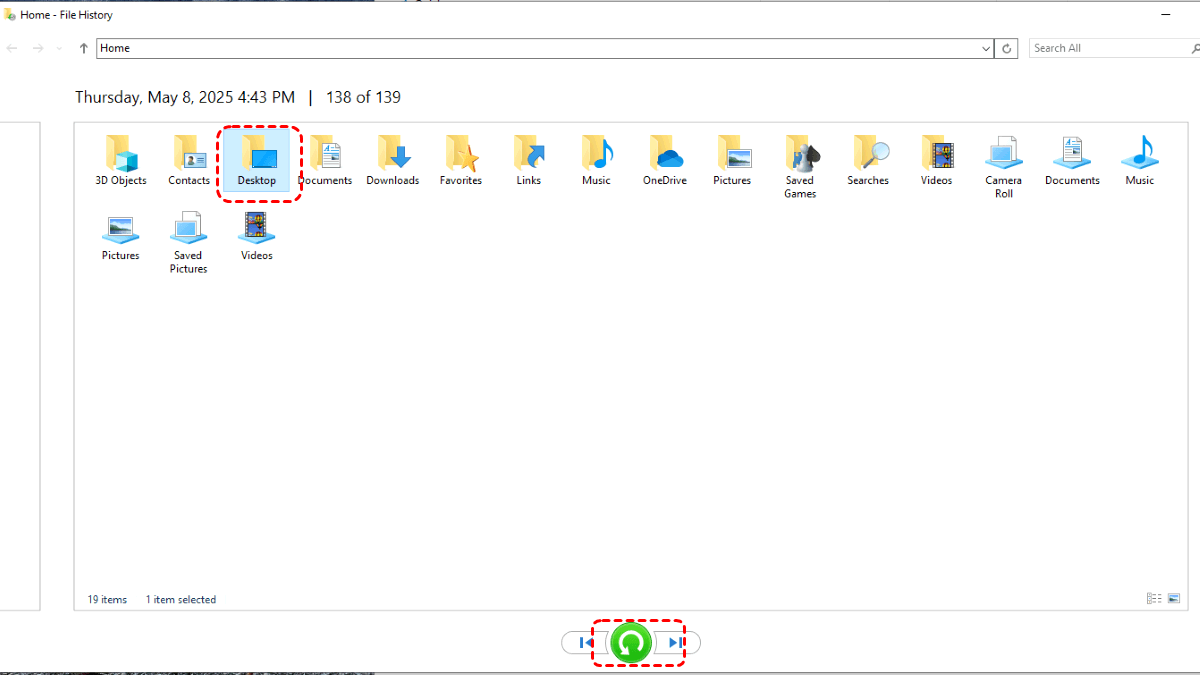
Step 2. Go to the folder where you want to recover files.
Step 3. Click the green "Restore" button to recover files from the folder.
Bonus Tips: Integrate with Recovery Tools to Maximize Data Security
While File History is a great tool for backing up personal files, data security is a multi-layered strategy. When File History encounters issues like failing to recognize the drive, or you accidentally delete a file that wasn't backed up by File History, data recovery tools come to the rescue. For comprehensive protection, it’s recommended to integrate File History with professional recovery tools, such as MyRecover.
MyRecover is a third-party data recovery software that can help you recover files from formatted hard drive, inaccessible drive, and unbootable Windows (only available for paid versions). More importantly, it can recover files without any backup, which won't take up too much disk space. MyRecover supports to run on Windows 11/10/8.1/8/7 and Servers. You can recover lost files just in a few clicks.

- No Tech Skills Needed: User-friendly interface designed for beginners and non-tech-savvy users.
- Supports Over 1000 File Types: Recover photos, videos, documents, emails, ZIP files, and more.
- Supports Multiple Storage Devices: Works seamlessly with internal and external HDD, SSD drives, USB flash drives, SD/memory cards, digital cameras, and more.
- Safe & Read-Only Process: Your original data remains untouched during the scan and recovery process.
Step 1. Download and install MyRecover on your computer from secure channel, avoid installing it on the drive with lost files.
Step 2. Launch it and select the drive where the lost files were stored, then click "Scan". If it's necessary, you can perform a comprehensive scan for the drive by clicking "Deep Scan".

Step 3. Choose the files you want to recover from the available lists and click on "Recover".

Step 4. Select a different location (on the original one) to save the recovered files.

When the process is completed, the message "Files have been recovered successfully" will show on the screen. You can view and verify the recovered files by clicking the destination folder.

While File History is a solid tool for protecting personal data, it doesn’t create a snapshot of your entire system. You may need additional solutions, like system restore, to create snapshots of the system's configuration and settings at a specific moment.
FAQs
1. How long are File History backups retained by default?
By default, File History in Windows 10/11 retains deleted or modified file versions forever (as long as there is sufficient storage space). However, this behavior can be adjusted based on user settings.
2. How often does File History save files?
By default, File History in Windows 10/11 automatically backs up files every hour, but you can customize the frequency to be as frequent as every 10/15/30 minutes or as infrequent as once per day.
3. What type of data is saved by File History?
File History automatically backs up all your user-generated files and personal data. This includes default libraries like Documents, Pictures, Videos, and Music, as well as any custom libraries you have created; but it does not save system files, installed apps, or settings.
4. Can File History be deleted?
Yes, File History can be deleted. Deleting File History means removing the backup copies of your files that have been stored over time. You can delete older versions via Control Panel following these steps.
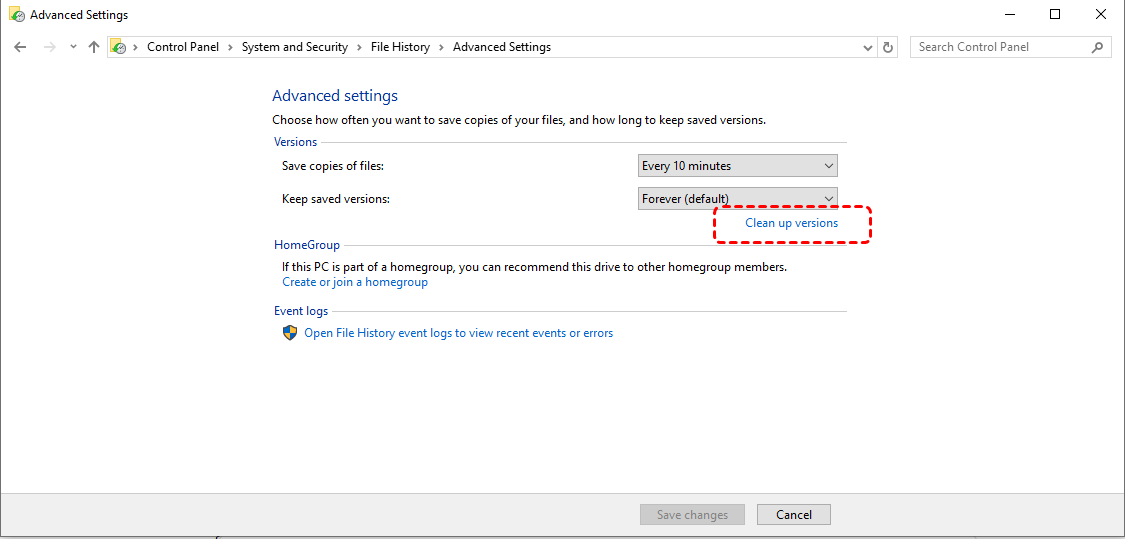
Step 1. Open "Save backup copies of your files with File History" in Control Panel and click on "Advanced settings".
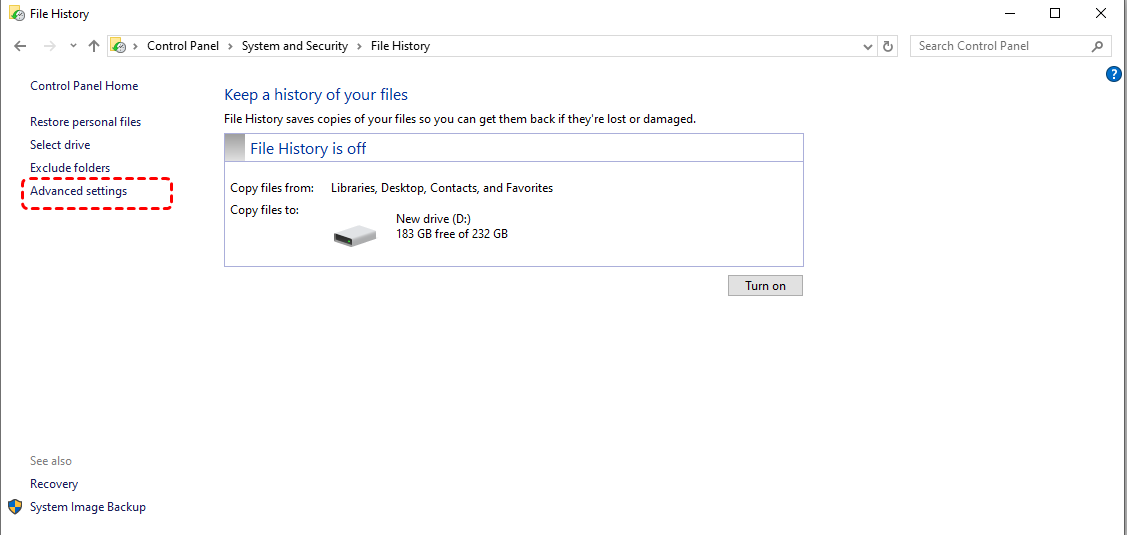
Step 2. Click on "Clean up versions" under "Keep saved versions".
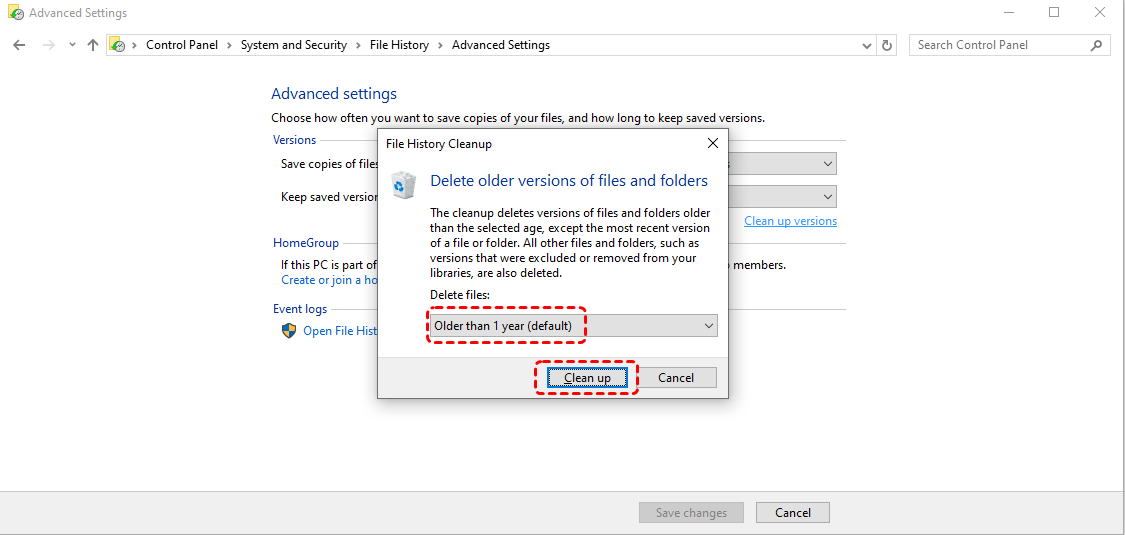
Step 3. Choose the versions you want to delete and click "Clean up".
Summary
In a short, File History is particularly useful when you accidentally delete a file. However, it doesn’t back up everything on your computer, such as system files or installed programs. To maximize your data security, to combine File History with a comprehensive recovery tool like MyRecover is the best choice. This combination will ensure that your files are protected and that you can significantly improve data security while ensuring peace of mind.
If you have more advanced needs, MyRecover also offers the Professional and Technician editions to meet them. They support data recovery from a crashed system and allow you to preview files before recovery to confirm they are the ones you want.


Stay Updated With Our
Latest Tips
Add us as a preferred source on Google to never miss helpful guides.