
6 Ways for OneNote Files Missing After Office 365 Upgrade
This article details how to resolve On eNote files missing after Office 365 upgrade. We cover manual search locations, OneDrive sync restoration, and reliable methods to recover a lost OneNote file after upgrade from backups or cache.
By Delores / Updated on March 12, 2026
OneNote Files Missing After Office 365 Upgrade!
Lost all my notes after the upgrade to Office 365
I just upgraded to Office 365 from an old version of Office. After the installation, all my Notes from the old version disappeared. The old office is no longer there. How do I find the old notes, and how do I get them into the new version of Notes?
Also, I do not want to use OneDrive. How do I make sure all my notes are saved on my desktop? Can I disable OneDrive?
- Question from reddit.com
Opening OneNote after an Office 365 update, only to find your notebooks have seemingly vanished. If you're stuck in this problem, don't panic. This is common and fixable. The problem occurs when the upgrade process disrupts file pathways or sync settings, not because your data is deleted.
This guide provides clear, step-by-step instructions to locate and recover your missing notes quickly.
Why OneNote Files Go Missing After an Office 365 Upgrade
An Office upgrade is a complex process that changes core system settings, which can temporarily disrupt how and where OneNote accesses your files.
Generally speaking, the upgrade process can misconfigure the pathways OneNote uses to locate your notebooks. Your data is rarely deleted. Instead, the links and settings that point to your files can become broken or redirected. The application may search in an incorrect location, or a synchronization process with OneDrive might be interrupted, leaving your notebooks inaccessible.
Your OneNote files might be missing due to the following problems:
- The installation may reset OneNote's default save location to a basic folder like Documents, overriding your custom OneDrive path. Corruption in your Windows user profile can also occur, confusing the system about your personal settings.
- Most critically, a sync conflict can happen if the upgrade interacts with files that are open or syncing, prompting OneDrive to hide the notebook to prevent data corruption.
- Microsoft frequently adjusts its cloud integration. An upgrade can shift OneNote's behavior to prioritize cloud storage. If your notebooks were previously stored locally, the updated Office 365 may now only look for them in your linked OneDrive account. This change in where the application searches, not a deletion of data, creates the false impression that your notebooks are gone.
6 Solutions for OneNote Missing After Installing Office 365
The solution is often simpler than you think and involves checking the most obvious places first.
Way 1. Check All Your OneDrive and Microsoft Accounts
OneNote is deeply tied to your Microsoft ecosystem. You might have signed in with a different account accidentally.
1. Open OneNote and go to File > Account.
2. Look at the “User Information” section. Is this your correct account? If you see another account, click “Sign Out” and then sign back in with the correct one.
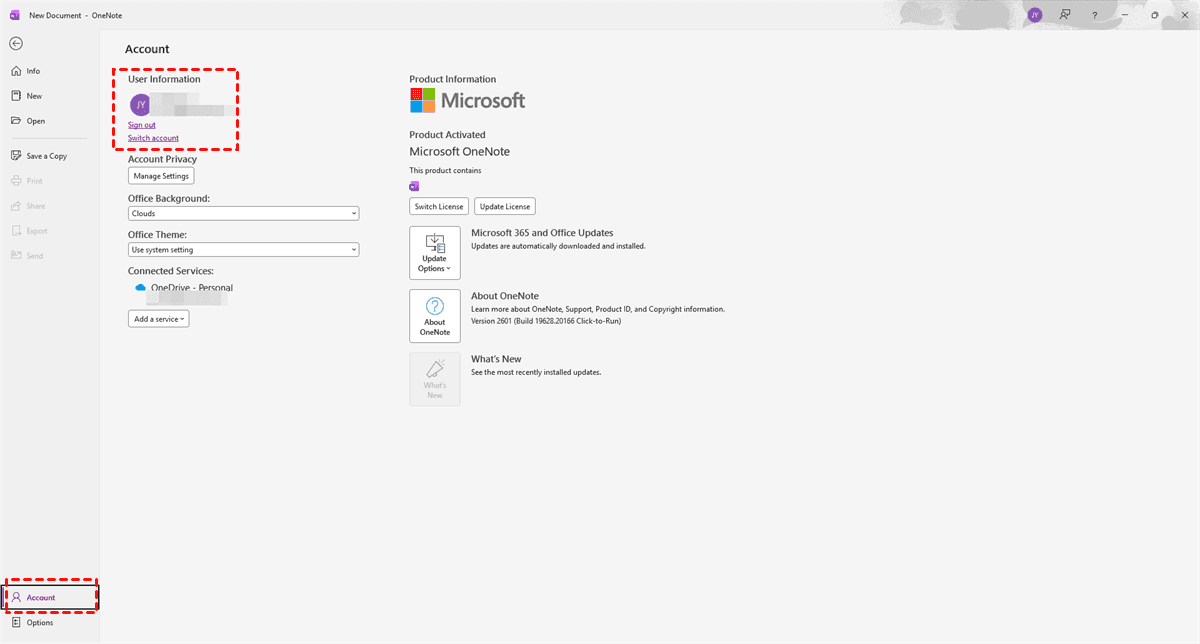
3. Then, click on “View Sync Status” in the same window. This opens a panel showing all your notebooks and their sync status.
A notebook listed here with an error is a good sign—it means OneNote knows about it but can’t currently see the file. You can often trigger a manual sync from this panel.
Way 2. Search Your Computer for Local Notebook Files
Your notebooks are physical files on your drive, typically ending in .one for a single-section notebook or .onepkg for a package of multiple sections. They had to be somewhere before the upgrade.
1. Open File Explorer and head to your Documents folder—that’s a common default. But don’t stop there.
2. Use the search bar in the top-right corner of File Explorer. Type *.one and press Enter. This will search your entire computer for any OneNote files. Do the same for *.onepkg.
3. Look at the file paths in the results. If you find files in an unexpected location (like an old OneNote Notebooks folder on your desktop), simply double-click the file to open it directly in OneNote.
Way 3. Restore Notebooks from OneNote's Built-in Backups
OneNote automatically saves backup copies of your notebooks at regular intervals. To access these backups:
1. Open OneNote and go to File > Options > Save & Backup.
2. In the “Save” section, you’ll see the current “Default Notebook Location” and the “Backup Folder” path.
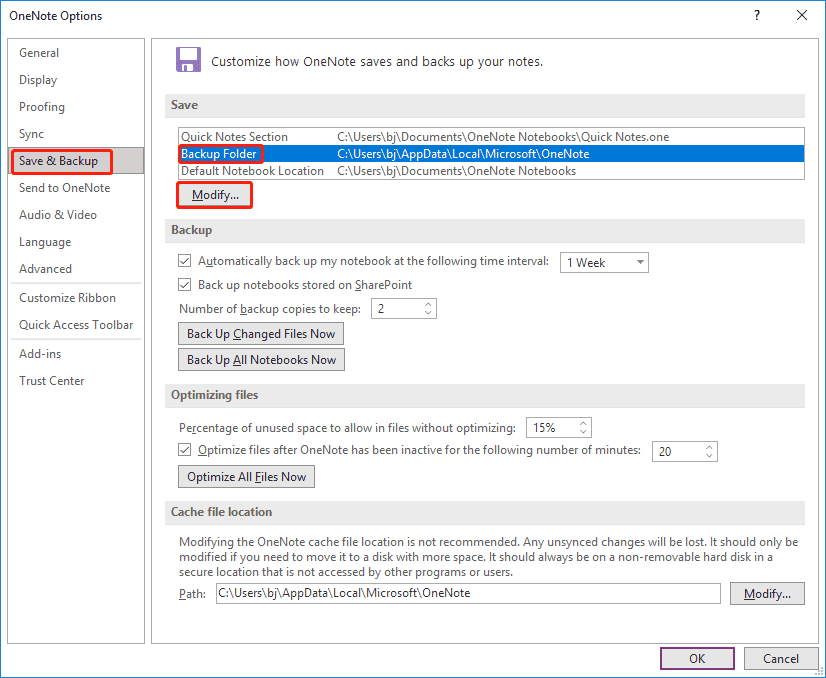
3. Open the backup folder path to find your lost OneNote files.
4. It contains different folders, each named after one of your notebooks. Dive into these folders.
5. Inside, you’ll find .one files with dates appended to its name (e.g., MyNotebook_Backup_2026-02-06.one). These are snapshots of your notebook from specific past dates.
6. Find the most recent one, copy it to a safe location (like your Desktop), and then double-click it to open.
7. OneNote will open it as a new notebook. You can then save it to your preferred location.
This is often the perfect solution for a lost OneNote file after an upgrade.
Way 4. Restore to Previous Version If Enabled
If you’ve been using Windows File History (or Backup and Restore in older Windows), this feature takes periodic snapshots of your files. So, you have another powerful option: restore to the previous version.
1. Open File Explorer to the folder where your notebooks used to be.
2. Right-click the folder, select “Properties”, and go to the “Previous Versions” tab.
3. If File History is enabled, you’ll see a list of dated versions. You can open them to browse and copy your notebook files from before the upgrade date.
Way 5. Manual Recovery from the OneNote Cache
OneNote uses a cache to store temporary working data. Sometimes, pieces of your notebooks can be stored here. The cache location is hidden. You can get there with the following steps:
1. Press Windows Key + R, typing %localappdata%\Microsoft\OneNote\, and hitting Enter.
2. Open a version folder (like 16.0).
3. Inside, explore subfolders for “Backup” or “Cache”.

4. You might find .one files here. While these are often fragmented, you might get lucky and find a recoverable section.
5. Copy any promising .one files you find in the cache to your Desktop.
6. Try opening them with OneNote by double-clicking.
These may be incomplete, but they’re better than nothing. This method requires a bit of digital archaeology, but it has saved many a lost OneNote file after an upgrade.
Way 6. Fast Recover Missing OneNote Files with MyRecover
When you suspect a notebook file has been deleted—truly removed from the Recycle Bin—during the chaotic Office 365 upgrade, specialized data recovery software is your most powerful tool. MyRecover excels here by performing a deep, sector-by-sector scan of your drive, looking for the unique signatures of .one files. It’s crucial to act quickly and avoid saving new data to the drive to prevent overwriting the deleted files.
Here is how to recover deleted OneNote files with MyRecover in Windows 10,11:
1. Download and install MyRecover on your computer. Please do not install it on the drive where you’re recovering from.
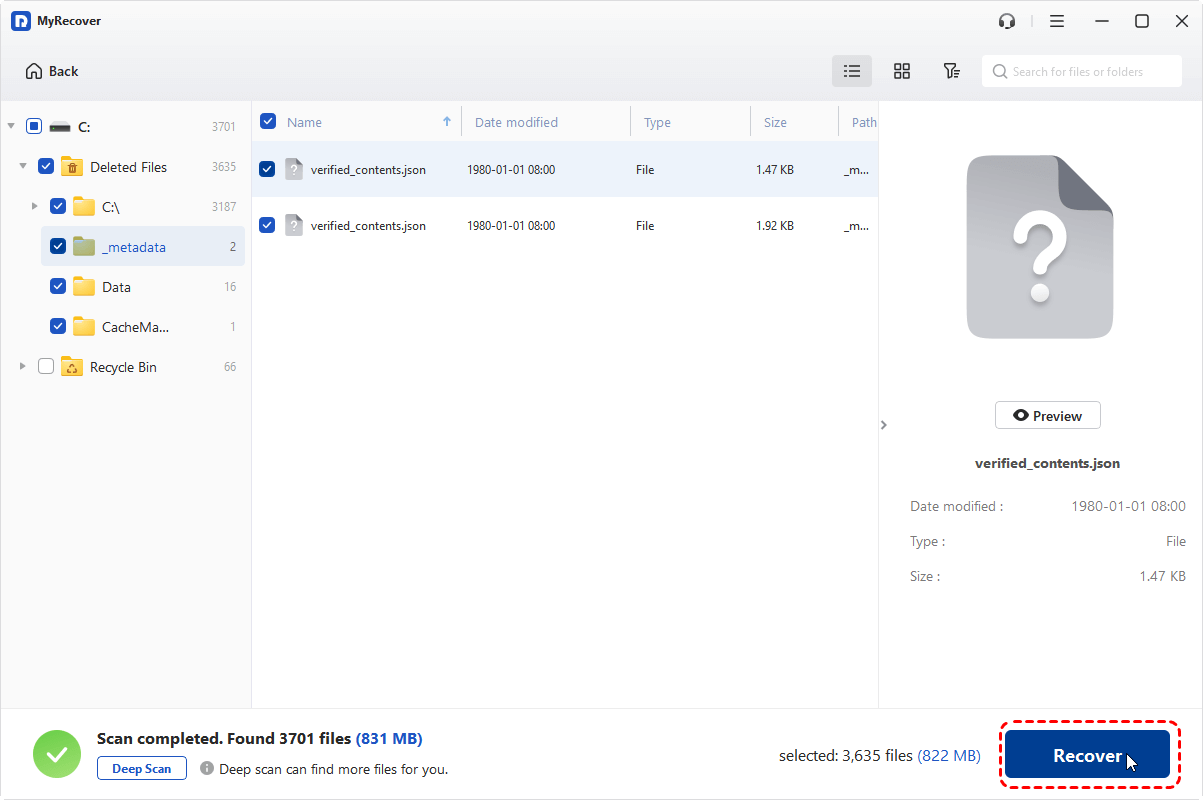
2. Open MyRecover, tap Deleted Files Recovery, choose the drive where your OneNote files were located, and hit Scan. Wait for the process to complete and hit OK to confirm.

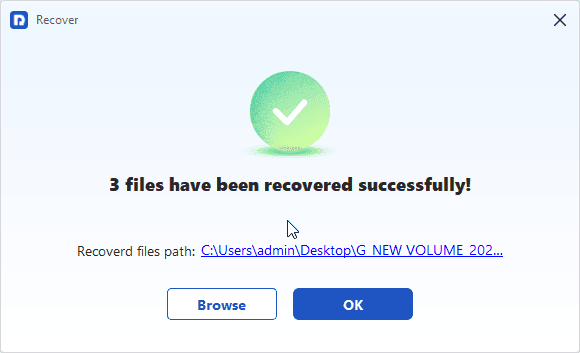
3. Tick all the boxes before the files you need, and hit Recover.
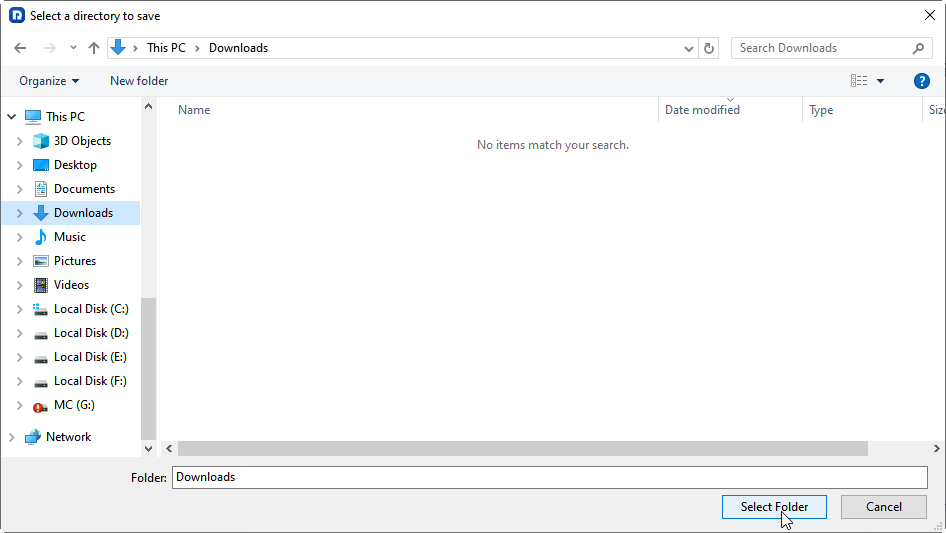
4. Select a destination and hit Select Folder to keep them safe.
- Tips:✎...
- After the scan is finished, your files will be sorted by file type. You can also search OneNote files by file name, path, size, modified date, etc., to find them quickly. You can input the .one or .onepkg in the search box to find your OneNote files.
- You can double-click the file or hit Preview to check its integrity.
- Once recovered, you can move these .one files back into your OneDrive or Documents folder and open them directly in OneNote, completing the recovery journey.

- Recover Deleted Files Easily with Simple Clicks
- 1000+ File Formats Supported
- Support HDD, SSD, External Hard Drive, USB Drive, SD Card, etc.
- Quickly Find Files Using File Types, Name, Size, etc.
- Preview Files Before Recovering
- Recover Unlimited Data
Set Up Reliable Auto-Backup for OneNote: Prevent Data Loss
Go back to File > Options > Save & Backup.
Ensure the “Automatically back up my notebook at regular intervals” is checked.
Set the “Back up copies every:” to a reasonable interval, like daily.
Most importantly, note the backup folder path.
Consider changing it to a location on a different drive (like an external drive or a network location) or a non-syncing folder within your OneDrive. This creates a separate, geographically distinct backup stream from your main synced files.
FAQs About OneNote Files Missing After Office 365 Upgrade
Q: Are my missing OneNote notebooks permanently deleted after an upgrade?
A: No, permanent deletion is rare. They’re likely just misplaced due to a disrupted sync or file path—often in a backup folder, a different location, or hidden in OneDrive due to a sync conflict.
Q: Why does OneDrive hide notebooks after an upgrade?
A: OneDrive does this to prevent data corruption if it detects sync conflicts during the upgrade. Check OneDrive on the web: go to “Recycle Bin” or look for “View conflict history” to restore them.
Q: How do I restore .one backup files?
A: Double-click the backup file (e.g., MyNotes_Backup.one) to open it in OneNote. It will appear as “[Backup]” in your notebook list. Move it to your preferred location (like OneDrive) via “Move or Copy…” in OneNote.
Q: What’s the difference between OneNote’s backup folder and Windows File History?
A: OneNote’s backup folder contains application-specific backups. Windows File History backs up entire folders system-wide. Check OneNote’s backups first; use File History if you need to recover a whole folder.
Q: How can I prevent this in future updates?
A: Ensure notebooks are synced to OneDrive before updating, manually sync OneNote fully, know your local backup location, and consider copying it externally. Run updates when OneNote isn’t open.
Q: How long does recovery software take, and what affects success?
A: Scan time depends on drive size and type (minutes on an SSD, hours on an HDD). Success depends on acting quickly—avoid using the drive after data loss to prevent overwriting deleted files.


Stay Updated With Our
Latest Tips
Add us as a preferred source on Google to never miss helpful guides.