
Windows 10 Restore Point Not Working? 7 Fast Fixes to Try Now
If you're facing Windows 10 restore point not working, you're not alone. We provide step-by-step fixes for this and the related issue of system restore not working Windows 11, from checking drive space to using Windows Recovery Environment.
By Delores / Updated on March 12, 2026
Windows 10 Restore Point Not Working!
I can't do a system restore!
I have a Dell 5502 Inspiron Laptop. This all started (I think) when Advanced Systemcare recommended that I "optimize" 2 items (which were MaxxWaveAudio components. It was suggested that they be deleted because they were obsolete or something. I took the recommendation of Advanced SystemCare and deleted those two items.
Then I noticed I have no sound.
I tried undoing the last optimization from Advanced SystemCare, but that didn't work
I tried uninstalling/reinstalling the Realtek audio driver - that didn't work
I ran sfc /scannow - it found no integrity violations
So then, I tried running a system restore - and it won't restore! I tried 3 different recent system restore points, and every time I get the following error.
I turned my Webroot antivirus program off, so that is not the issue. What the heck is the point of having System Restore if it won't save you???
- Question from tenforums.com
It’s frustrating while the Windows 10 restore point is not working. Don’t worry, this guide is your lifeline, walking you through not only how to fix this vexing issue but also how to recover your precious files if all else fails.
Why Does Windows 10's Restore Point Not Work?
So, what’s actually going on when System Restore throws a tantrum? At its core, the system restore point not working is a symptom of a deeper disruption in the mechanisms Windows uses to take a snapshot of your system. Typically, there are some main reasons for the system restore point not working in Windows 10:
- The service might be disabled.
- A critical file could be corrupted.
- There might not even be enough room on your hard drive for the snapshot to exist.
Common Windows 10 System Restore Error Messages
If your Windows 10 restore point is not working, you might encounter the following error messages:
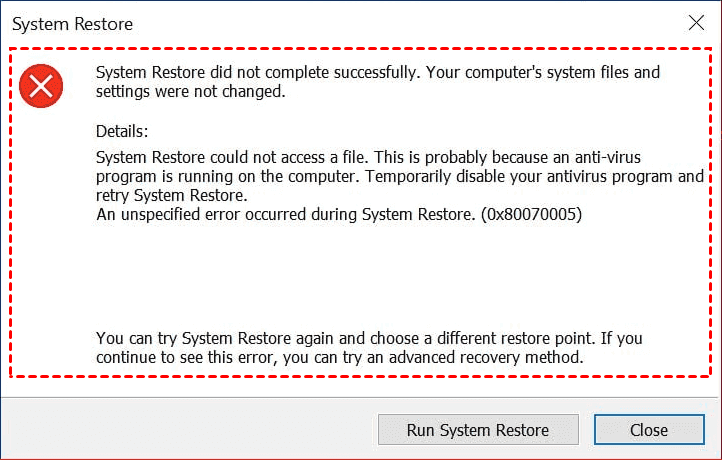
System Restore did not complete successfully. Your computer’s system files and settings were not changed.
Details:
System Restore could not access a file. This is probably because an anti-virus program is running on the computer. Temporarily disable your antivirus program and retry System Restore.
An unspecified error occurred during System Restore. (0x80070005)
You can try System Restore again and choose a different restore point. If you continue to see this error, you can try an advanced recovery method.
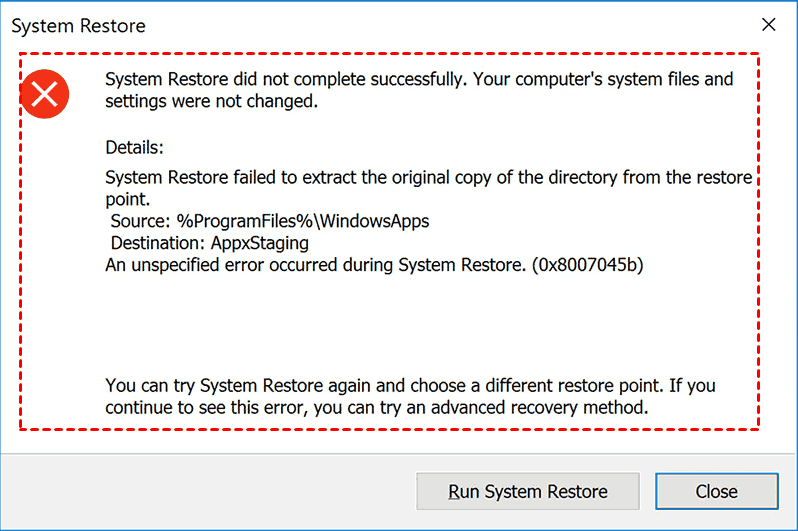
System Restore did not complete successfully. Your computer’s system files and settings were not changed.
Details:
System Restore failed to extract the original copy of the directory from the restore point.
Source: %PromgramFiles%\WindowsApps
Destination: AppxStaging
An unspecified error occurred during System Restore. (0x8007045b)
You can try System Restore again and choose a different restore point. If you continue to see this error, you can try an advanced recovery method.
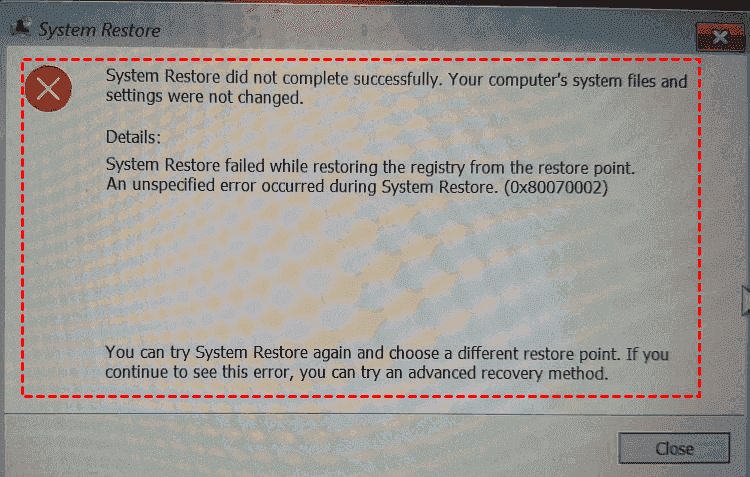
System Restore did not complete successfully. Your computer’s system files and settings were not changed.
Details:
System Restore failed while restoring the registry from the restore point.
An unexpected error occurred during System Restore. (0x80070002)
You can try System Restore again and choose a different restore point. If you continue to see this error, you can try an advanced recovery method.
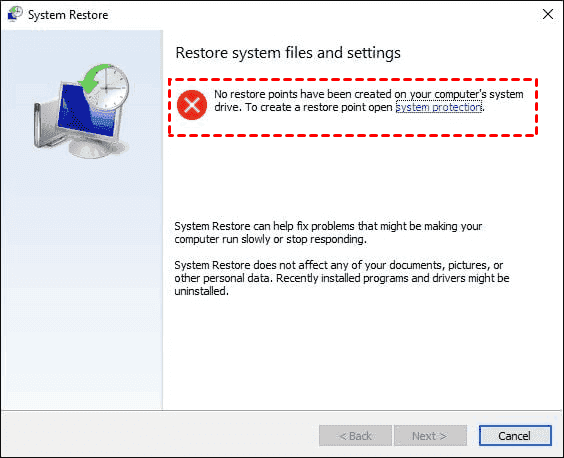
Or you are prompted for the error:
no restore points have been created on your computer's system drive. To create a restore point, open System Protection.
Now, let’s start to troubleshoot the problems.
Fix Windows 10 Restore Point Not Working in 9 Ways
Way 1. Ensure System Protection is Enabled
Sometimes, a Windows update or a pesky piece of software can inadvertently turn off System Protection. To check:
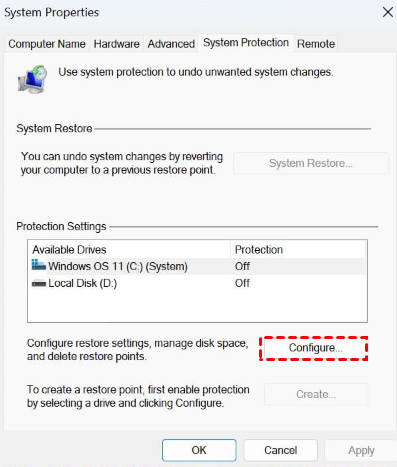
1. Right-click This PC > Properties > System protection.
2. In the new window, look under 'Protection Settings' for your main drive (usually C:). If it says 'Off', that's your problem!
3. Select the drive, click 'Configure', and then tick Turn on system protection, allocating a few gigabytes of disk space (5-10% is usually sufficient).
Way 2. Check Available Disk Space for Restore Points
System Restore needs physical space on your hard drive to store its snapshots. If your drive is bursting at the seams with less than a few hundred megabytes free, Windows won't be able to create a new restore point, and it might even start deleting old ones to free up space. This directly causes the create restore point in Windows 10 not working issue.
Do a quick clean-up. Delete temporary files, clear your download folder, and empty the recycle bin. A little breathing room can work wonders.
Way 3. Temporarily Disable Antivirus Software
Temporarily disabling your antivirus can help determine if it's interfering with System Restore. Remember to re-enable it immediately after testing.
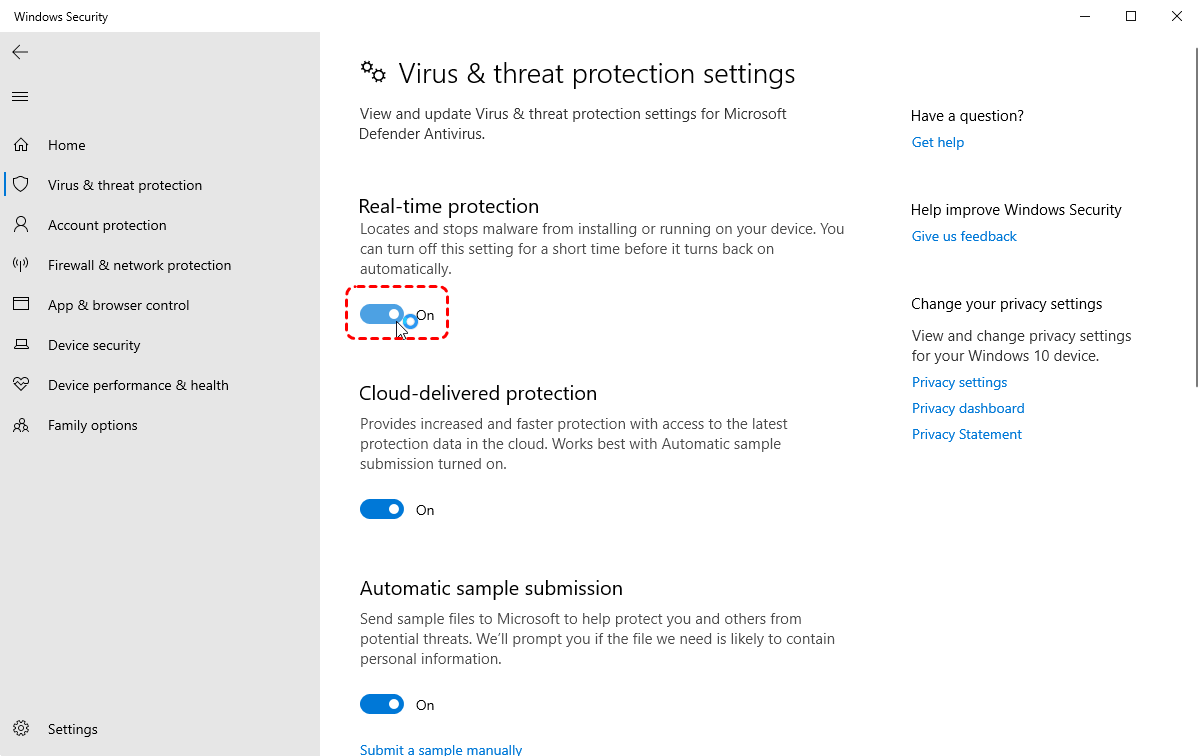
1. Click the Start button and go to Settings (the gear icon) > Update & Security > Windows Security > Virus & threat protection.
2. Under "Virus & threat protection settings", click Manage settings.
3. Toggle the switch for Real-time protection to Off.
Some users report that uninstalling Webroot security software can help you to perform the system restore.
Way 4. Run System Restore in Safe Mode
Safe Mode loads Windows with only the most essential drivers and services. This is a killer tactic if a third-party program or driver is interfering with System Restore. To boot into Safe Mode:
1. Go to Settings > Update & Security > Recovery.
2. Under 'Advanced startup', click 'Restart now'.
3. Once the blue menu appears, navigate to Troubleshoot > Advanced options > Startup Settings > Restart.
4. Then, press the '4' key to Enable Safe Mode.
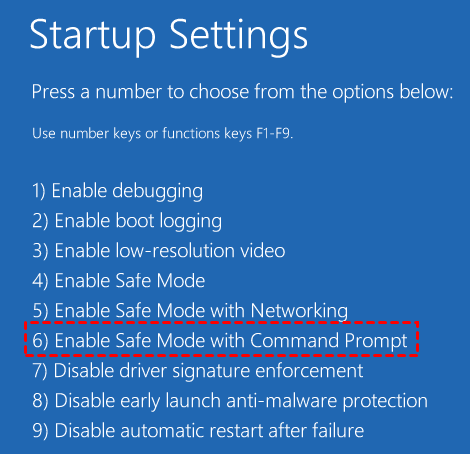
5. Once logged in, try running System Restore from here.
You'd be surprised how often this simple workaround gets the job done.
If Safe Mode doesn't do the trick, the problem might lie with the very system files that make Windows tick.
Way 5. Run the System File Checker and DISM Tools
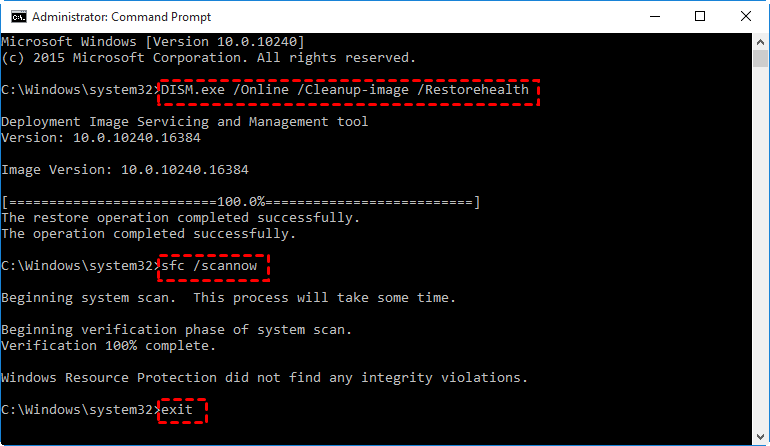
To fix corrupted system files that break System Restore, run these two commands in order as an Administrator.
Step 1: Run DISM
Open Command Prompt as Admin and run:
DISM /Online /Cleanup-Image /RestoreHealth
This repairs Windows' core image using online sources. Let it finish.
Step 2: Run SFC
After DISM completes, run:
sfc /scannow
This uses the repaired image to fix your active system files.
If these core repairs don't solve the issue, the problem lies deeper within Windows' architecture.
Way 6. Check The Volume Shadow Copy Service (VSS)
The Volume Shadow Copy Service (VSS) is the core engine that creates your system snapshots. If this service isn't running, System Restore cannot function. Here’s how to check and restart it.
1. Press the Windows Key + R to open the Run dialog. Type services.msc and press Enter.
2. In the Services window, scroll down and find Volume Shadow Copy.
3. Double-click it to open its properties.
4. Set the Startup type to Manual or Automatic.
5. If the Service status is "Stopped". Click the Start button.
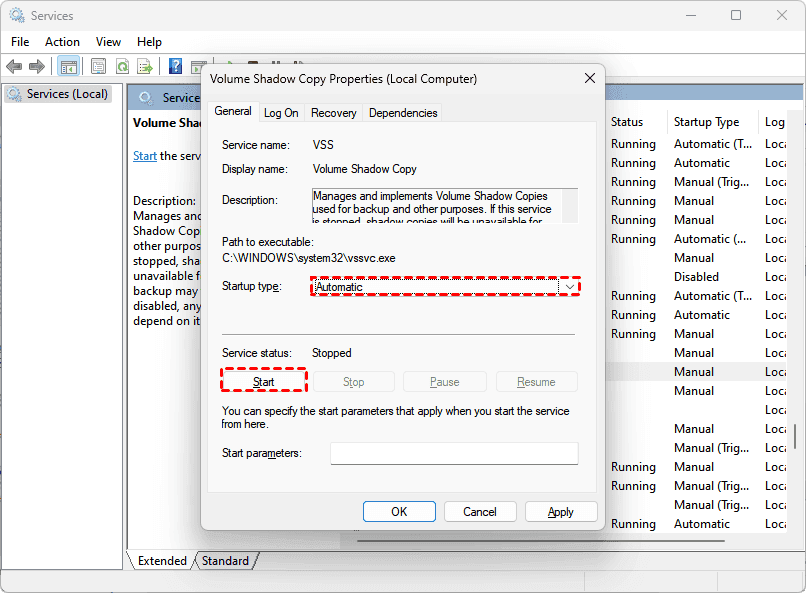
6. Click Apply and OK.
If the service fails to start, ensure its dependency, the Microsoft Software Shadow Copy Provider service, is also running by following the same steps. A functioning VSS service is essential for resolving persistent restore point failures.
Way 7. Check Disk Partition Style
System Restore may fail on modern computers using GPT partition style if a required system partition is missing.
1. Press Windows Key + X and select Disk Management.
2. Right-click your main disk (typically Disk 0)
3. Select Properties, navigate to the Volumes tab.
4. If it shows GUID Partition Table (GPT), the system may be missing the essential Microsoft Reserved (MSR) partition.
This issue typically requires third-party partition tools to resolve. This explains why standard troubleshooting may fail on otherwise healthy-looking systems.
Way 8. Use Windows Recovery Environment
When your system won't boot properly, use the Windows Recovery Environment to access repair tools.
Step 1: Access WinRE
Force restart your computer during startup three times:
Wait for the Windows logo to appear, and hold the power button to force a shutdown. Repeat this process three times, and on the fourth start, Windows will load the recovery menu.
Step 2: Use Repair Tools
From the WinRE menu, navigate to Troubleshoot > Advanced Options. Here you have several choices:
-
Startup Repair: Allows Windows to automatically diagnose and fix common startup issues.
-
System Restore: Reverts your computer to a previous, working state using a hidden system restore point.
-
Command Prompt: Provides advanced access to run manual repair commands. Like using sfc /scannow /offbootdir=C:\ /offwindir=C:\Windows to scan and repair system file corruption; using DISM Commands to address more severe system image corruption, etc.
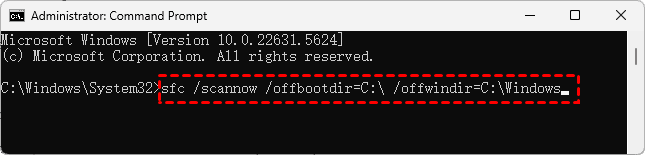
This environment provides full system access when normal booting fails, and these same steps apply to both Windows 10 and Windows 11 systems.
Way 9. Rename WindowsApps
This issue can occur after problematic driver updates. To enable System Restore, follow these steps:
Step 1: Prepare for System Restore
Access Advanced Startup and open a Command Prompt.
Navigate to the Program Files directory by typing: cd C:\Program Files
Unhide and rename the WindowsApps folder with these commands:
attrib WindowsApps -h
rename WindowsApps WindowsApps-renamed
Exit the Command Prompt and proceed with the System Restore to your desired point.
Step 2: Clean Up After Successful Restore
Once restored, open an Administrator Command Prompt.
Navigate back: cd C:\Program Files
Take ownership and delete the renamed folder with:
takeown /f WindowsApps-renamed
rmdir WindowsApps-renamed /S
This process bypasses the folder permission conflict that prevents restoration.
Recover Files with MyRecoverIf Required
You're stuck with an unstable or unbootable PC if the system restore did not complete successfully in Windows 10 0x80070002 error persists. It’s time to back up your important files now. Copy them to a safe location if it can boot up. Or you have to use professional data recovery software to recover files if it’s unbootable. Fortunately, a robust data recovery tool like MyRecover becomes an absolute lifesaver.
- MyRecover is designed to deeply scan your storage drives—even those with corrupted operating systems—and find your files.
- It can recover data lost due to system crashes, accidental deletion, formatting, and, crucially for our situation, when the OS is failing.
- The best part is that you can run it from a working PC by creating a bootable USB drive allows you to access the files on your broken machine.
Here is a step-by-step guide to using MyRecover to recover your files:
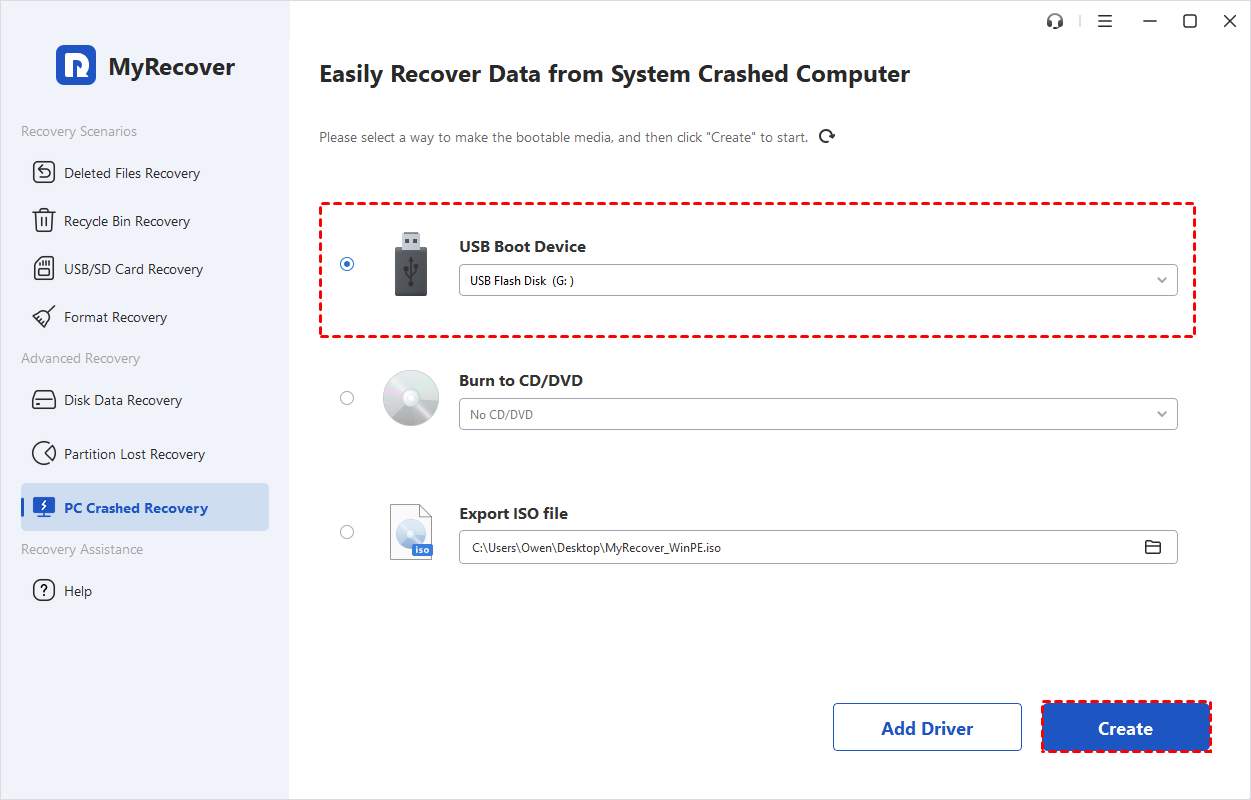
1. On a separate, functioning Windows PC, download and install the MyRecover software. Connect a USB drive with at least 16GB of space.
2. Launch MyRecover, Click PC Crash Recovery, choose your USB drive, and hit Create. It will erase the USB drive, so ensure there's nothing important on it.
Once the bootable media is created successfully, you can use it to boot up your problematic computer, and it will automatically show MyRecover to recover files. Here is how it works after booting into the Windows bootable media:
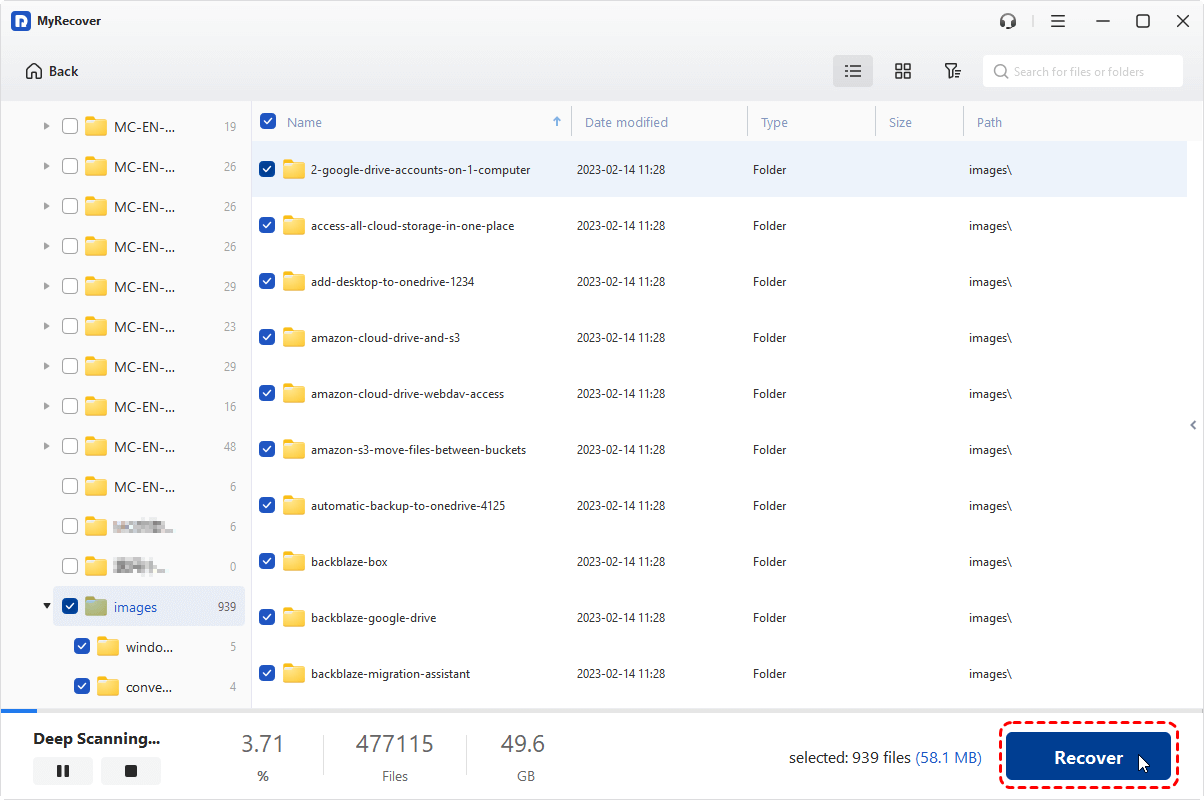
1. Tap Disk Data Recovery, choose the drive where your lost files were stored (usually the C drive), and hit Scan.

2. Hit OK when it’s done.
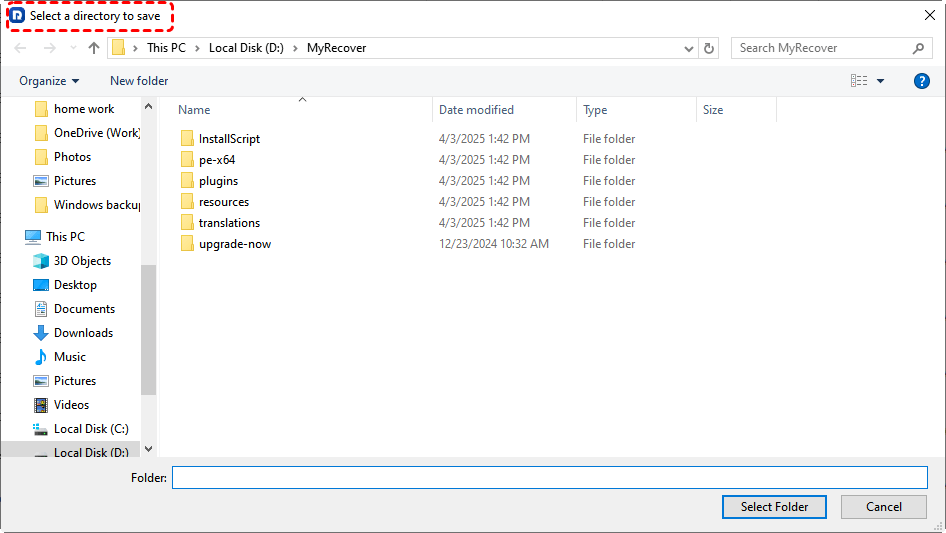
3. Choose the files and hit Recover, then select a destination location to save these recovered files.
- Tips:✎...
- Restart the computer and enter the BIOS/UEFI setup (typically by pressing a key like F2, Del, or F12 during startup). In the BIOS, change the boot order to prioritize the USB drive over the internal hard drive. Save changes and exit. Your PC should now boot into the MyRecover interface instead of Windows.
- After the scan completes, you can browse through the found files by file type. You can also use filters to search for specific file names, size, and file paths.
- Most importantly, you can preview many file types (like photos and documents) before recovery.
- Try MyRecover Technician if you need to recover files from unlimited computers.

- Recover Deleted Files Easily with Simple Clicks
- 1000+ File Formats Supported
- Support HDD, SSD, External Hard Drive, USB Drive, SD Card, etc.
- Quickly Find Files Using File Types, Name, Size, etc.
- Preview Files Before Recovering
- Recover Unlimited Data
FAQs About Windows 10 Restore Point
Why does my Windows 10 restore point keep disappearing?
This is usually due to low disk space, which causes Windows to delete old points. It also happens if System Protection is turned off and on again, as this erases all previous restore points.
How can I fix error 0x80070002 during System Restore?
First, run the System File Checker (SFC) scan from an Admin Command Prompt. If that fails, try System Restore from Safe Mode or temporarily disable your antivirus software.
Is it possible to manually create a restore point when the automatic feature fails?
No. If automatic creation fails, manual creation will also fail because the underlying system is broken. You must fix the root cause first.
What is the difference between System Restore and a Backup?
System Restore only saves system files and settings, not your personal files. A backup is a complete copy of all your data. System Restore is an "undo" feature; a backup is a full safety net.
Do the fixes for Windows 10 also work for Windows 11 System Restore problems?
Yes. The core system is the same, so the troubleshooting steps for Windows 10 also apply to Windows 11.
How much disk space should I allocate for System Restore to function properly?
A: Allocate 5-10% of your drive's capacity. For a 1TB drive, this is 50-100GB. This provides a good balance between keeping a useful history and not wasting space.


Stay Updated With Our
Latest Tips
Add us as a preferred source on Google to never miss helpful guides.