
How to Recover Deleted Files from Scan and Fix on Windows 10/11
If you’ve used 'Scan and Fix' on Windows 10/11 and ended up losing important files, don’t panic. This article explores the reasons behind file loss during the 'Scan and Fix' process, offering practical solutions to recover your data. With these methods, you can restore files lost during disk repairs or corruption fixes without the risk of permanent data loss.
By Aria / Updated on December 25, 2025
Preface
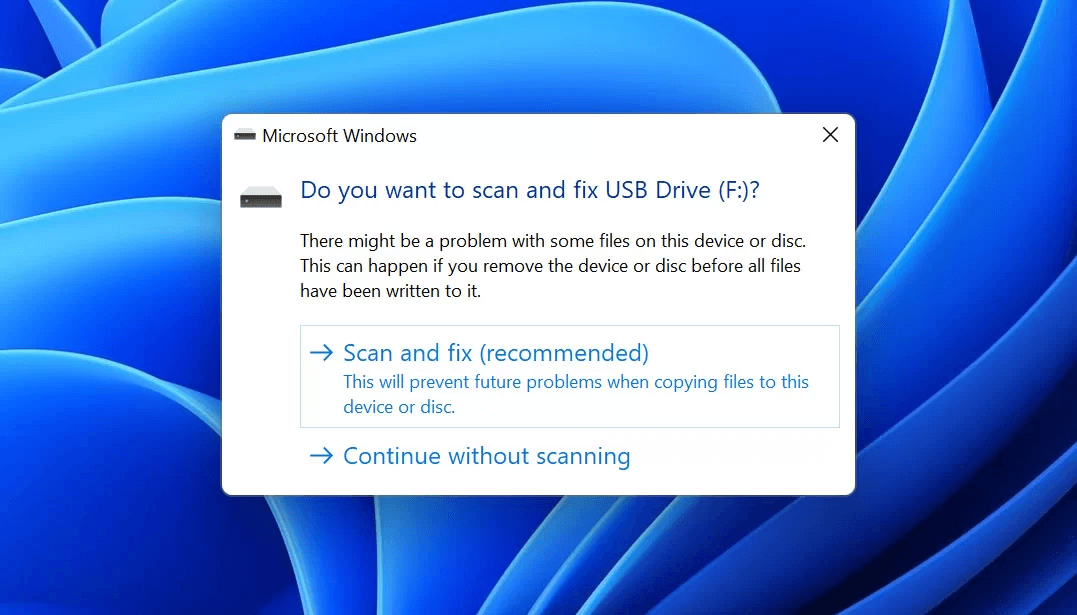
If you've ever plugged in a USB drive or external hard drive and encountered the "Do you want to scan and fix USB drive" prompt in Windows, it might prevent your portable device from working properly. In that case, you might click "Scan and Fix (Recommended)" right away to fix drive problems. After this is done, you may find that some files on the drive are gone. So, does "Scan and Fix" actually delete data from the drive?
Every question you have will be answered right here in this article. In this guide, we’ll explore why "Scan and Fix" might cause files to disappear, how to recover those files, and how to prevent this from happening in the future.
Why Files Are Lost After "Scan and Fix"
Typically, Windows will pop up the "Scan and Fix" prompt only when it detects file system errors on an external storage device (USB flash drive/external hard drive/SD card). At this point, Windows recommends using the Scan and Fix tool to repair the file system errors. Therefore, the essence of Scan and Fix is CHKDSK. Neither of them will actively delete any of your files.
However, it cannot fully guarantee that your data will remain intact, especially when the file system is severely corrupted or there are bad sectors on your drive. Here are a few reasons why files are lost after "Scan and Fix":
📂Corruption of File System:
If your external drive or USB has a corrupted file system, the "Scan and Fix" will attempt to repair the disk’s structure. However, this process can sometimes result in file loss if the disk's metadata or File Allocation Table (FAT) is severely damaged.
💾Bad Sectors:
If the drive has bad sectors, the system may struggle to access some files during the repair process, potentially causing data to be lost or marked as inaccessible.
🛠️Incorrect File Recovery:
Sometimes, Scan and Fix may attempt to recover lost or corrupted files but fails to restore them correctly, leading to missing or incomplete files.
How to Recover Deleted Files from "Scan and Fix" on Windows 10/11
If you’ve lost files after running Scan and Fix, don’t panic. The good news is that recovery is often possible with the right methods and tools. There are several ways to attempt recovery, even if the system marked your files as deleted or inaccessible. Let's explore them one by one.
Restore from Backup
The most straightforward way to recover files is from a backup. If you have been using File History, OneDrive, or a third-party backup solution, you can restore your files from backup even though files were lost after the "Scan and Fix" process. Here take OneDrive as an example:
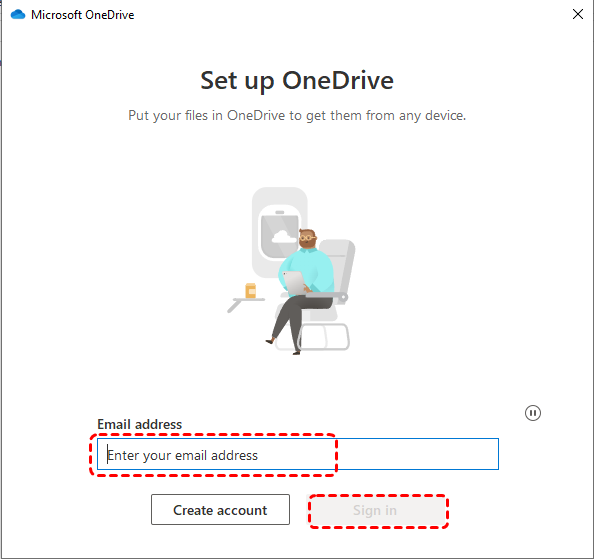
Step 1. Sign in OneDrive with your account.
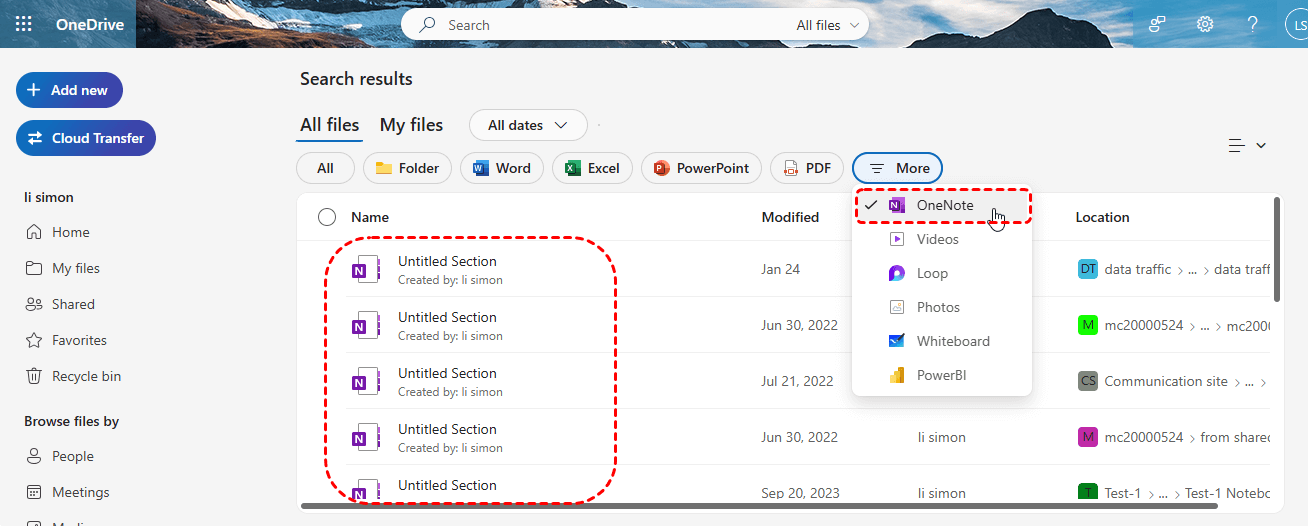
Step 2. Browse through the files and download whichever files you want to restore.
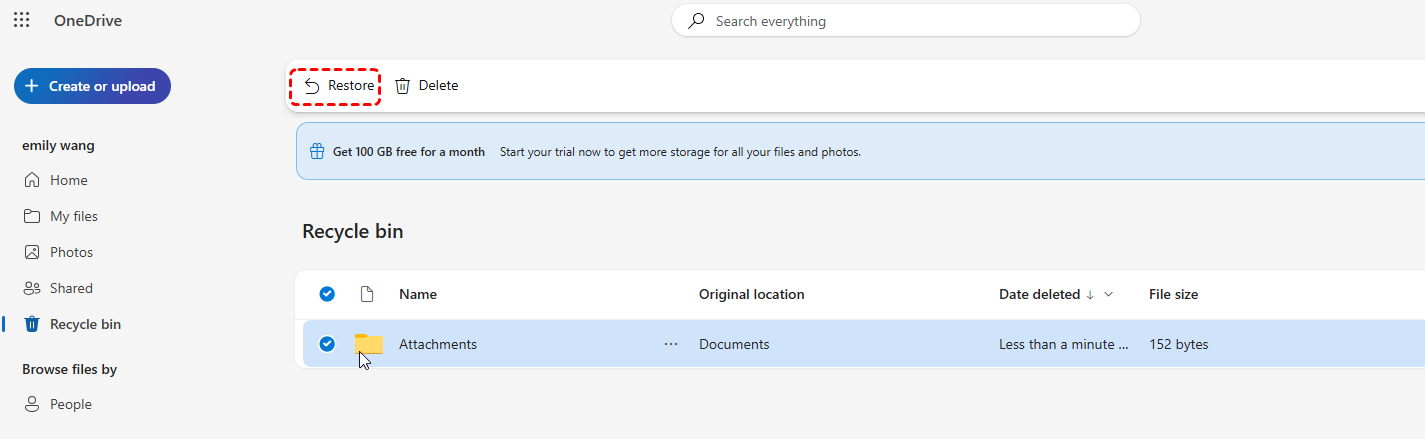
Step 3. If the files were deleted, the Recycle bin of OneDrive also keeps your deleted files for 30 days. Locate the "Recycle bin" section, find the files you would like to recover and click "Restore" in the left-upper corner.
Add Right Extension for Unopened Files
After "Scan and Fix", some files may be left without their correct file extensions, making them unrecognizable. You can manually add the correct extension (e.g., .jpg, .docx, .mp4) to these files to make them accessible again. This is a simple solution but may not work for all types of files, especially if the files themselves are corrupted.
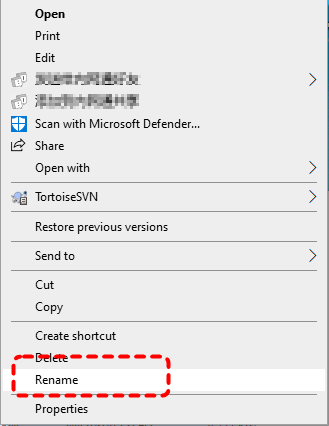
Step 1. Locate the unopened file in File Explorer and right click on it.
Step 2. Choose "Rename" from the context menu and change the file extension to the correct one.
Find in the FOUND.000 Folder
When Windows runs "Scan and Fix", it may recover some files in the FOUND.000 folder, which is located on the drive being scanned. This folder contains fragments of files that were recovered from corrupted sectors.
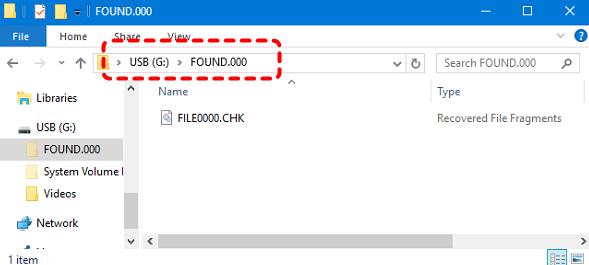
Step 1. Open the FOUND.000 folder in the target drive (you may need to show hidden files first by going to "View" > "Hidden Items").
Step 2. Look for files with a ".CHK" extension, which might contain recoverable data. Rename the file extension to the appropriate format (e.g., .jpg, .docx) and check if you can open the file.
Recover Deleted Files from "Scan and Fix" with MyRecover
If all the above methods fail to get back your lost files, MyRecover could be the more effective solution you need. It is a professional data recovery tool that can recover deleted files from hard drives, USB drives, and more than 500 types of storage devices, no matter what caused your data loss. Its user-friendly and beginner-safe interface allows users of all levels to easily complete data recovery with just a few clicks on the icons.

- ✨Easy-to-use interface: No command-line navigation or keyboard-based selection required.
- ✨AI-Powered Recovery: Uses AI recognition and deep scanning technology.
- ✨Wide file support (1000+): Photos, videos, documents, audio files, archives, and more.
- ✨Cover 500+ Scenarios: deletion, formatted disk, emptied Recycle Bin, system crashes and more.
Step 1. Download and install MyRecover on your computer from Microsoft Store. Connect the external drive to your computer with correct cable.
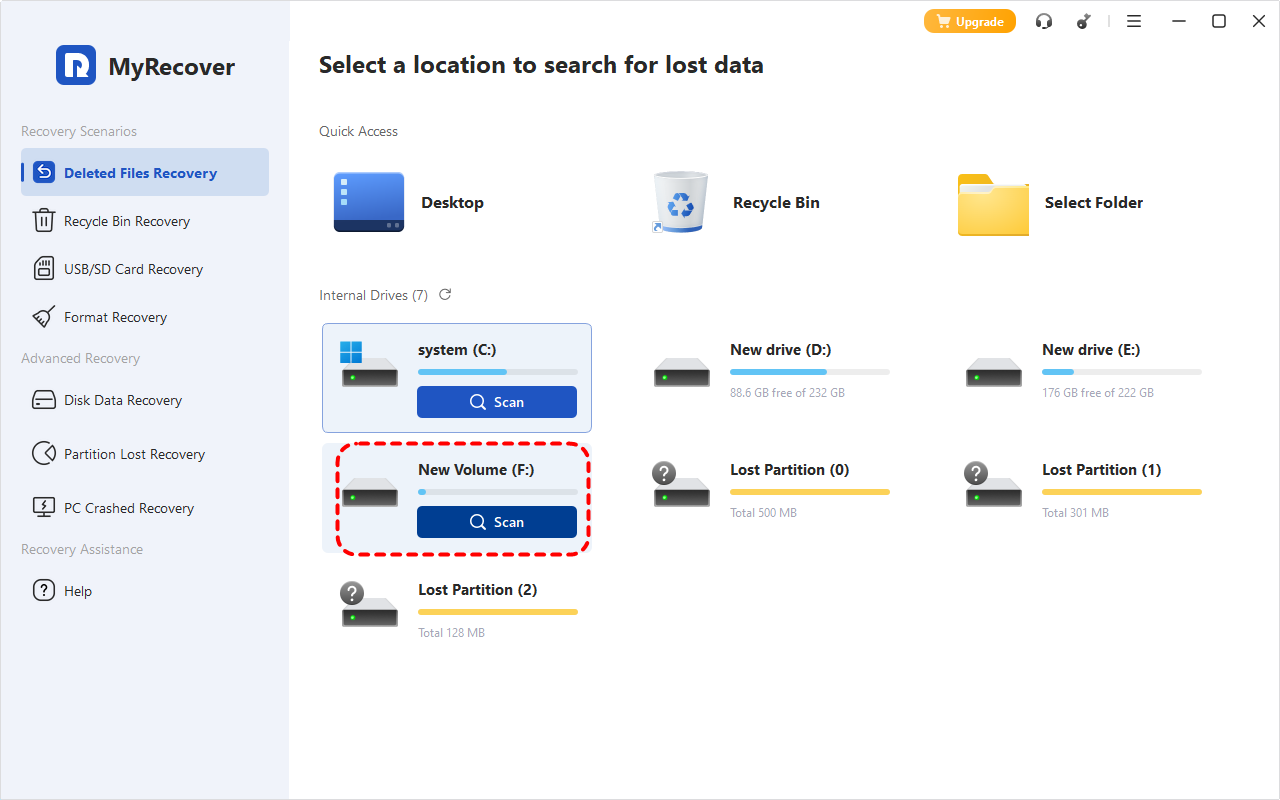
Step 2. Launch the app and select the drive to scan for lost files, then click "Scan".
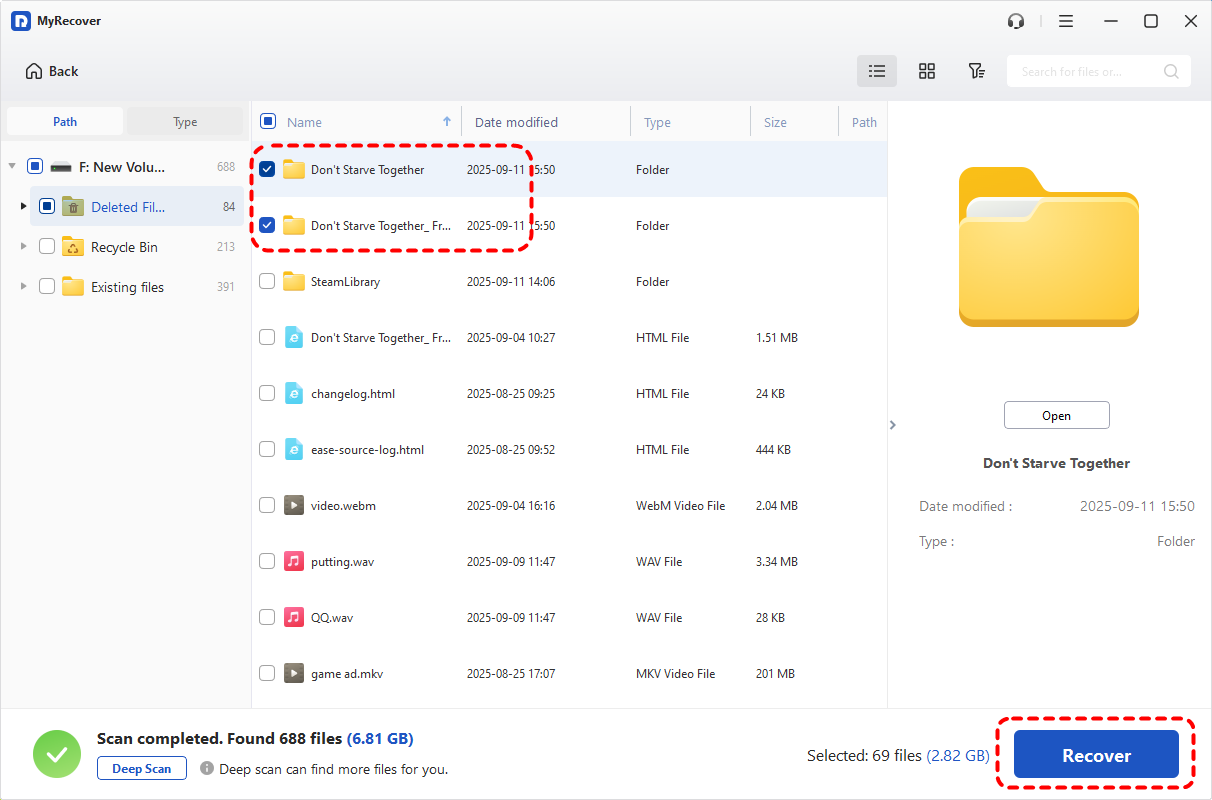
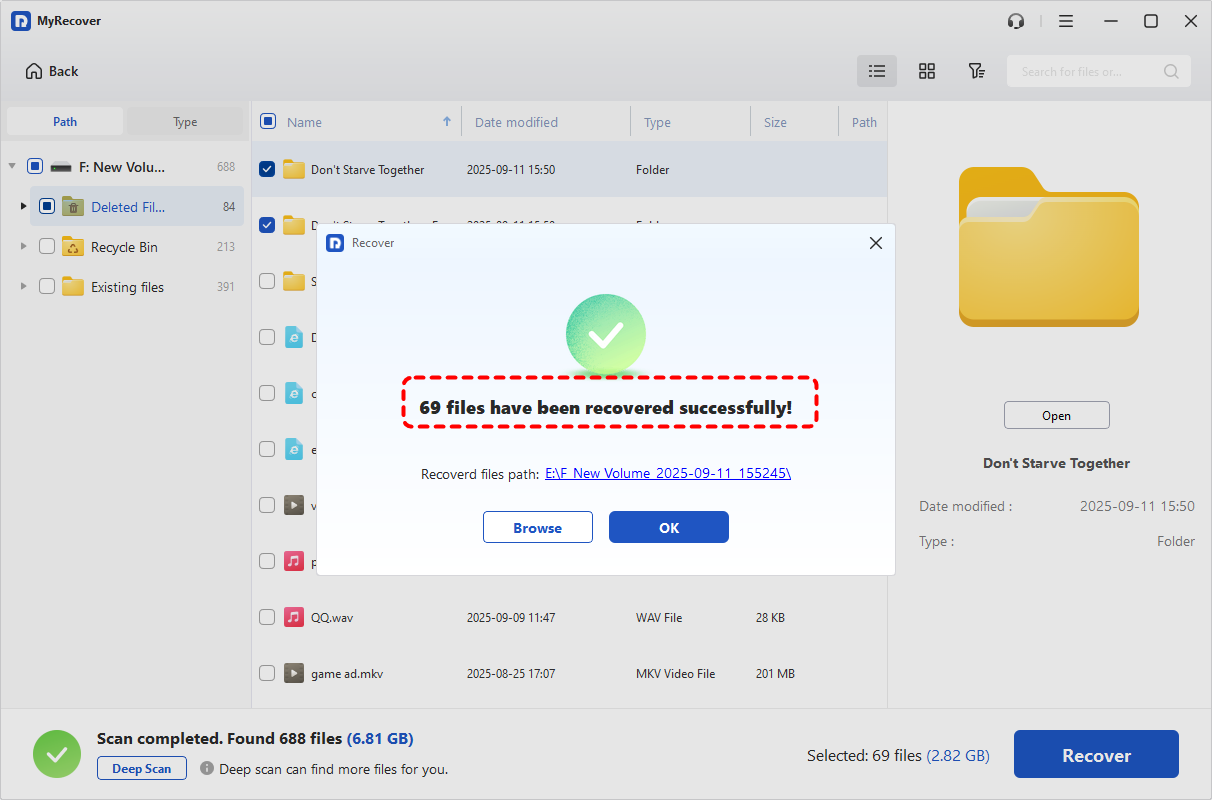
Step 3. After the scan finishes, select the files you intend to recover from the recoverable lists and click "Recover".
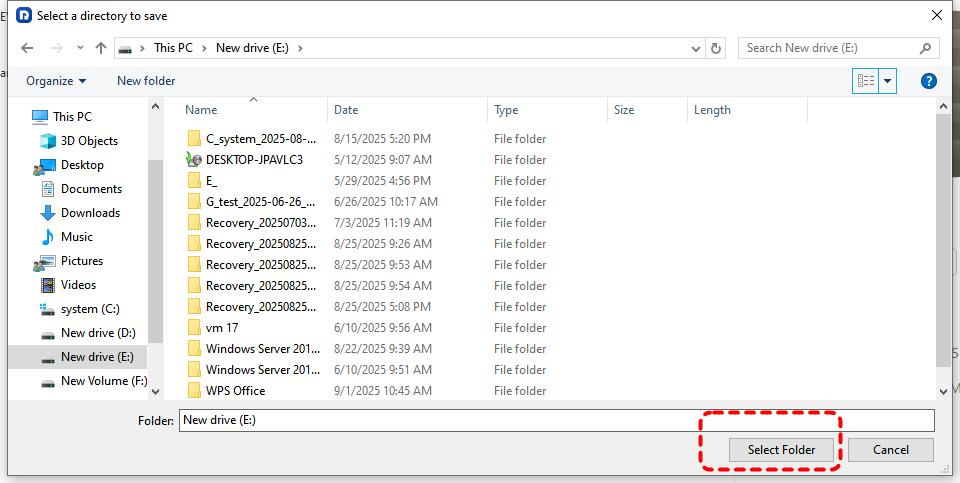
Step 4. Choose a safe location to save the recovered files (not the original drive).
Once the process is done, you'll see the message "Files have been recovered successfully". Then, you can access the recovered files by clicking on the destination folder path or "Browse" button.
How to Prevent the "Scan and Fix" Prompt from Appearing
While "Scan and Fix" can be helpful, it’s also inconvenient if it keeps popping up every time you connect your device. It also carries the risk of permanent data loss. Here's how to reduce the likelihood of encountering the "Scan and Fix" prompt:
⭐Keep Your Drives Healthy
Regularly check the health of your drives by running CHKDSK or using third-party disk management tools. Keeping your drives free from errors will reduce the likelihood of needing to run "Scan and Fix" in the first place.
⭐Safely Eject Your Drives
Always eject external drives or USBs safely to avoid file system corruption. Right-click the drive icon in File Explorer and select "Eject" before physically removing it. 《Stuck with no option to eject external hard drive? we've got you covered with simple solutions.》
⭐Update Your Drivers
Keeping your drivers up-to-date can help avoid errors that trigger the Scan and Fix prompt. Check for updates in Device Manager and install the latest drivers for your drives.
Summary
To sum up, "Scan and Fix" is basically the same as CHKDSK. They won’t delete your files on purpose, only if the files are unreadable because the file system is damaged. If you find that files have been lost after running "Scan and Fix", by following the methods outlined above, you can recover your files and prevent the "Scan and Fix" prompt from appearing in the future.
If you're seeking a reliable recovery tool, MyRecover offers a professional, easy-to-use solution for retrieving lost files under a variety of conditions. For users managing substantial datasets, MyRecover’s Professional edition represents a sound investment, providing unlimited data recovery and file content preview functionality.


Stay Updated With Our
Latest Tips
Add us as a preferred source on Google to never miss helpful guides.