
Windows 10 File History Internal Drive Not Working [Full Solutions]
Data protection is vital, but what do you do when your backup fails? If you find your Windows 10 File History internal hard drive not working, it usually stems from drive or service errors. This guide helps you to address the File History not working issues on Windows 10 and 11 to ensure your files stay safe and recoverable.
By Aria / Updated on March 4, 2026
File History Cannot Find Internal Drives
File History had been set to use a 2TB internal drive E. The File History folder expanded to eat up 3/4 of the drive space, and then stopped once the drive was full. I tried to modify FH settings to 6 months, but FH reported a drive error and wouldn't do squat. The File History pictogram says FH is on, drive E is selected for Copy Files To, and it says there's an "unknown error." Run Now doesn't work; says "reconnect your drive.
- Question from Chris
Windows 10 File History is designed as a "set it and forget it" backup solution, but it comes with a frustrating catch: Microsoft officially restricts it to external drives or network locations. But in practice, you will find that a second internal hard drive can also serve as a backup drive for File History. This is because File History does not only allow external drives; it follows the principle of physical isolation.
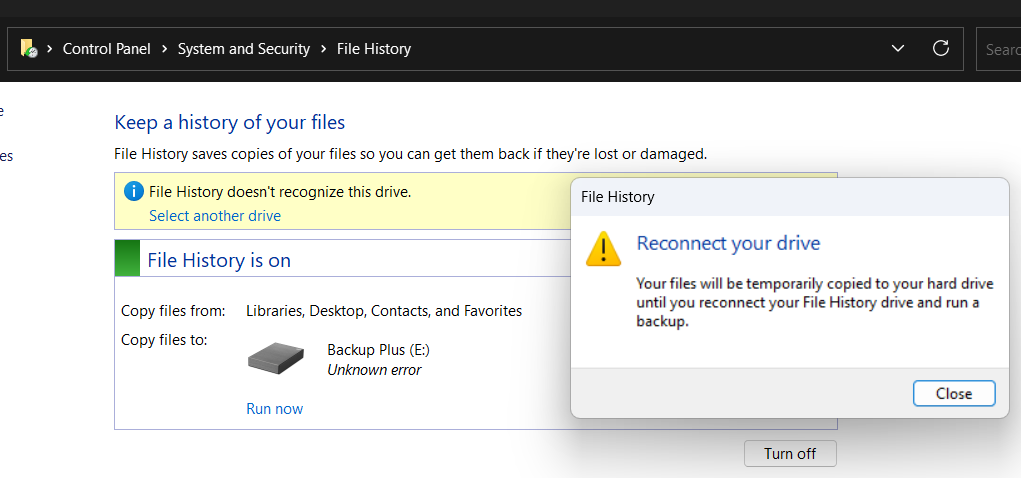
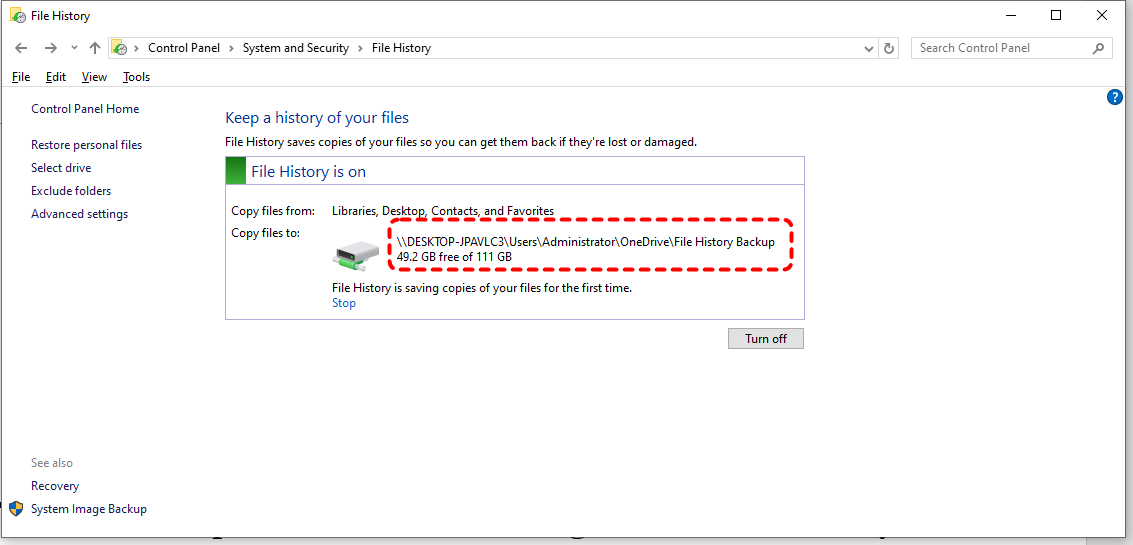
However, some Windows 10 users report that File History suddenly stops working on an internal backup drive even though it was previously working. And File History will prompt you "Reconnect the drive". Although File History still appears turned on and the backup drive is selected, backups no longer run.
In most cases, the issue is not that the drive has disappeared from Windows, but that File History can no longer properly validate or access the internal disk. Once the drive becomes full, develops file system inconsistencies, or is flagged by File History’s safety rules, Windows may treat it as unavailable and stop backup operations.
How to Fix the Windows 10 File History Interna Drive Not Working
If File History suddenly stops finding your internal backup drive, the key is to start with basic validation and then move toward deeper configuration fixes. The following solutions progress from simple checks to advanced workarounds, helping you restore File History functionality with minimal risk.
Solution 1. Check Disk Space
When the backup drive becomes nearly full, File History may flag it as unavailable and stop running. Ensuring sufficient free space is the quickest way to eliminate capacity-related failures and restore normal backup behavior. You can delete some of the older previous backups with these steps.
Step 1. Open File Explorer and check free space on your backup drive.
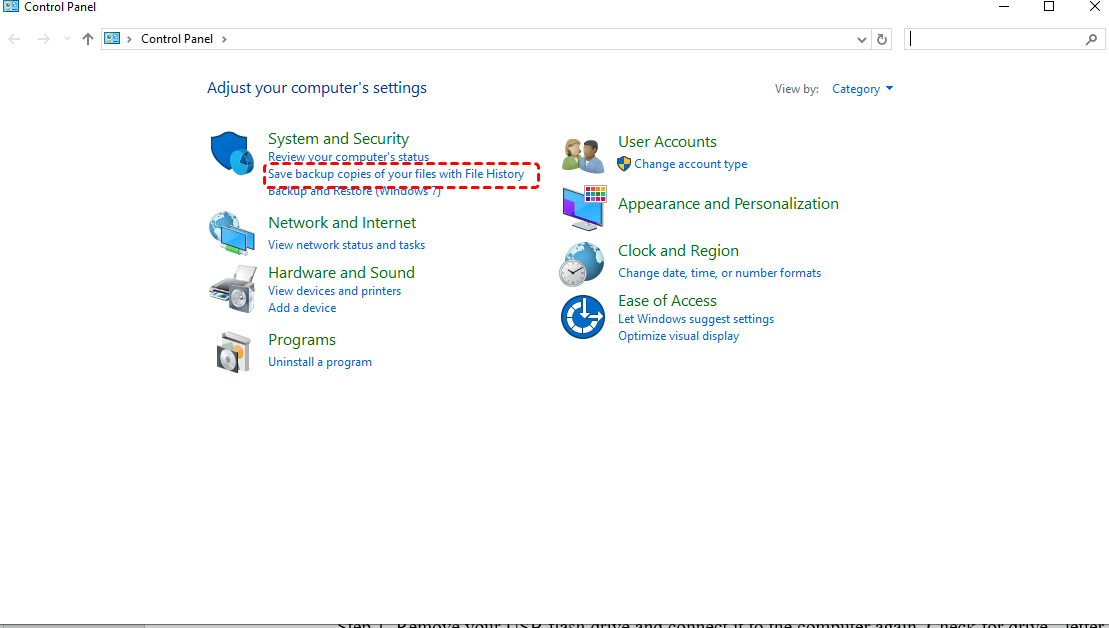
Step 2. Navigate to "Control Panel" > "Save backup copies of your files with File History".
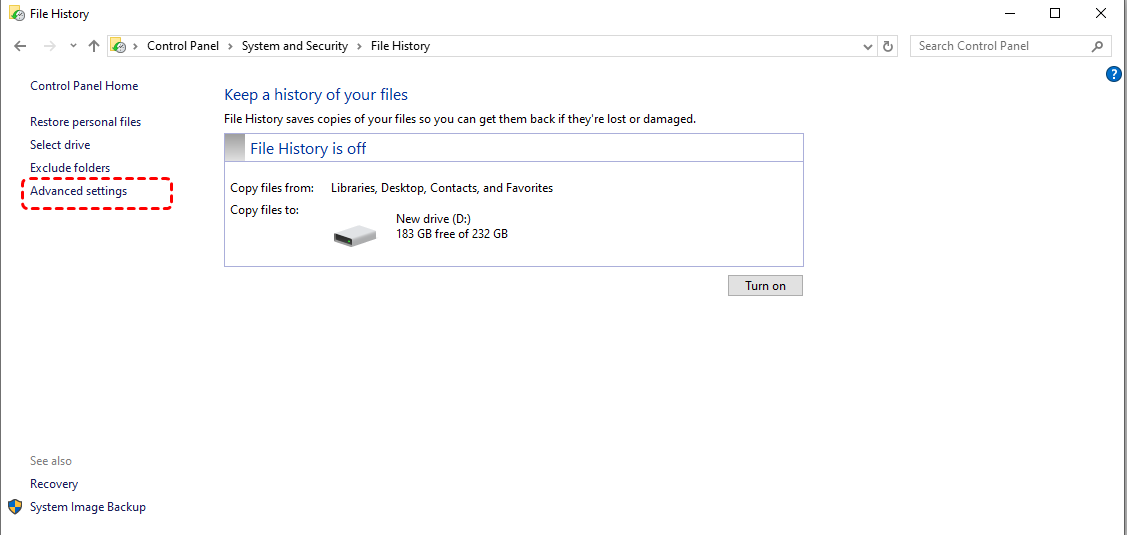
Step 3. Select "Advanced settings" in the left panel and click "Clean up versions".
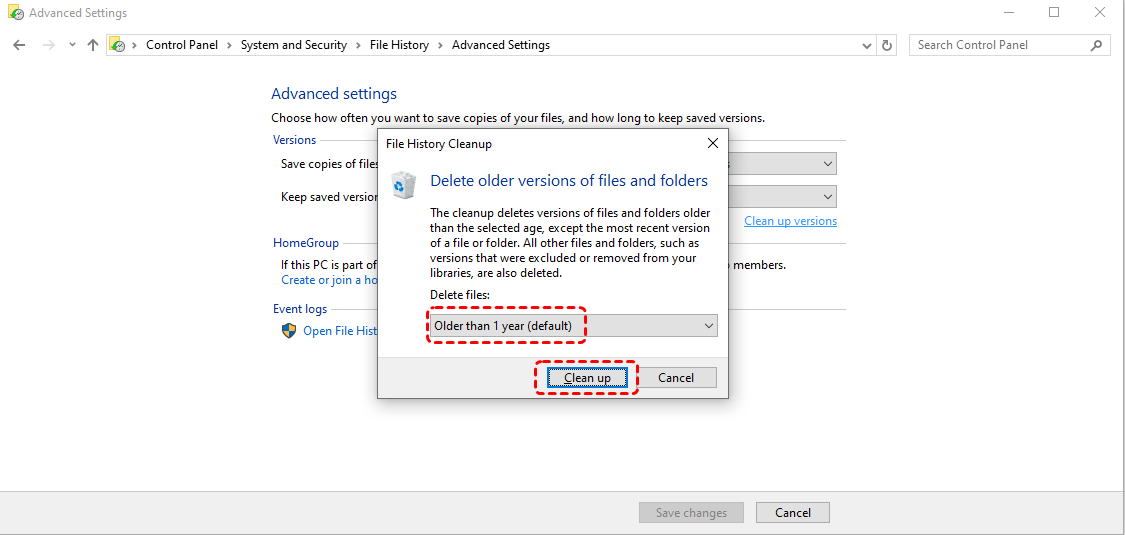
Step 4. Choose a time period of old File History versions under the "Delete files" tab to free up space. Restart File History and click Run now to check if the issue is resolved.
Solution 2. Reset File History Settings
Corrupted File History configuration is a common reason for the "Reconnect your drive" error. Clearing File History Configuration cache and resetting forces Windows to rebuild the backup relationship and often restores detection of the internal drive.
Step 1. Navigate to the following path:
C:\ Uers\ [User name] \AppData\Local\Microsoft\Windows\File History\Configuration
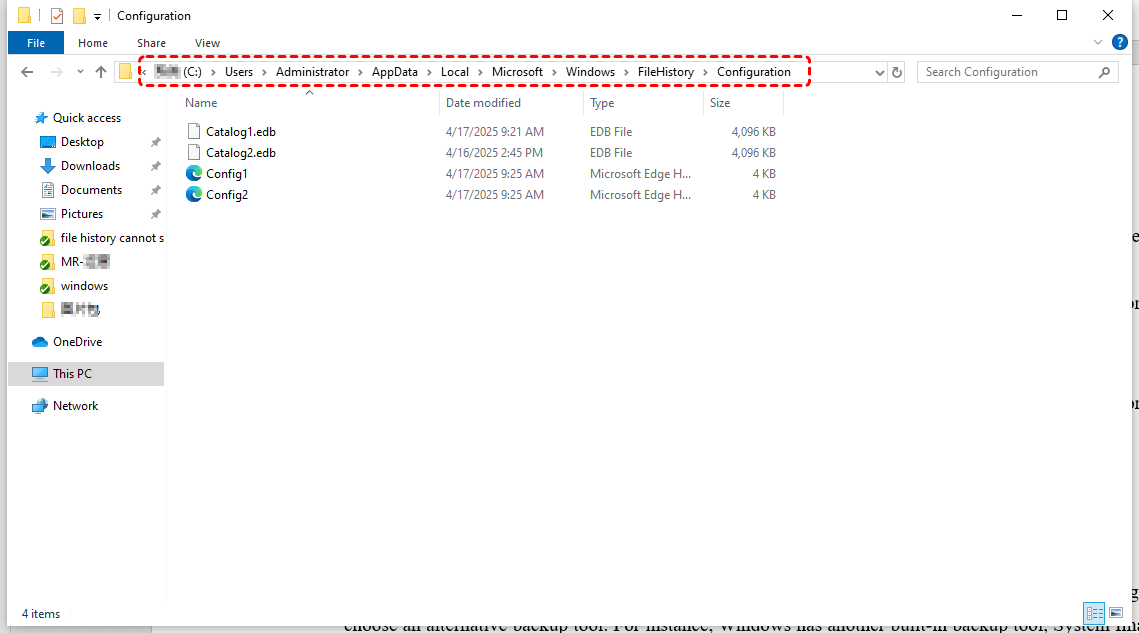
Step 2. Delete the contents of the Configuration folder to clear the File History configuration cache.
Step 3. Go to "Settings" > "Update & Security" > "Files Backup" and turn off File History.
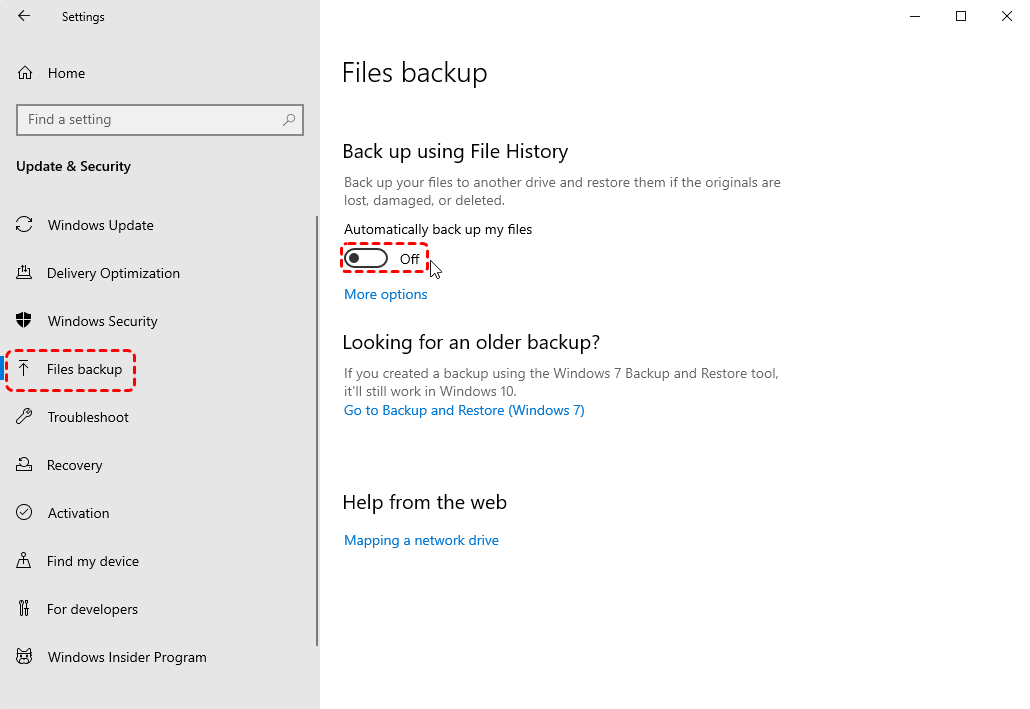
Step 4. Click "More options" > "Stop using drive".
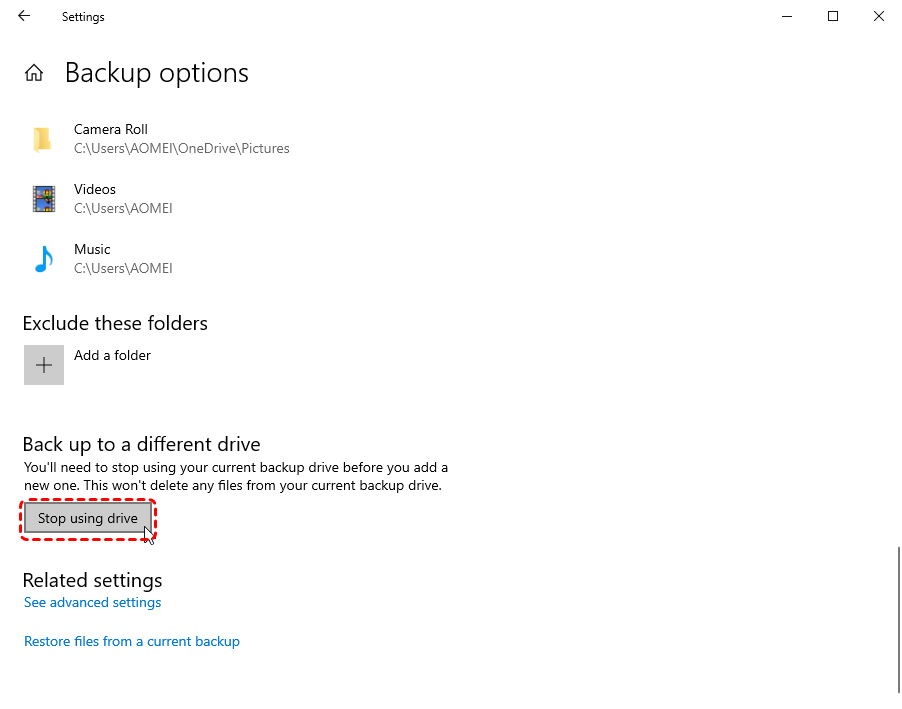
Step 5. Re-enable File History and reselect the internal drive to back up.
Solution 3. Check for Disk Errors on Internal Drive
Sometimes, issues with the drive’s status or disk errors can also cause File History to stop working on the internal hard drive. Verifying its online status ensures File History can properly access it. If there's disk error, running CHKDSK can repair bad sectors and directory errors that can block File History access.
Step 1. Press "Win" + "X" and select "Disk Management" to open it.
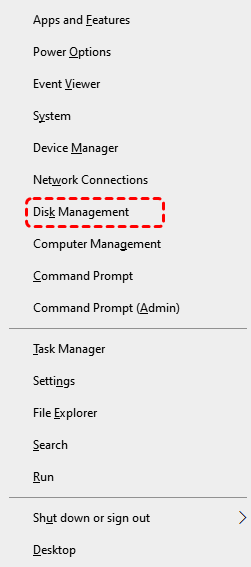
Step 2. Confirm the backup partition is "Online", healthy, and has a correct drive letter.
Step 3. Locate Command Prompt in the Start menu and right click on it, then choose "Run as administrator".

Step 4. Enter the following command: CHKDSK G: /f /r (replace "E" with your actual internal drive letter).

Step 5. Wait for the scan to complete and reboot your computer to check if the issue is fixed.
Solution 4. Network Share Workaround
Because File History officially prefers external or network locations, if it still fails to work on the internal hard drive, mapping the internal drive as a network share can bypass validation restrictions and restore backups.
Step 1. Create a new folder on your internal backup drive to save the File History backup.
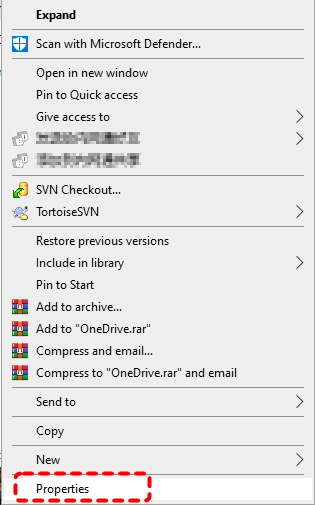
Step 2. Right click on the folder and choose "Properties" from the context menu.
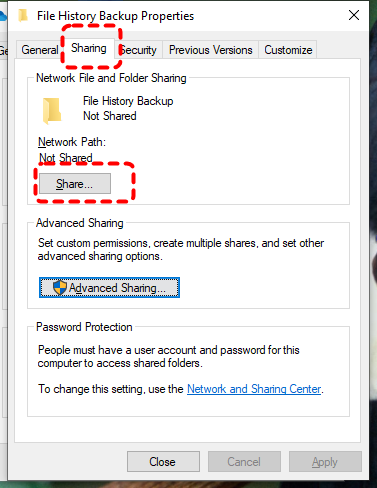
Step 3. Go to the "Sharing" tab and click "Share".
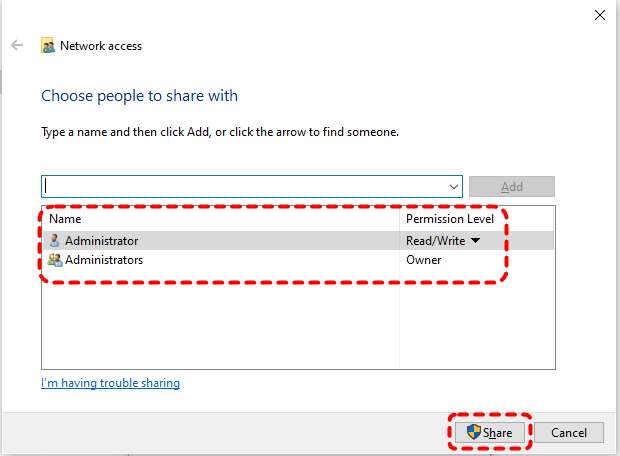
Step 4. Set the folder sharing permission in the drop menu and click "Share". Then, check and note the network path (e.g., \\PCName\Backup) of the folder under the "Share" tab.
Step 5. Open File History in Control Panel and select "Add network location".
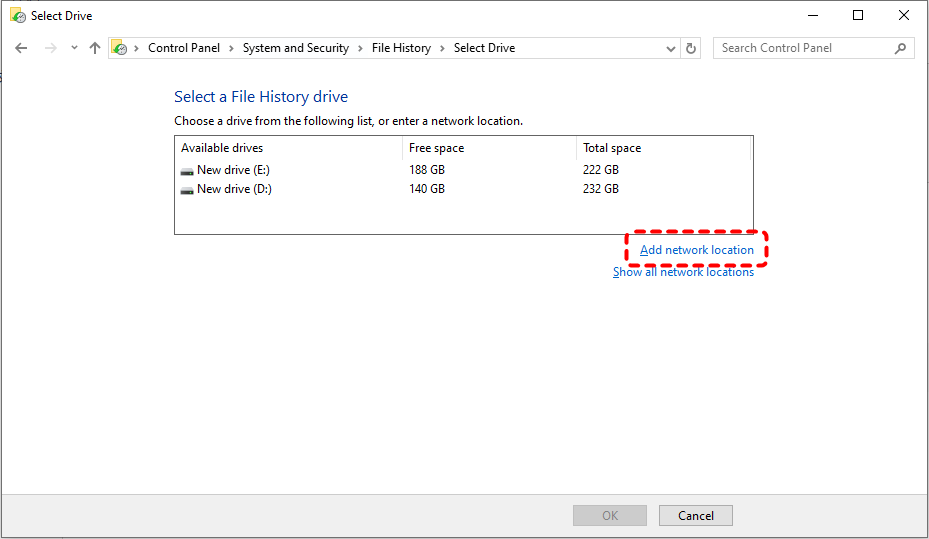
Step 6. Enter the network path and click "Select Folder".
Solution 5. Use a Virtual Hard Disk (VHD)
If Windows continues rejecting the physical internal drive, creating a VHD provides logical isolation that File History accepts more reliably. Although the VHD file is stored on your internal backup drive, Windows will recognize it as a separate external/removable disk device when mounted.
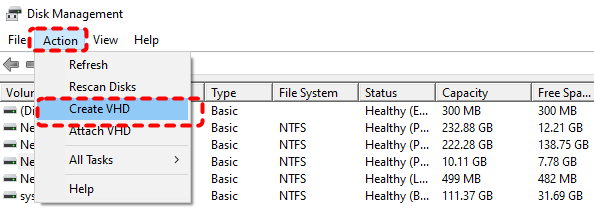
Step 1. Press "Win" + "X" and choose "Disk Management" to open it.
Step 2. Click "Action" on the top menu and choose "Create VHD".
Step 3. Click "Browse" and choose your internal backup drive to store the VHD and name it as you like.
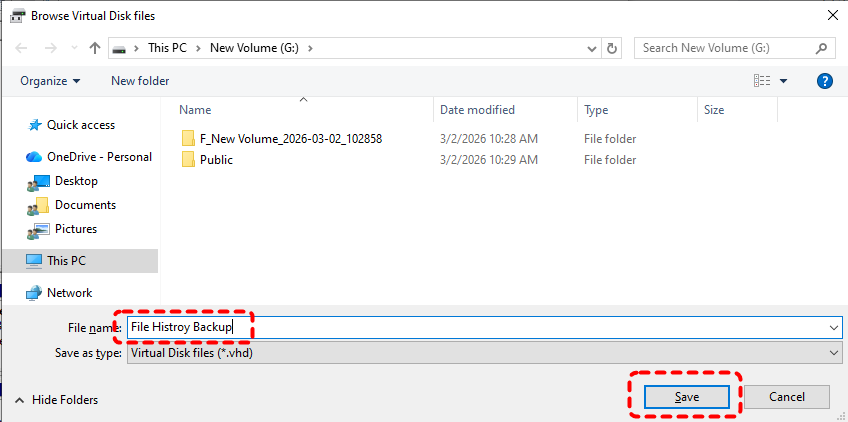
Step 4. Set the virtual hard disk size according to your backup needs and select "VHD" as the virtual hard disk format, then click "OK" to save the changes.

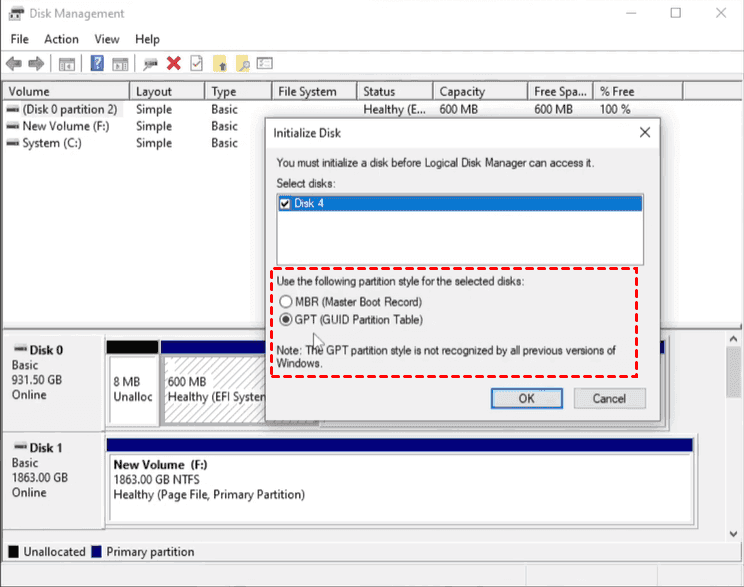
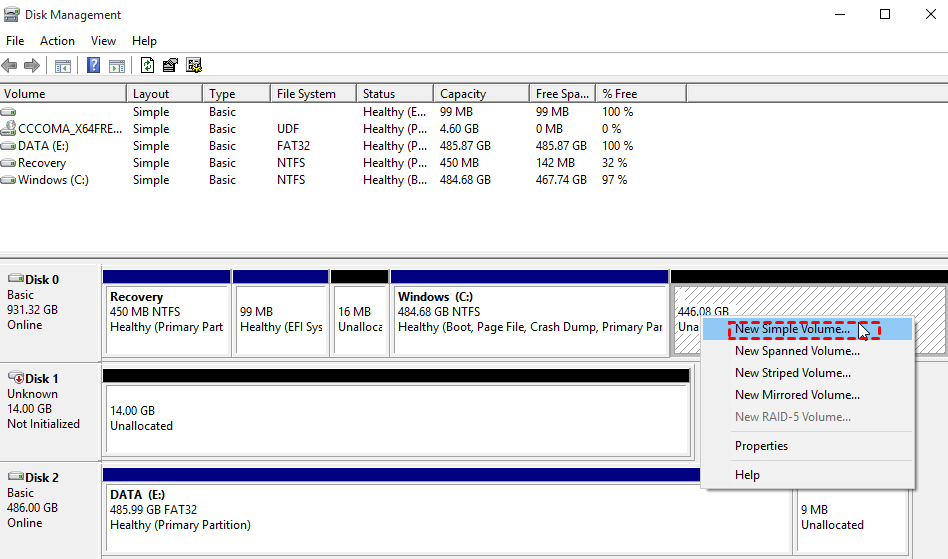
Step 5. You will find an additional disk marked as "Unknown" and "Not Initialized" in the Disk Management list. Right click on it and choose "Initialize Disk", then select a partition table (GPT or MBR) based on your needs.
Step 6. Right click on the "Unallocated" space and choose "New Simple Volume".
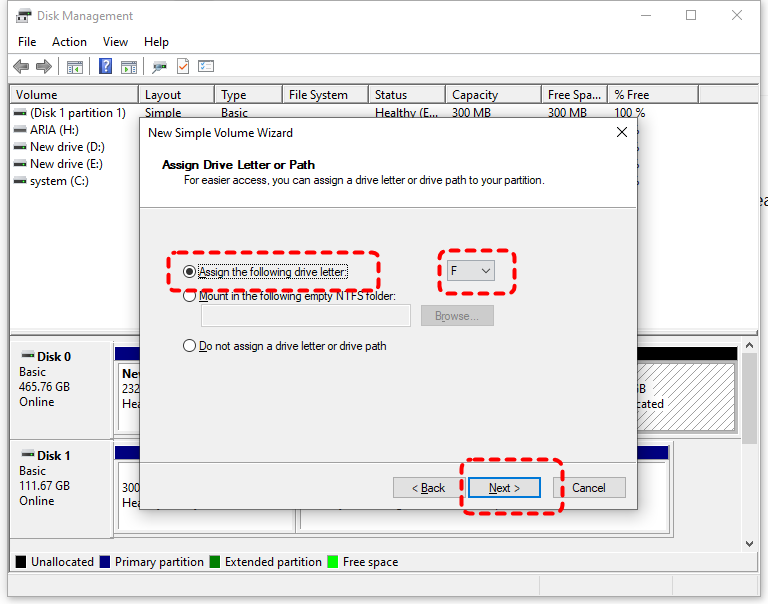
Step 7. Assign a new drive letter for the VHD and format it with NTFS.
Step 8. Open File History and select the mounted VHD as the File History backup drive.
Solution 6. Change the Backup Drive (Refresh Binding)
If none of the above methods work and File History still fails on the internal hard drive, switching to an external hard drive as the backup destination may be the final solution.
Step 1. Connect another external hard drive (like USB).
Step 2. In File History, choose "Select drive" and switch to the new drive.
How to Recover Deleted or Lost files without File History
When files are deleted or lost, everything becomes easy if File History has saved your backups. However, what if the lost data has no backup? Can it still be recovered? Absolutely. The professional data recovery tool MyRecover helps you retrieve important data in over 500 complex data loss scenarios, including emptied Recycle Bin, deleted partition, corrupted hard drive, inaccessible USB drive, etc. MyRecover offers quick and deep scan algorithms and a high success rate to get the deleted files.

- 1000+ Devices Supported: HDD, SSD, USB flash drive, SD card, etc.
- 1000+ File Formats: Videos, PNG, VMDK, Archives, Emails and more.
- 500+ Data Loss Cases: Deletion, Format, Virus Attack, System Crash, etc.
Step 1. Download and install MyRecover on a different drive (avoid the drive where files were lost to prevent overwriting).
Step 2. Launch MyRecover and select the internal drive or partition where your files disappeared, then click "Scan" to search for the deleted files. It will automatically perform a Quick Scan. You can click the "Deep Scan" to locate more file fragments if needed.

Step 3. After the drive is completed, choose the files you would like to recover from the recoverable lists and click "Recover".

Step 4. Select a new safe location to save the recovered files.

Once the recovery process is done, the message "Files have been recovered successfully" will pop up. Then, you can check the recovered files in the destination folder by clicking on the "Browse" button.

Summary
In most cases, the File History internal drive not working occurs because File History can no longer properly validate the internal backup disk rather than the drive being missing. With the basic checks and advanced workarounds mentioned above, the issue can be fixed easily.
When no usable backup exists, a professional tool like MyRecover provides a reliable fallback to retrieve lost data without backup from the drive. By combining proper troubleshooting with proactive recovery measures, you can both restore File History functionality and minimize the risk of permanent data loss.


Stay Updated With Our
Latest Tips
Add us as a preferred source on Google to never miss helpful guides.