
How Long Does File History Backup Take
If you're wondering how long does File History take to backup, this overview breaks down typical backup durations, explains why some backups take longer, and shares easy methods to improve File History performance and reduce waiting time.
By Vera / Updated on March 3, 2026
Understanding File History in Windows
File History is a built-in Windows feature designed to protect your personal files. It continuously saves copies of your documents, photos, videos, and other critical files to an external drive or network location. Think of it as a personal time machine for your data—if you accidentally delete or modify a file, File History can restore it.
File History runs automatically on a schedule, usually every hour. It keeps multiple versions of your files, so you can revert to an earlier copy if needed. Unlike traditional backups that copy everything every time, File History uses incremental backups. This means that after the first full backup, it only copies files that have changed, saving time and storage space.
How Long Does File History Backup Take on Average
The time required for a File History backup depends mainly on the total size of the data being backed up.
Typical estimates include:
- Small backups: 5–15 minutes
- Medium backups: 30–60 minutes
- Large backups: 1–3 hours or longer
However, these estimates vary depending on whether the backup is the first run or a later incremental backup.
First Backup vs Incremental Backup
File History uses a backup strategy called incremental backup, which means only changed files are copied after the initial backup.
👉Why the First Backup Takes Longer
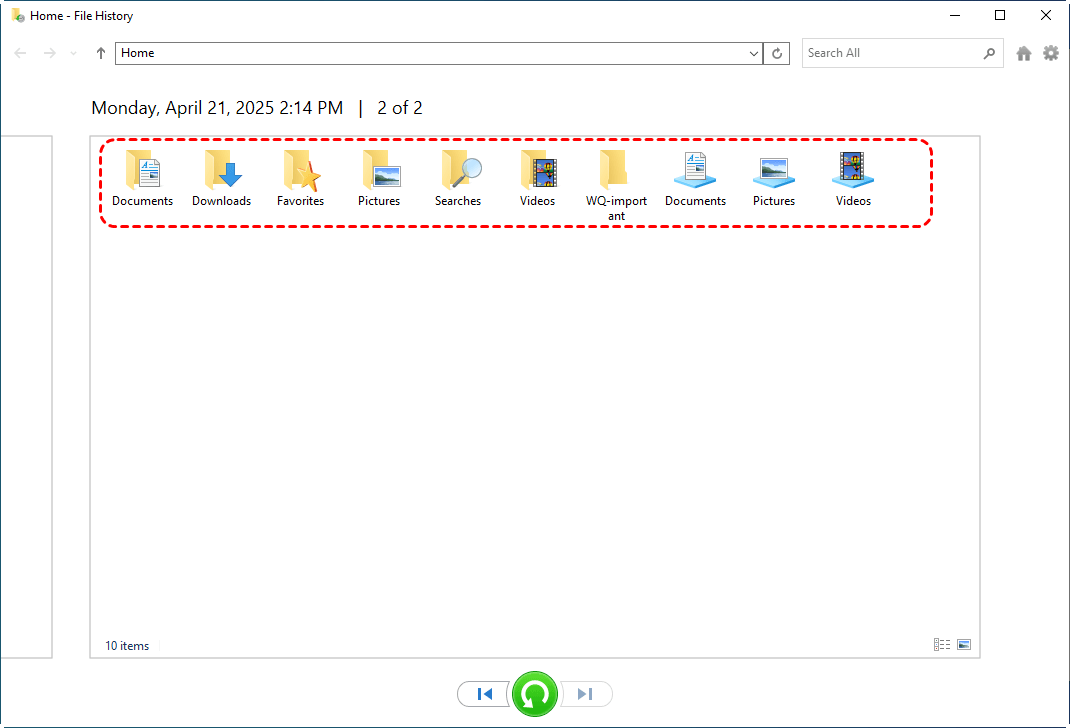
During the first backup, the system must copy all selected files from your computer to the backup location. This includes folders such as:
- Documents
- Pictures
- Desktop
- Music
- Videos
If these folders contain large collections of files, the first backup may take a significant amount of time. In cases where the backup fails or files are accidentally deleted during this process, tools like MyRecover can be used to scan the storage device and restore missing data.
👉Why Later Backups Are Faster
Once the initial backup is completed, File History only copies files that have changed since the last backup. Because only modified files are transferred, the backup process is usually much faster. In many cases, incremental backups finish in just a few minutes.
Factors Affecting File History Backup Time
Several variables determine how long a backup will take. Understanding these can help you estimate timing more accurately.
1. Amount of Data to Backup
The total size of your files is the most significant factor. Backing up a few gigabytes is quick, often under an hour, but hundreds of gigabytes can take several hours.
2. Storage Device Speed
The type and speed of your backup storage matter. SSDs (Solid State Drives) are much faster than traditional HDDs (Hard Disk Drives). USB versions also impact speed—USB 3.0 or 3.2 is faster than USB 2.0.
3. System Performance
Your computer’s CPU, RAM, and current workload affect backup speed. Running multiple heavy applications during a backup can slow the process significantly.
4. Network Speed
If your backup is directed to a network drive, your network speed becomes critical. Slow Wi-Fi or network congestion can add hours to your backup process.
How to Speed Up File History Backup
If backups are taking too long, several optimization methods can improve performance.
Method 1: Use a Faster Backup Drive
Using a faster storage device can significantly reduce backup time.
Steps
1. Obtain a high-speed external SSD or USB 3.0 drive.
2. Connect the drive to the computer using a high-speed USB port.
3. Configure File History to use the new drive as the backup location.
4. Perform a test backup to confirm improved performance.
Method 2: Exclude Unnecessary Folders
Reducing the number of files included in the backup can decrease the overall backup time.
Steps
1. Open Windows Settings.
2. Navigate to Update & Security.
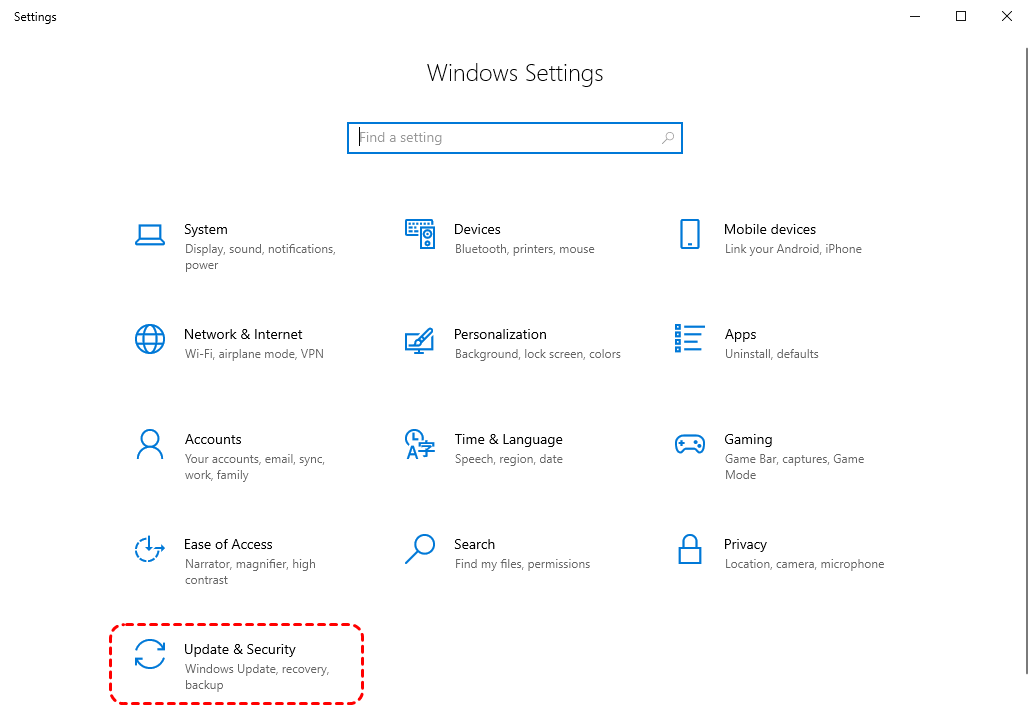
3. Select Backup and open File History options.
4. Review the list of folders currently included in the backup.
5. Remove folders that do not require backup.
Method 3: Adjust Backup Frequency
Changing how often backups occur can help reduce system load.
Steps
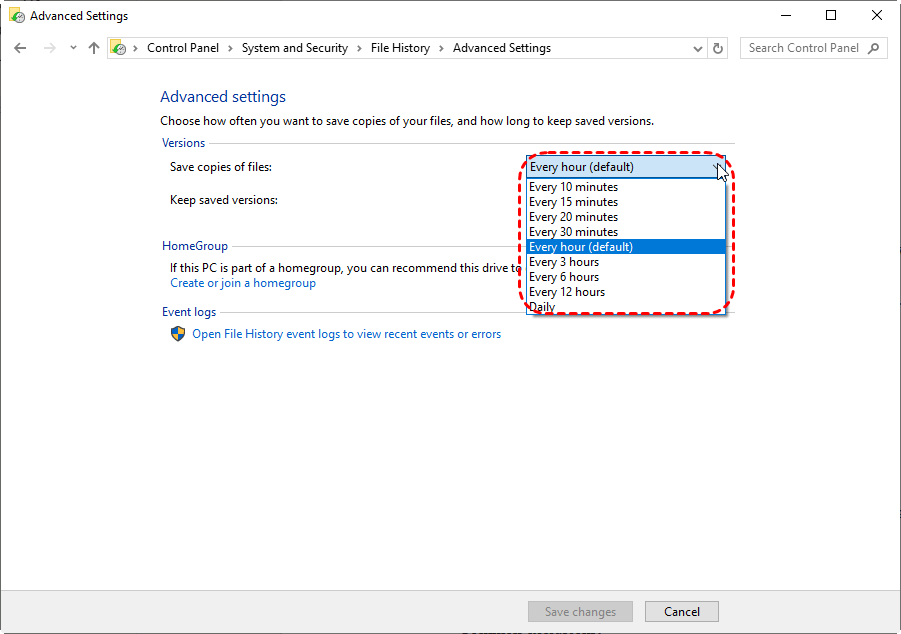
1. Open File History settings.
2. Select Advanced Settings or More Options.
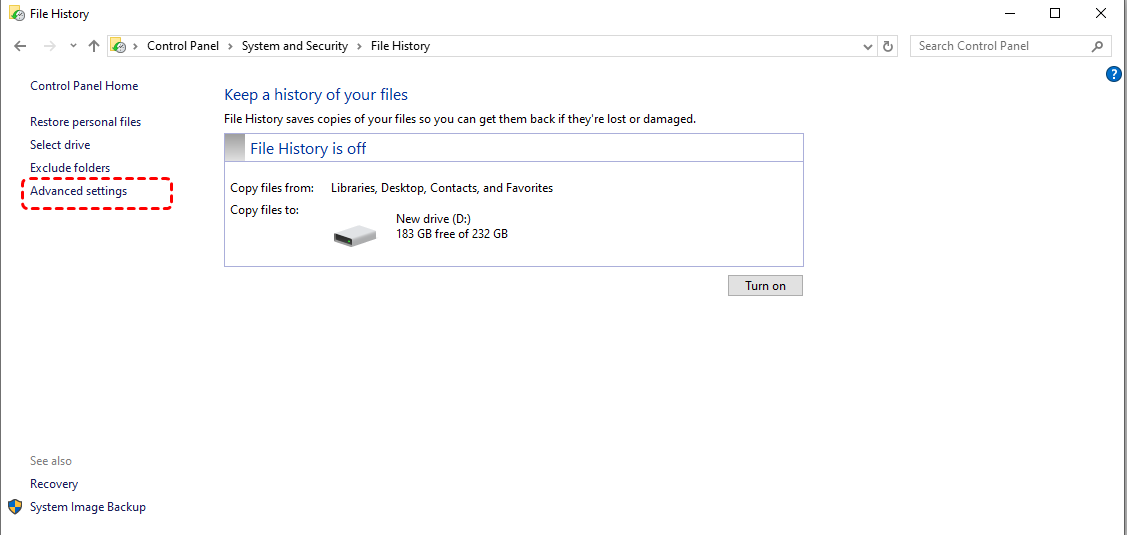
3. Locate the Back up my files option.
4. Choose a longer interval such as hourly or daily.
Method 4: Close High-Resource Applications
Running large applications during backups can reduce system performance.
Steps
1. Close applications that use large amounts of system resources.
2. Pause tasks such as video rendering or gaming.
3. Start the backup process again.
What If Files Are Lost Despite Backups
Although File History is reliable, it cannot prevent every type of data loss. For example:
- Files may be permanently deleted before being backed up.
- Backup drives may become corrupted.
- File History may fail due to system errors.
In such cases, a specialized recovery tool like MyRecover becomes extremely valuable. MyRecover is a professional data recovery tool designed to restore deleted or lost files from various storage devices. It supports recovery from:
- Internal hard drives
- External drives
- USB flash drives
- SD cards
- Formatted or corrupted storage devices
The software scans storage devices and locates recoverable files that are no longer visible in the operating system.
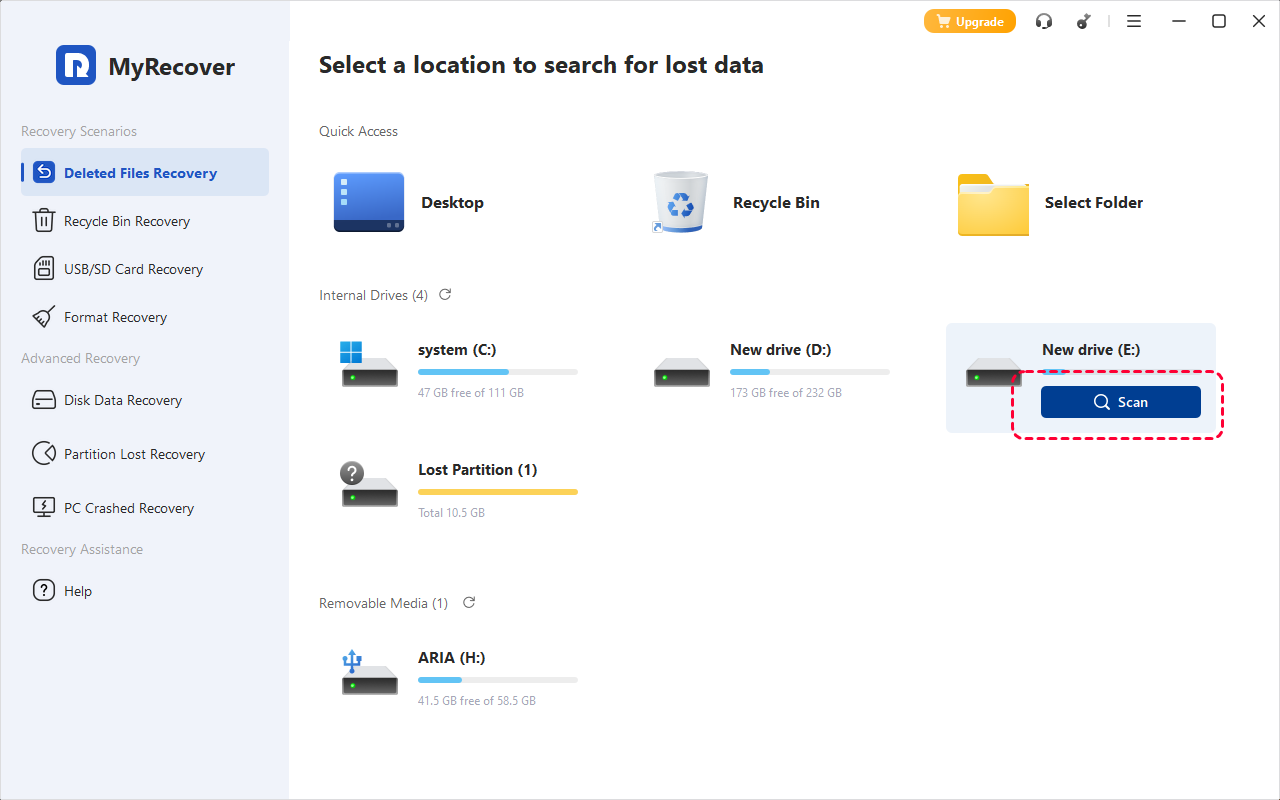
Steps to Recover Deleted Files Using MyRecover
Step 1: Install MyRecover
Download and install the MyRecover software on your computer. Avoid installing it on the same drive where data was lost to prevent overwriting files.
Step 2: Launch the Application
Open MyRecover and select the drive where the files were originally stored.
Step 3: Start the Scan
Initiate a scan to search for deleted or lost files. The software performs both quick and deep scans to maximize recovery results.
Step 4: Preview Recoverable Files
After the scan completes, browse through the list of recoverable files and preview them if necessary.
Step 5: Restore the Files
Select the files you want to recover and choose a safe destination to restore them.

This process allows users to recover important files even when backups are unavailable.
File History Compared with Other Backup Solutions
While File History is convenient, other backup methods may also be useful depending on your needs.
File History vs Cloud Backup
Cloud backup services store data on remote servers, protecting files from physical hardware failure.
However, cloud backups depend heavily on internet speed and may take longer to upload large files.
File History vs System Image Backup
System image backups create a complete copy of the operating system, applications, and files.
Although they provide full system recovery, they require more storage space and typically take longer to create.
Conclusion
File History is a convenient and effective tool for protecting personal files on Windows systems. The time required for backups depends on the amount of data, the storage device used, and the overall system performance. While the initial backup may take a considerable amount of time, subsequent backups are usually fast because only changed files are copied.
Even with reliable backups, data loss can still occur. In such cases, professional data recovery tools like MyRecover provide an additional layer of protection by allowing users to recover deleted or lost files quickly.
By combining regular backups with reliable recovery software, users can ensure their important data remains safe.


Stay Updated With Our
Latest Tips
Add us as a preferred source on Google to never miss helpful guides.